Unlock the macOS Dock’s Hidden Secrets in Terminal
Posted on
by
Craig Grannell and Kirk McElhearn
Elsewhere on this blog, we help you get to know your Mac’s Dock and discover its many options. But it turns out Apple only provides settings for some of the Dock’s tricks; many are effectively hidden secrets.
Fortunately, you can get at these bonus extras by way of a quick trip to the Terminal app, and some deft typing – or by copying and pasting the various commands outlined below. A few of these settings are, admittedly, little more than curiosities, but some make the Dock significantly more useful.
Back-up existing Dock settings
Before making major changes to your Dock settings, back-up your existing ones, in case you want to put them back later.
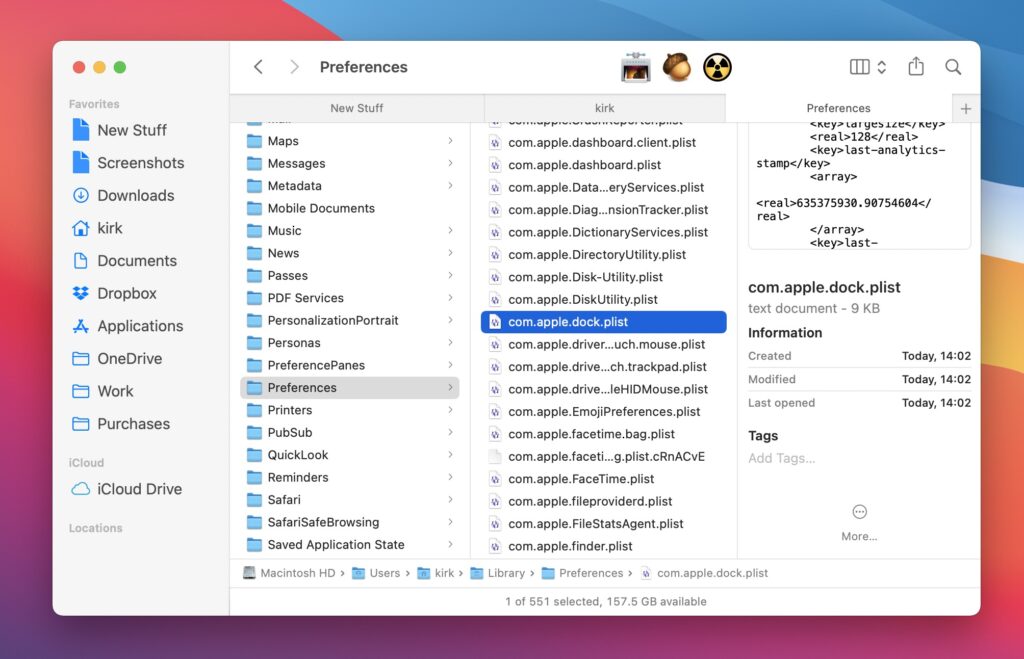
In Finder, hold Option and click Go, and then select Library. In the Finder window that appears, open the Preferences folder, and make a copy of com.apple.dock.plist. (You can do this by Option-dragging it to another folder.)
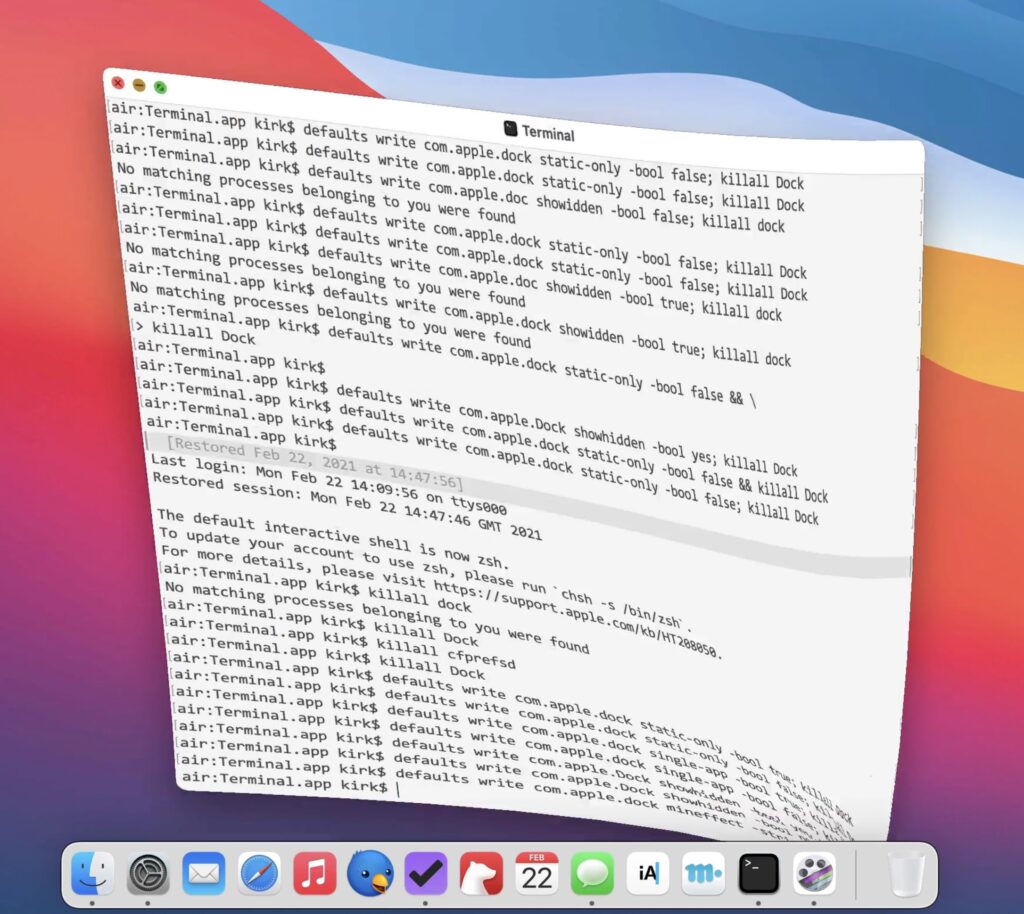
If you later want to restore this version of your Dock’s preferences, copy the file back to the aforementioned Preferences folder, replacing the one that’s there. Then open Terminal, and use the following command to restart the Dock:
killall Dock
Press Return and your Dock will be back as it was before you made any changes.
Note that you’ll be using the killall Dock command often. Because of the way preferences work, you may find that some of these commands don’t get applied right away. If that happens, you can try running the killall cfprefsd command to update your Mac’s preferences database.
Remember, if things go wrong, you can always restore the .plist file you copied above. If you do this, make sure to run killall cfprefsd right afterwords.
Now we’ll delve into how to make it a little bit different…
Add macOS Dock spacers
When you’ve got loads of items stashed in your Dock, visually separating them into groups of related apps can be useful. For each run of the following command, a ‘spacer’ will be added to the apps side of the Dock:
defaults write com.apple.dock persistent-apps -array-add '{"tile-type"="spacer-tile";}'; killall Dock
Each individual spacer can be moved in the Dock by click-dragging it.
![]()
To remove a spacer, either Control-click and select Remove from Dock, or drag it away from the Dock and let go of the mouse/trackpad button.
Have the Dock show only active apps
Rather than using the Dock to stash loads of app shortcuts, you can turn it into something resembling a focused app-switcher with the following command:
defaults write com.apple.dock static-only -bool true; killall Dock
After running this, the Dock will only display apps that are currently running. Essentially, this mirrors the Mac app switcher, albeit with items being displayed in the order they were launched, not in terms of recent usage. Run the command switching the the true value to false to revert to the normal Dock behavior.

Activate the Dock’s single-app mode
When you click an app icon in the Dock, the app’s windows come to the front – unless the app’s in full-screen mode, in which case you switch to it. If you fancy more focus on your Mac desktop, but without full screen, run this command:
defaults write com.apple.dock single-app -bool true; killall Dock
Now when you click an app icon in the Dock, the app’s windows will still come to the front, but every other app will be hidden. If you want to see two apps simultaneously, you can still do so by switching to them using the Command+Tab app switcher. Again, switching the true value to false in the command reverts back to the normal setting.
Highlight hidden apps in the Dock
Although the Dock can differentiate open apps by way of displaying a black dot beneath them, it also has the capability to show which apps are hidden. Run the following command:
defaults write com.apple.Dock showhidden -bool yes; killall Dock
The next time you hide any app, its icon in the Dock will become semi-transparent.

To change this back to macOS defaults, replace yes with no in the command.
Alter the Dock’s appearance
There are a few Terminal commands that go beyond the Dock System Preferences pane in terms of changing how the Dock looks.
This first one activates the "suck" effect when you minimize windows by clicking on their yellow buttons; it’s sort of halfway between the "genie" and "scale" effects:
defaults write com.apple.dock mineffect -string suck; killall Dock
To switch to a standard macOS effect, use System Preferences as normal, or replace suck in the command with genie or scale.
When using magnification, app icons sizes max out at 128 pixels. But using the following command, you can go up to 512 (although many app icons don’t look too hot above 256):
defaults write com.apple.dock largesize -int 512; killall Dock
To revert this command, run it with 128 as the argument.
You can also fine-tune the size of the Dock, beyond the range Apple provides in System Preferences:
defaults write com.apple.dock tilesize -integer 8; killall Dock
It’s possible to go all the way down to 1, which is essentially unusable without magnification. Around 48 appears to be the default size on most Macs, and 16 is the smallest setting accessible outside of Terminal.
Tweak Dock animation speeds
When the Dock hides and reappears – either automatically, or when triggered with the keyboard shortcut Command+Option+D – it takes time to do so. This time can be adjusted using the following command:
defaults write com.apple.dock autohide-time-modifier -float 1; killall Dock
1 is the standard macOS setting. Using 0 removes the animation entirely, or you can use fractions to merely speed things up a bit. You can also slow the animation down by using a higher number (such as 5), to have the Dock think it’s living out one of those slow-motion scenes from The Matrix.
Reset the Dock to its default state
At the beginning of this feature, we explored how to back up your Dock’s settings, but what if you just fancy a clean slate? If that’s you, run this command:
defaults delete com.apple.dock; killall Dock
The Dock will restart with ‘factory settings’, ready for you to experiment afresh.
How can I learn more?
 Each week on the Intego Mac Podcast, Intego’s Mac security experts discuss the latest Apple news, security and privacy stories, and offer practical advice on getting the most out of your Apple devices. Be sure to follow the podcast to make sure you don’t miss any episodes.
You can also subscribe to our e-mail newsletter and keep an eye here on Mac Security Blog for the latest Apple security and privacy news. And don’t forget to follow Intego on your favorite social media channels: Facebook, Instagram, Twitter, and YouTube.

