Get to Know Your Mac’s Dock
Posted on
by
Kirk McElhearn
One of the key elements you use to interact with your Mac is the Dock. You can use the Dock in many ways: you can open apps, you can open files by dragging them on icons in the Dock, you can open folders that you’ve stored in the Dock, and more. In the guide below, you will discover the many configuration options you have for the Dock, and the best way to turn the Dock into a high-powered productivity booster.
What the Dock contains
The Dock has two or three main sections, with lines between them. In standard orientation, at the bottom of the display, the Dock shows apps that you have chosen to add to the Dock, and apps that you are currently using. The Dock can also show recently used apps, and you can add files or folders to the rightmost section of the Dock. Here’s a screenshot showing each type of content that the Dock can contain.
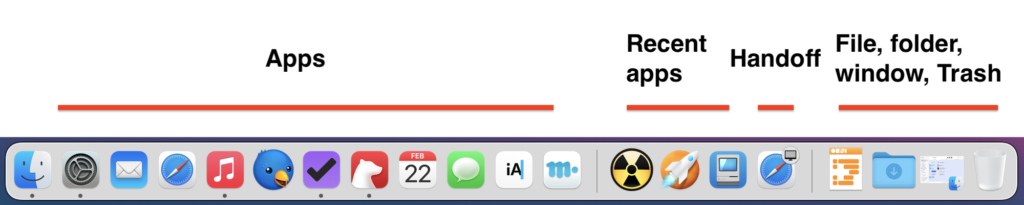
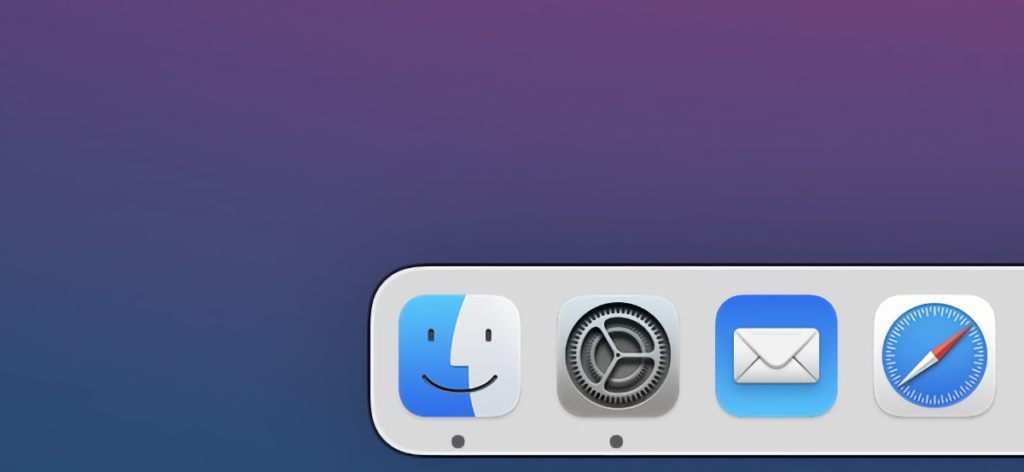
The leftmost section contains apps that you were in the Dock when you set up your Mac, or that you added. (See below to find out how to add or remove items from the Dock.) To the right of this section is a separator, and you see four apps. Then there’s another separator, and you can see a file, a folder, and a minimized window, then the Trash.
If you choose to show recently used applications in the Dock, they display to the right of the first separator. To do this, go to System Preferences > Dock & Menu Bar and check Show recent applications in the Dock. If you don’t choose this, then there’s only one separator.
The Dock will also show an app available for handoff from another Mac, next to recent apps. The screenshot above shows my MacBook Air’s Dock. You can see the Safari icon at the right of the dock with a small icon on its corner; this is because I have a web page open in Safari on my iMac, and it is the frontmost application. If I click that icon, the same web page opens on the MacBook Air.
To the right of the last separator you’ll see files or folders that you’ve added to the Dock, and windows that you have minimized by clicking the yellow button at the top left of a window, or by double-clicking a window’s title bar (though there’s a preference to change this action). Finally, all the way at the right is the Trash.
Positioning the Dock
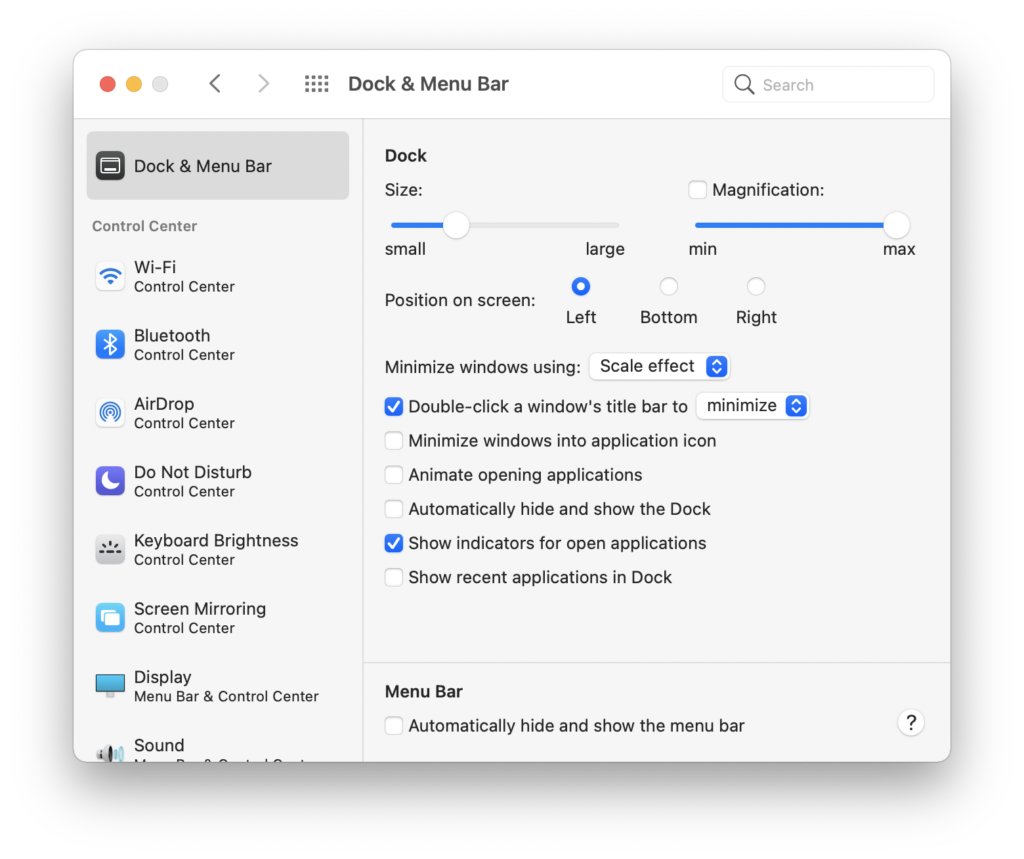
By default, macOS puts the Dock at the bottom of the display. You may be used to that position, but you may want to switch it to another location. Open System Preferences, and then click the Dock & Menu Bar icon. You’ll see a number of settings, including one for Position on screen. (I’ll discuss other settings below.)
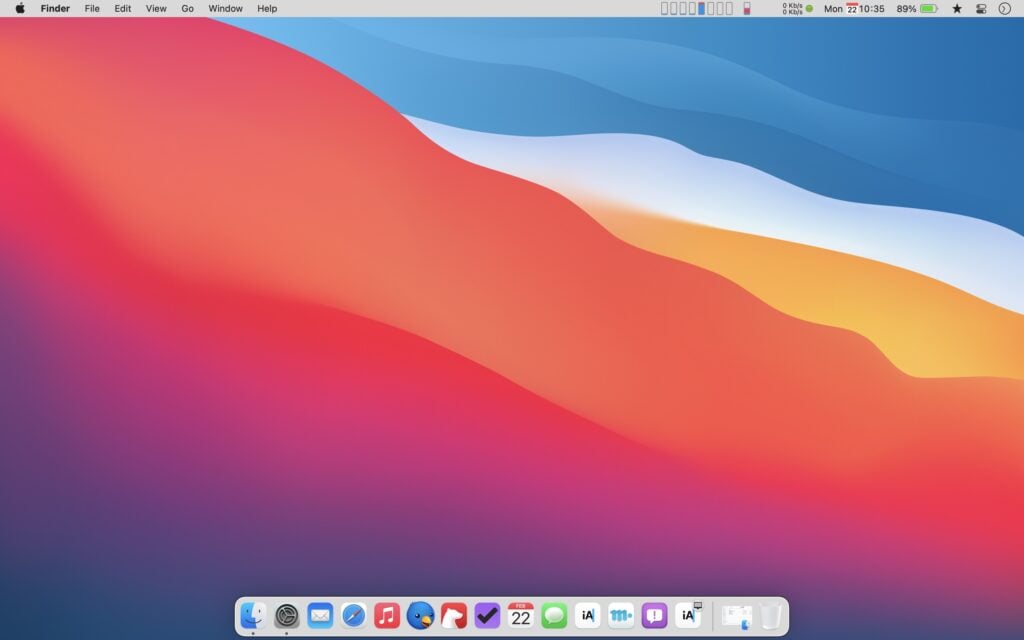
If you look at your Mac’s screen, you can see that the dock takes up a fairly large percentage of its vertical pixels when it’s at the bottom.
You can move the Dock to either side of your display, and it will take up a smaller share of your screen’s width. In this way, I can have my windows fill the entire height of my display, and see more in each of my apps.

Personally, I prefer having the Dock on the left side of my screen, because it is less obtrusive, and I’m less likely to hit the Dock when I move my cursor to act on a scrollbar.
Hiding the Dock
Did you know you can set the Dock to hide when you don’t need it? To do this, go to the Dock & Menu Bar preferences and check Automatically hide and show the Dock. When you do this, the Dock only displays when you move your cursor to where it is located, either on the side or the bottom of your screen. When your cursor reaches the edge, the Dock slides out; when you move your cursor away from the back, it slides back.
If you use this setting, the Dock’s position matters less, since it won’t get in your way. And when you open new windows, they’ll use the full height or width of your display.
Changing the Dock’s Size
In the first screenshot above, I show the Dock on one of my Macs with a dozen apps, some recent apps, a file, folder, and a minimized window, and the Trash. The Dock doesn’t fill the screen in either orientation, but if it did, and there were more icons, the height of the Dock would reduce to fit them all. If you don’t have a lot of icons, and you want to see them better, you can change the size of the Dock.
To do this, go to the Dock & Menu Bar preference pane and drag the Size slider. This size is the maximum height of the Dock; if you have many icons, it will still change its size to fit them all in the available width (if the Dock is at the bottom) or height (if it’s on the side).
Try different sizes and see what works for you.
Magnifying the Dock
In the early days, the Dock’s magnification was on by default; these days, now it’s off by default. When you select this setting, the Dock icons increase in size when you hover your cursor over them. This has the advantage of providing a bigger target when you drag a file to the Dock, but you may, like me, find it a distraction.

Try it out and see if you like it, you may find it useful.
Adding and Removing Items from the Dock
You can customize the Dock to display only those apps that you use, rather than have the full complement of apps that Apple puts there by default. To remove an item, just click, hold, and drag an icon away from the Dock. You will need to move it a bit away from the Dock, and when you’ve gone far enough, a small Remove tag displays next to the icon. Simply release it and it goes away.
Note that you can’t do this if the Dock’s magnification is turned on. In this case, right click on the icon, then choose Options > Remove from Dock.
You can also add items to the Dock. Just drag an app icon to the app section of the dock. You can change the order of icons in the Dock. Just click and drag, and place an icon in a new location.
Furthermore, if you open an app, its icon shows in the Dock while it’s open. To keep it in the Dock permanently, right-click the icon, and then choose Options > Keep in Dock.
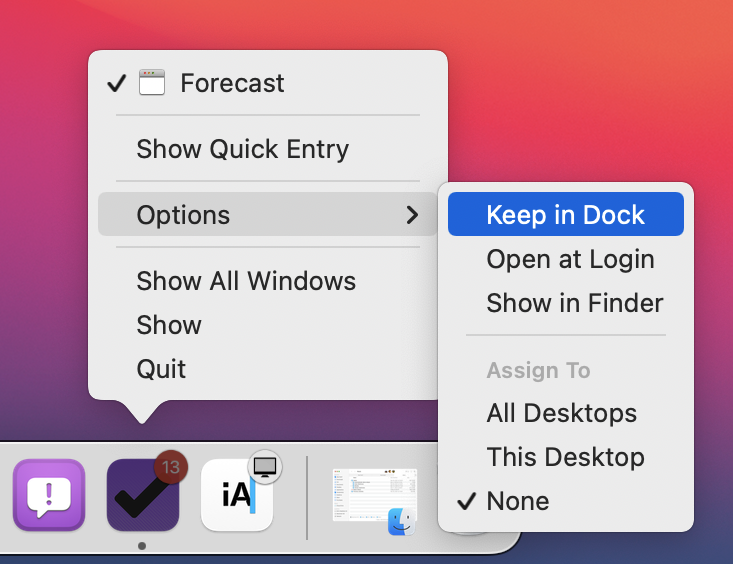
You’ll notice other settings in the menu that displays when you click and hold an app icon: you can have it launch at login, you can show it in the Finder, and, if you use Spaces, you can assign it to a specific desktop.
You can also add files and folders to the right (or bottom) section of the Dock; just drag them there, to the left of the Trash icon.
Animating the Dock
The Dock preferences have a few settings for the way things animate in the Dock, or when you minimize windows by clicking the yellow button at the top left of a window or by double-clicking a window’s title bar.
In the Dock preferences, you can choose the Genie Effect or Scale Effect for when you minimize windows. Try them both and see what you like. You can also choose to Animate opening applications, which means the Dock icons bounce when you launch apps. This is a personal choice; I’ve turned it off because I really don’t need to see that bouncing. I have found the Show indicators for open applications setting to be useful, because it adds a small black dot below or to the side of an app’s icon when it’s open.
Controlling Apps from the Dock
For some apps, you can click and hold the Dock icon to access controls. For example, with the Music app, you can choose Play, or choose the Next or Previous track, as well as change settings such as Shuffle and Repeat. With Safari you can open a new window, and with Mail you can create a new message and more.
You can also quit apps from the Dock. To do this, simply click and hold the Dock icon and choose Quit. And if you ever have an unresponsive app, press the Option key, and then click and hold its Dock icon; that menu item becomes Force Quit.
Read about other methods for force quitting apps on macOS.
If you want some more neat ways to customize the Dock, see this article, which covers a number of hidden preferences you can apply using the Terminal app.
The Dock is a powerful interface element. It lets you control and work with apps, and even store files and folders. You can drag files onto icons in the Dock to open them with specific apps, and you can quit apps from the Dock. Use these tips to get the most out of your Mac’s Dock, and you’ll be a lot more productive.

