How to Securely Erase Data from Your Mac and External Drives
Posted on
by
Jay Vrijenhoek and Kirk McElhearn
Your Mac, and any external drives you use, contain important personal data. Your Mac’s drive is full of sensitive data: all your emails, contacts, private documents, and more. If you use an external drive for, say, your music and video libraries, then this isn’t the case, but if you use an external drive for backups, there’s lots of sensitive data on it.
Whenever you dispose of a Mac or an external drive, you should securely erase it to ensure that no one can harvest data from it.
In this article, I’ll explain how to securely erase all sorts of drives: hard drives, flash drives, and SSDs.
Why is the data on your drive valuable to hackers?
Hackers are always looking for ways to get personal data to access bank accounts, to find user name / password pairs that may be reused with other accounts, and to collect data to use in identity theft.
Your browser history, auto-saved names and passwords, email contents, and sensitive documents like bank statements and tax returns are all very valuable to someone who knows how to use it against you. Also, think of photos, videos, chats and the contents of email that may include sensitive and personal content that can be used to blackmail you or destroy your reputation.
Of course, you could keep every hard drive and flash drive you’ve ever owned to reduce the chances of the above happening, but after a while this method starts taking up a lot of space. So the next best thing is to securely erase them.
How to securely erase a hard drive
Even though all new Macs these days come with SSDs or flash storage (which I’ll discuss below), there are still plenty of hard drives in use. Whether it’s a hard drive in an older Mac or an external hard drive, if it is accessible, you can use Disk Utility to securely erase it. Here’s how.
Launch Disk Utility; it’s in the Utilities folder in your Applications folder. You’ll see your Mac’s startup drive and any other drives connected to it. (For the examples in this article, I’ll be using a flash drive, but the display is the same for hard drives as well.)
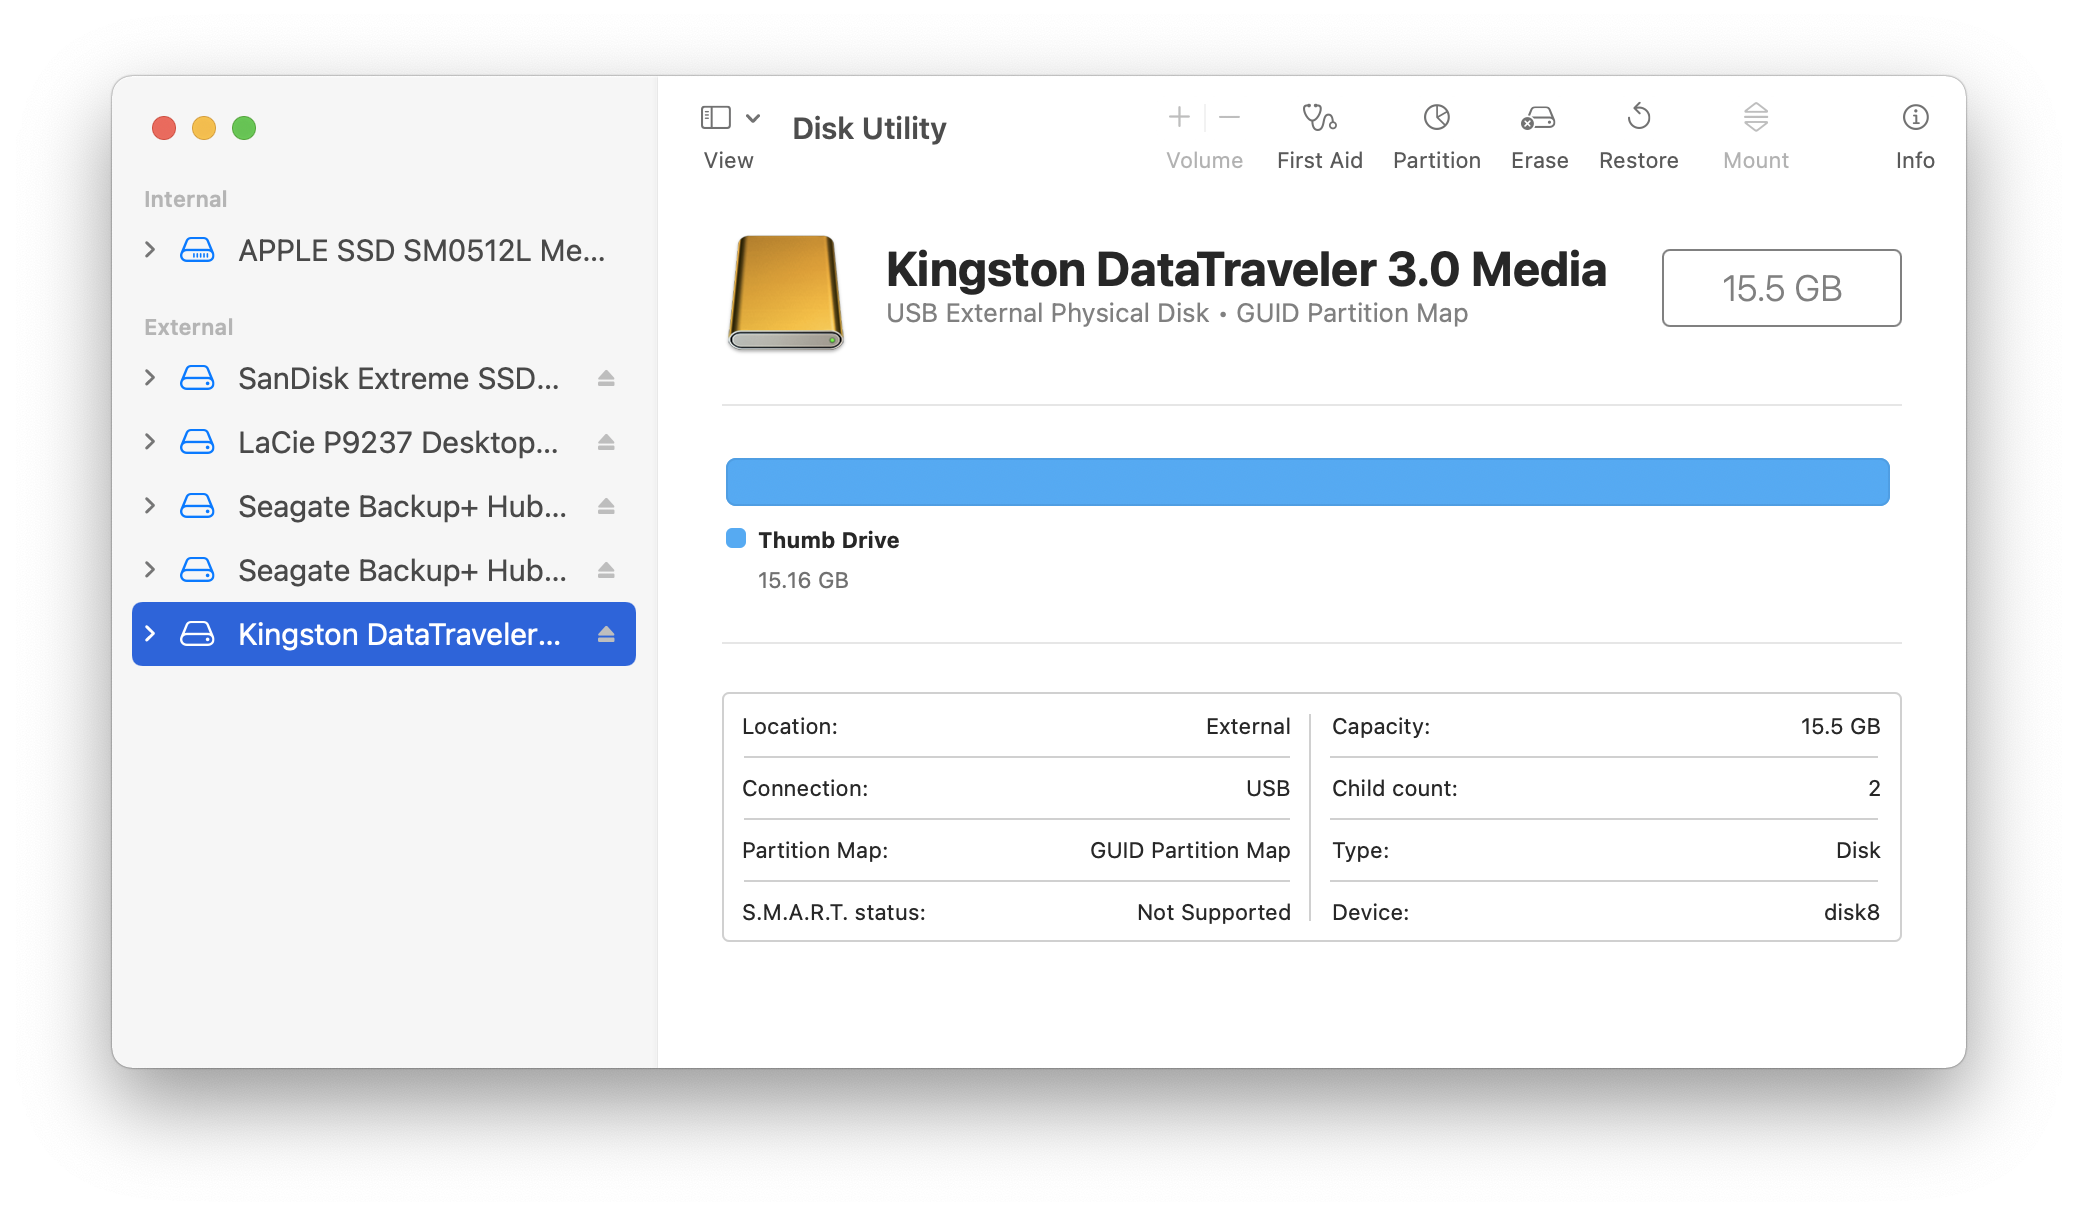
Select the hard drive you want to securely erase from the list of available drives in the sidebar. (Make sure you select the drive and not the partition.)
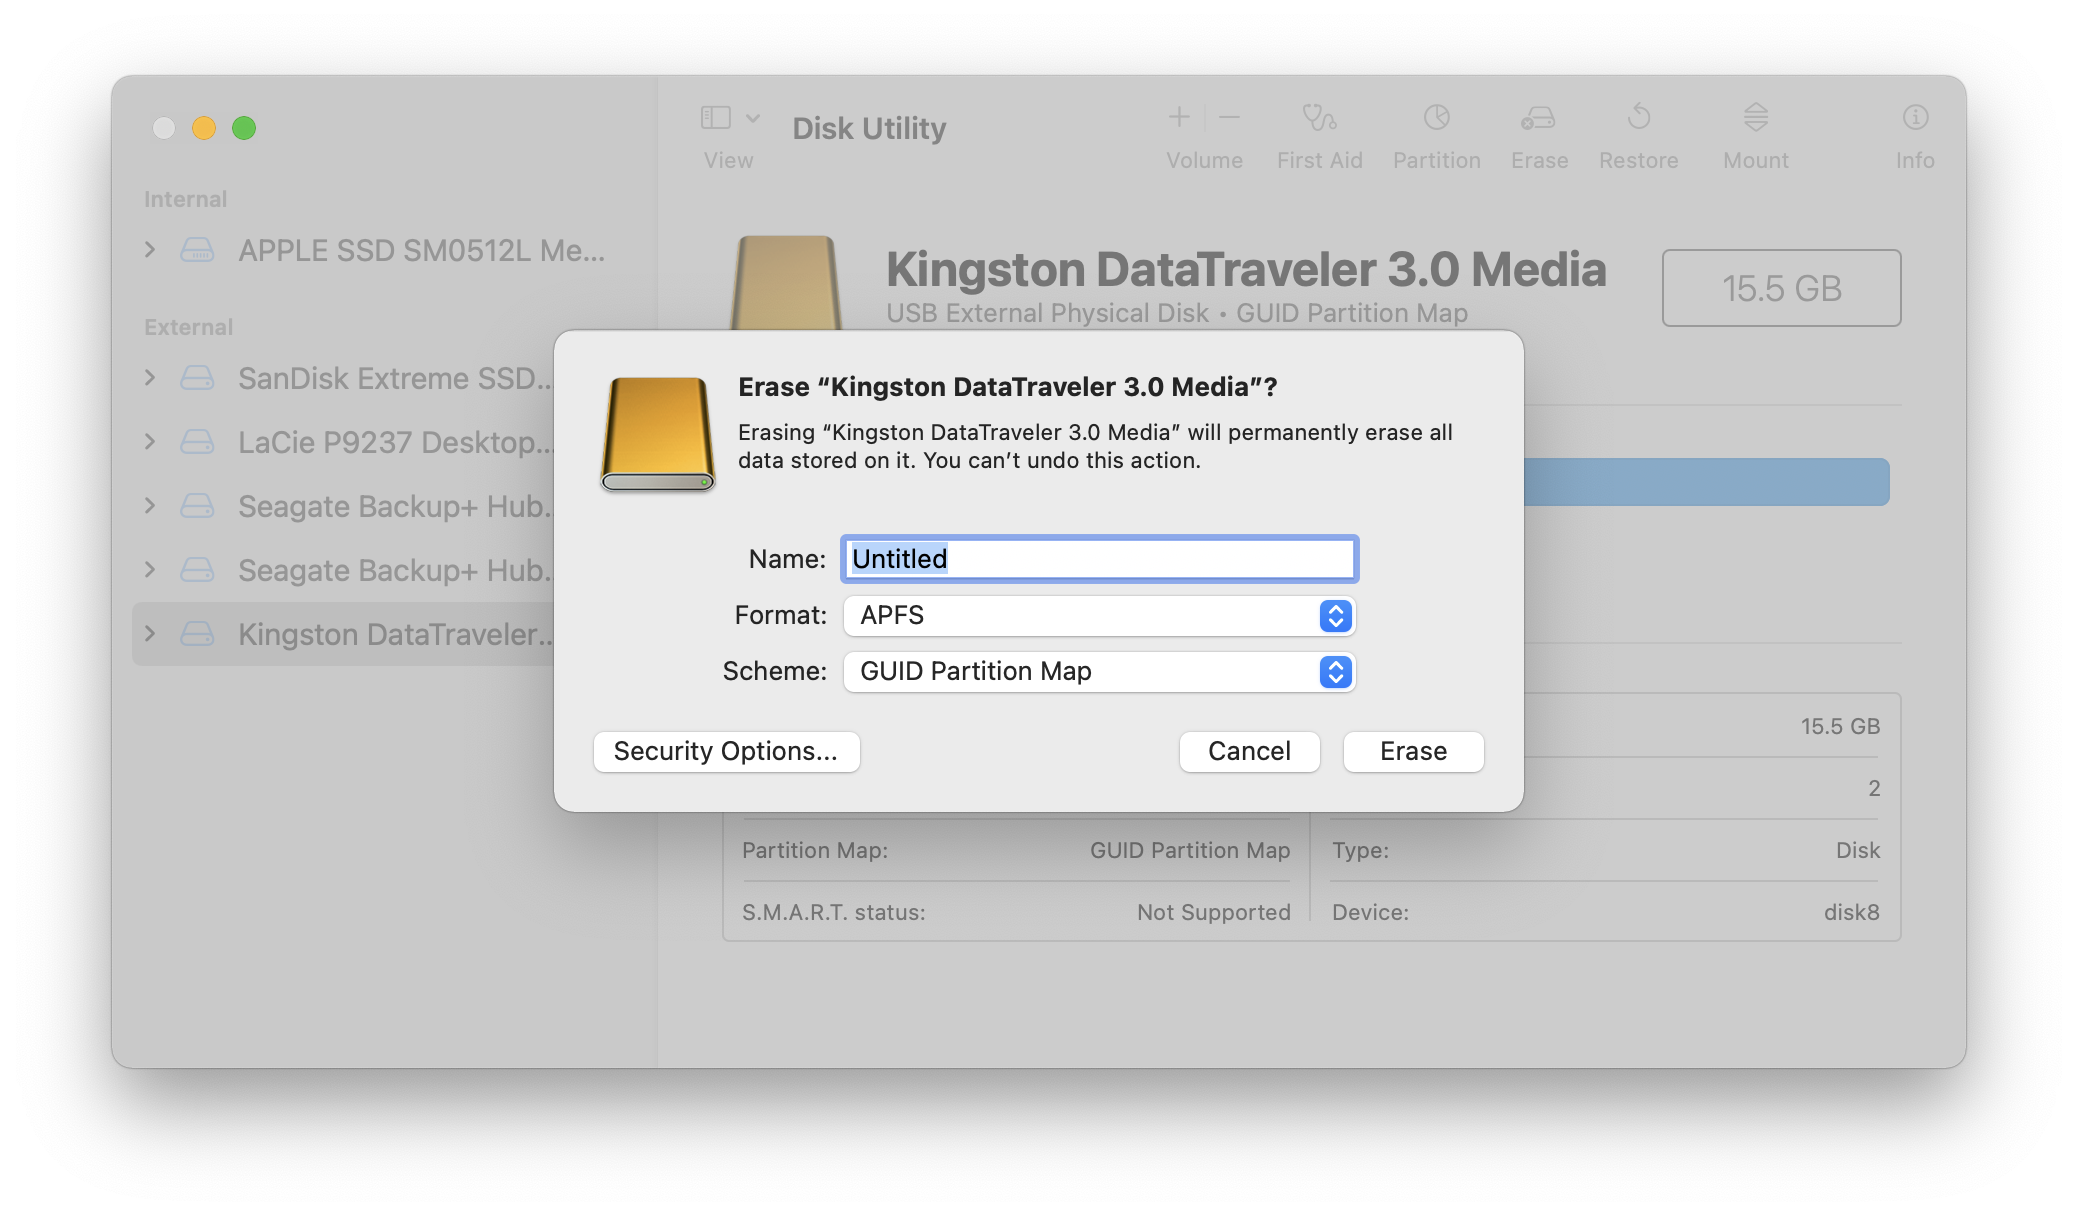
Click the Erase button in the toolbar. A dialog displays asking you what to name the drive after erasing , and how you want to format it. The default settings are good as is, but you can name it if you want to. Click Security Options at the bottom of the dialog.
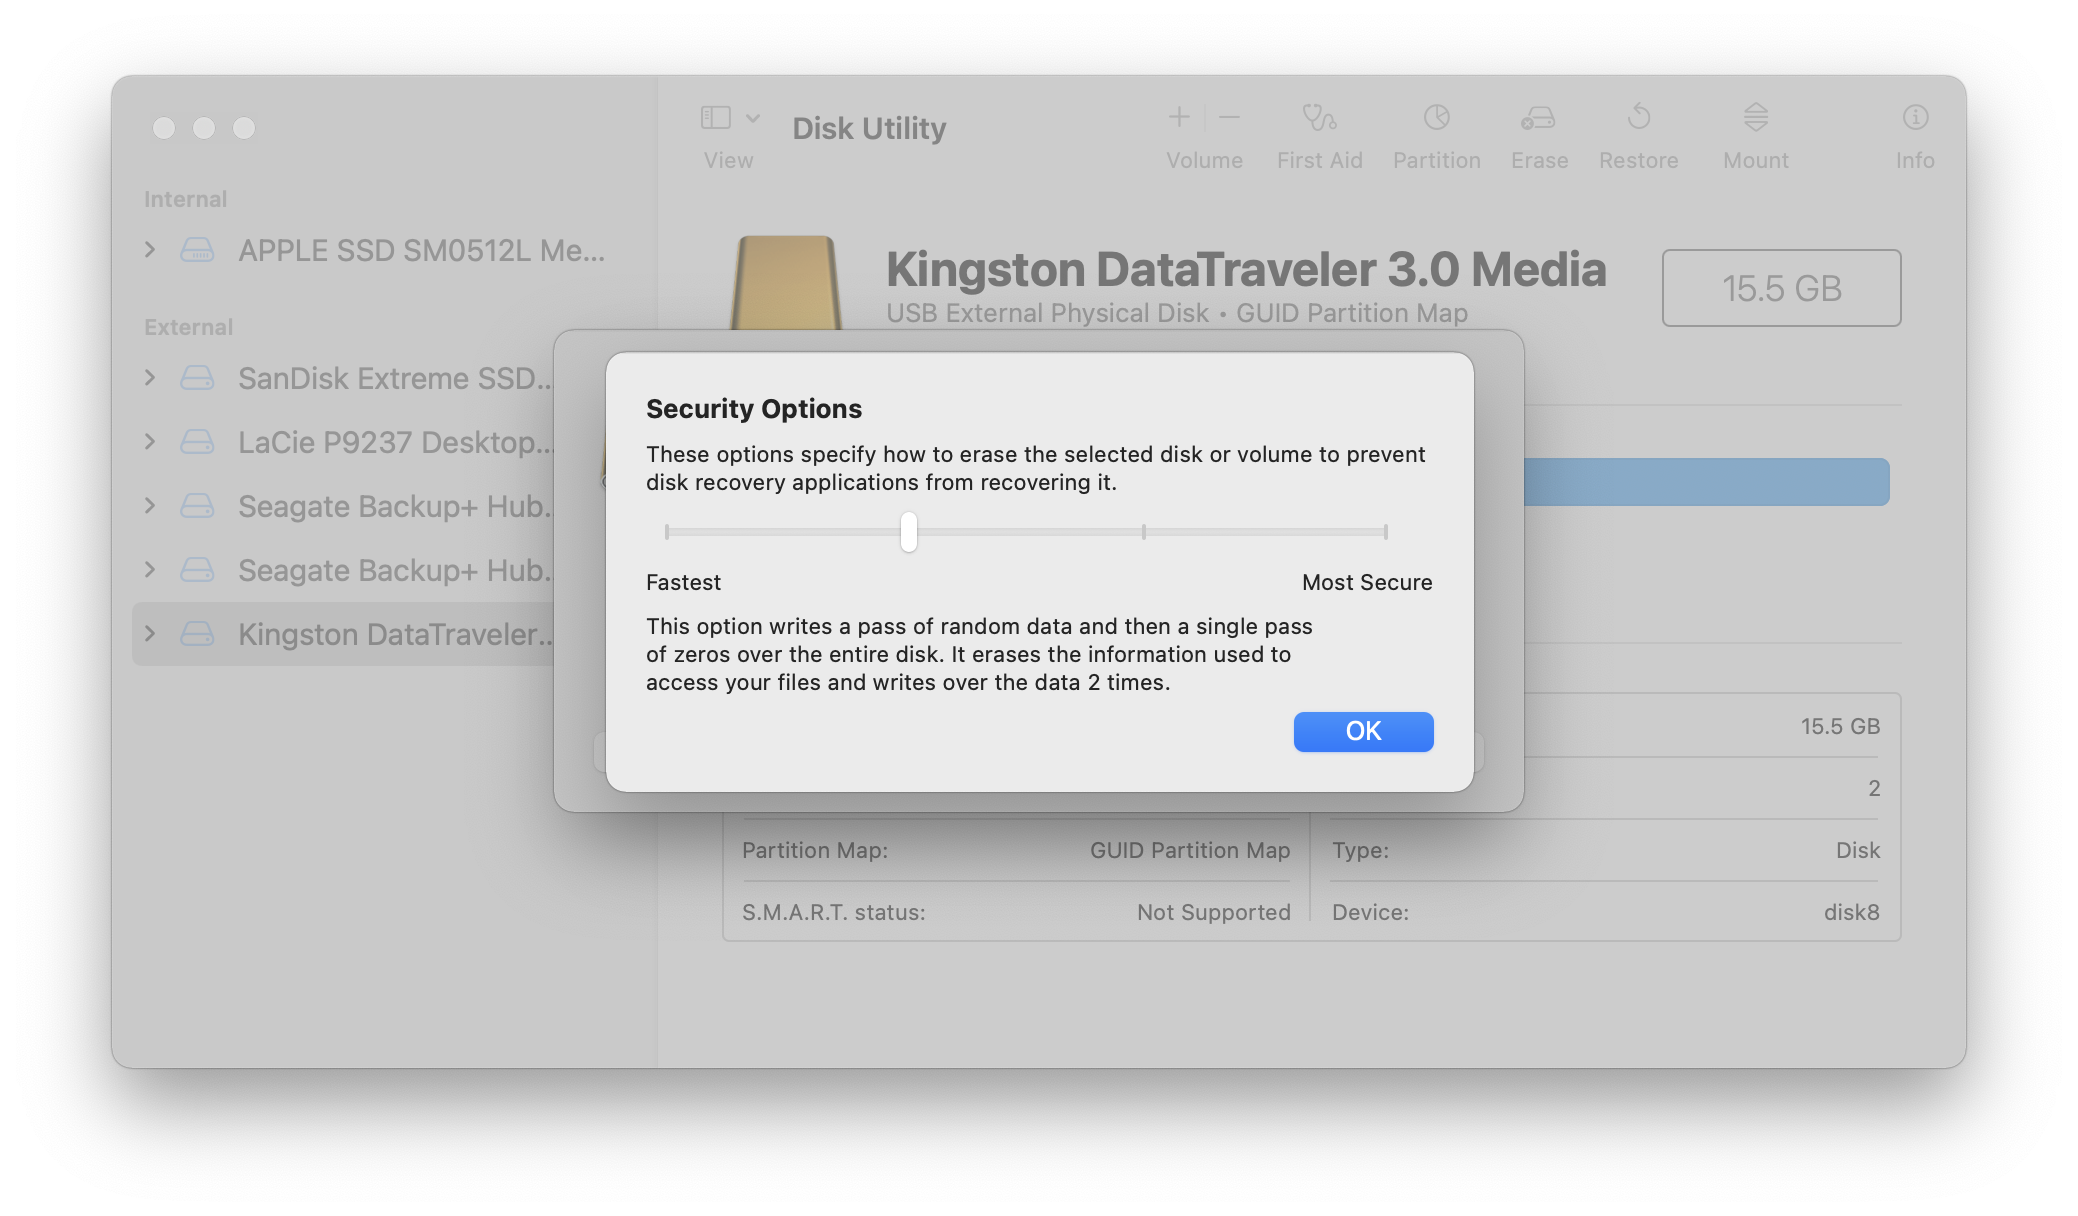
Another dialog displays where you can select how thoroughly you want to erase the drive. As the default option indicates, it is the fastest way to erase a drive, but data recovery applications may be able to recover your files. If you move the slider to the right, you’ll see other, more secure options.
- Security Option 1 (Fastest) – This option does not securely erase the files on the disk. A disk recovery application may be able to recover the files.
- Security Option 2 – This option writes a pass of random data, and then a single pass of zeros over the entire disk. It erases the information used to access your files and writes over the data 2 times.
- Security Option 3 – This option is a DOE-compliant 3-pass secure erase. It writes htwo passes of random data followed by a single pass of known data over the entire disk. It erases the information used to access your files and writes over the data 3 times.
- Security Option 4 (Most Secure) – This option writes multiple passes of zeros, ones, and random data over the entire disk. It erases the information used to access your files and writes over the data 7 times.
From the above options, Security Option 1 is, of course, the least secure. Someone could recover your data without much effort. Security Option 4 is the most secure, but it is also takes a long time, especially if you are erasing a large hard drive. You may have to comply with specific rules in your company using the most secure options, but in most cases, any of the three more secure options is probably sufficient.
This works for any hard drive, internal or external. Just be aware that if you want to properly erase your startup drive, you will have to start your Mac from an external media first. For help creating a bootable external drive, have a look at Apple’s page How to create a bootable installer for macOS. It can be practical to have a bootable external drive handy for this sort of action, or for troubleshooting.
Note that if you use FileVault to encrypt your Mac’s startup drive, then you don’t need to securely erase the drive. (See below.)
How do you securely wipe a Mac SSD?
Because Solid State Drives (SSD) and Flash Drives store data differently, a secure erase with Disk Utility is not possible. Even if it was possible (sometimes Disk Utility gives you the option when it shouldn’t), it is not recommended that you do so. Writing a pass of all zeros on an SSD may actually wear down the memory cells more and could affect reliability. While this may not be the case anymore with current SSD technologies, Apple took the option out of Disk Utility for a reason.
By using FileVault to encrypt the drive (startup drive) and Disk Utility to encrypt external drives, all the data on the drive will be garbled, unless someone has the encryption key (your password). If you want to know how to use FileVault and/or encrypt external drives, see this article. In fact, using FileVault is the best protection for any drive. You may not even need to securely erase a hard drive, if you use FileVault, though, again, company policy may require this anyway.
If you have FileVault enabled, when it comes time to part with your drive, all you have to do is a basic erase in Disk Utility. This will delete your encryption key, leaving nothing but garbled data on the drive. Without a way to decrypt the data, even if it is recovered, it will be useless.
What if the drive is not accessible?
If you are unable to mount the drive, whether it’s a hard drive or solid state drive, tools like Disk Utility won’t help you. You might think that if you can’t access it, neither will someone else. Unfortunately, this is not the case. While a dumpster diver won’t go through the trouble of repairing the drive, someone with more time and motivation certainly can. Hard drive platters can be extracted from the drive enclosure and read out using specialized equipment. If the controller is the problem, it can be replaced to make the drive functioning again.
For drives that are not accessible, you can destroy them. See our article How to securely dispose of old hard drives and SSDs to find how to take drives apart and render them useless.
If you have a number of drives, you may find it best to use a professional service that uses hard drive shredders. It’s a lot safer than destroying drives at home. Hard drive destruction services from PROSHRED is one example.
You can use FileVault and Disk Utility to encrypt your startup drive and external drives, use a 7-pass wipe in Disk Utility or hire a professional shredding service, or use a combination of these methods. Either way, with these methods you can be sure your data does not end up in the wrong hands.
How can I learn more?
 Each week on the Intego Mac Podcast, Intego’s Mac security experts discuss the latest Apple news, security and privacy stories, and offer practical advice on getting the most out of your Apple devices. Be sure to follow the podcast to make sure you don’t miss any episodes.
You can also subscribe to our e-mail newsletter and keep an eye here on Mac Security Blog for the latest Apple security and privacy news. And don’t forget to follow Intego on your favorite social media channels: Facebook, Instagram, Twitter, and YouTube.

