Apple + Recommended + Security & Privacy
iOS 10 Security and Privacy Features Explained
Posted on
by
Kirk McElhearn
It’s September, and that means it’s time for an iOS update. Apple’s new iOS 10 comes with a whole range of new features to make your iPhone and iPad more efficient, more productive, and more fun. But don’t forget about your security and privacy: your iOS device contains your entire digital life, and you need to ensure that it’s protected.
iOS 10 is compatible with the following devices:
- iPhone 5 through the new iPhone 7, including the iPhone SE.
- iPad 4th generation, iPad Air and iPad Air 2, both iPad Pro models, and the iPad mini 2, 3, and 4.
- iPod touch 6th generation.
If you’re getting ready to update, or even if you already updated, it’s a good idea to take a few minutes and have a look at the many security and privacy features iOS 10 offers. Some of these have been around for years, and some are brand new.
Use a Strong Lock
When you set up an iOS device, you’re asked to create a passcode. When you upgrade the device, however, it retains your existing passcode. The passcode is the key to your device, which protects it so others can’t view your email or photos, or access your personal information.
While you can turn the passcode off (Settings > Touch ID & Passcode; or, for devices that don’t have Touch ID, Settings > Passcode), this isn’t a good idea.
Since iOS 9, the default passcode has been six digits, instead of four previously. This six-digit passcode means there are one million possible combinations, making it hard to crack.
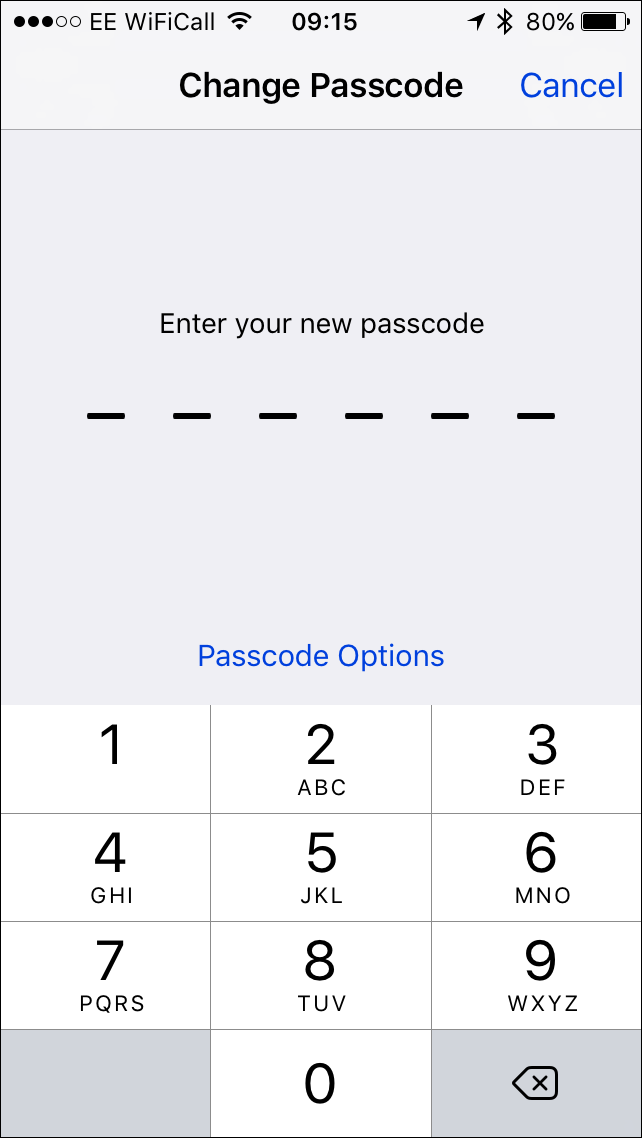
But you have other options, and they’re easy to access. Tap Change Passcode, enter your old passcode, then tap Passcode Options, as indicated on the above screen. You’ll be able to choose from three different types of passcode.
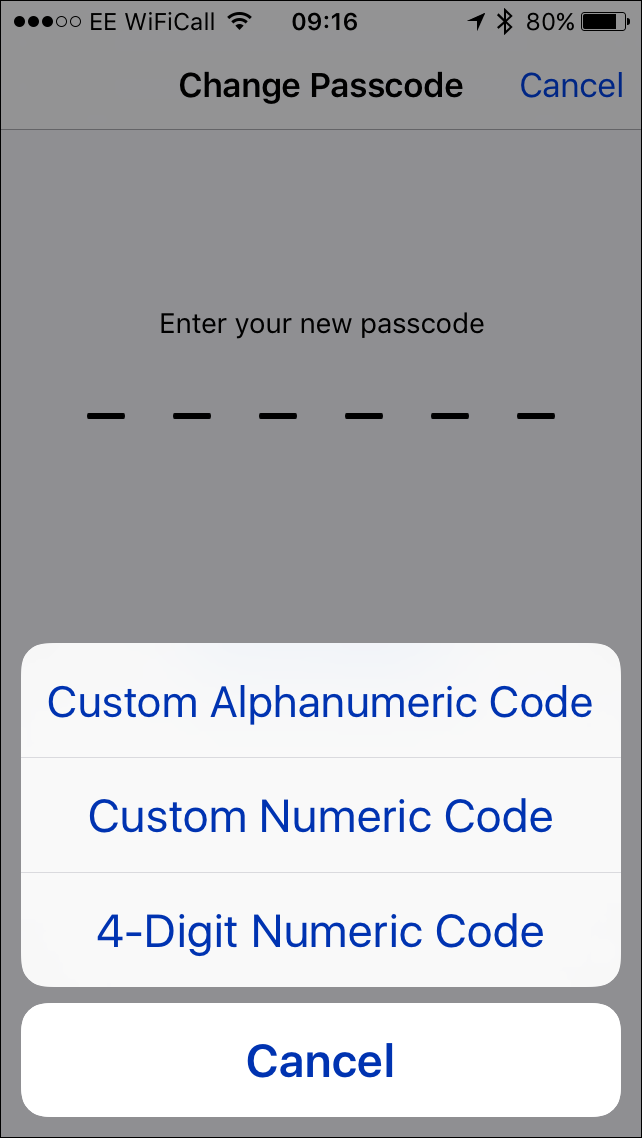
You can choose either a Custom Alphanumeric Code (any number of letters and/or digits), a Custom Numeric Code (any number of digits), or a simple 4-Digit Numeric Code, such as you used before. Tap one of these choices and follow the instructions to set up your passcode. If you’re upgrading a device, go to the Passcode settings and change your passcode to a new, longer one, for more security.
If you have an iOS device with Touch ID — the iPhone 5s or later, the iPad Air 2 or later, or the iPad mini 3 or later — then you’ll find that you rarely need to enter your passcode. In this case, it’s a good idea to use a longer passcode, since you can quickly unlock your iPhone or iPad with your thumb or finger. (Learn how to set up Touch ID.)
Lock the Door
It’s practical to pick up your iPhone or iPad and see what you’ve been working on, or quickly access an app. But if it’s unlocked, anyone can see the same things: they can even access most of your content and data by browsing the device.
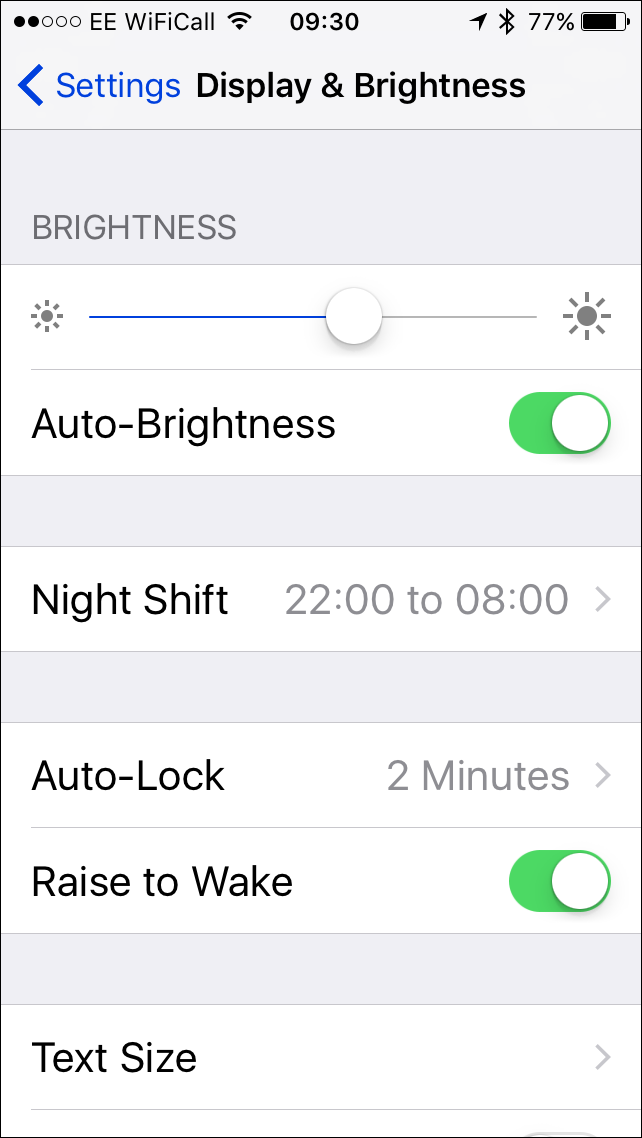
Your iOS device locks itself automatically, but you may want it to lock more quickly. Go to Settings > Display & Brightness > Auto-Lock, where you can choose a time from 30 seconds to never. If you have a device with Touch ID, you may want to lock your iPhone quickly; if not, it’s a bit of a hassle to have to type your passcode every time you want to check something on the device. Security is always a balance between restrictions and ease of use. Just remember that you can always lock a device by pressing the power button, so you may want to have a longer auto-lock time, but lock your iPhone manually when you’re finished using it.
And with an iPad, if you have Apple’s smart cover, you can set the device to lock automatically when you close the cover. This option is in Settings > Display & Brightness Lock / Unlock. If you haven’t set a passcode, then activating this option allows you to unlock the device when you open the cover, though this isn’t very secure.
Double Security
Apple has offered two-factor authentication for some time (here’s how you set it up), but with the release of iOS 9 and OS X El Capitan last year, Apple changed the way this works. Previously, you had to save a recovery key, a long string of characters that Apple suggested you print out and store in a safe place. This presented a number of problems, however, such as people not saving it, losing it, or not being in the location where it was stored when they needed to access it.
It’s a good idea to turn on two-factor authentication, especially now that the process is a bit simpler. If, however, you get locked out of your account, it can take several days for Apple to reinstate it. If this happens, go to iforgot.apple.com and follow the instructions. Apple will contact you and ask you a number of questions, so you can prove that you are, indeed, you, and have not been replaced by an alien or a cyborg.
Note that with the new Apple two-factor authentication, you should be running at least iOS 9 and OS X El Capitan on all your devices. Find out more here.
Keeping Things Private
iOS 10 offers oodles of privacy settings. Go to Settings > Privacy to change these.
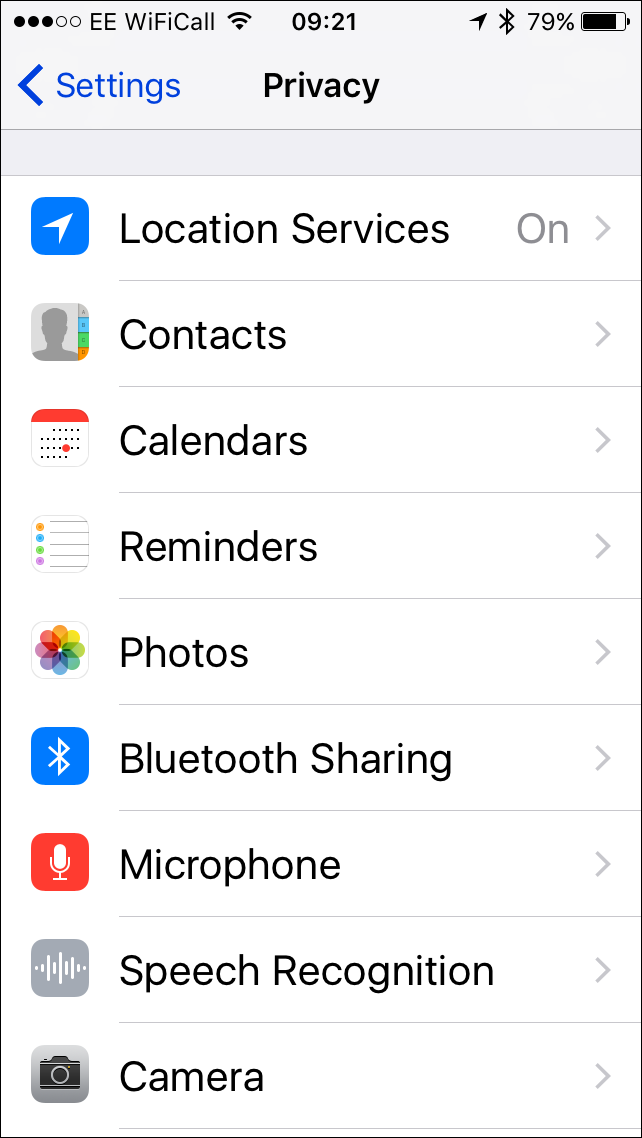
Here are some of the most useful privacy settings to check:
- Location Services let apps find out where you are, using your iOS device’s GPS, and/or wi-fi. You’ll need this for apps that tell you the weather, or Apple’s Maps or Google Maps, or any direction app, such as Waze. You may also want to turn it on for the Camera app, so you can later view where you were when you took specific photos. And you should probably leave it on for Siri & Dictation; this lets Siri give you local results when you search for hotels, restaurants, cinemas, and more. But what about apps like Facebook and your Twitter client; do you really want to broadcast where you are to strangers? You should turn Location Services off for these apps. Scroll through the list and turn off access to any app that you don’t think should know where you are.
- Contacts, Calendars, and Reminders show apps that want access to this type of information. It may be as simple as an app asking to access your contacts so you can share something, or access your own contact card to enter your address. Not many apps request access to calendars or reminders.
- Camera and Microphone are for apps that want to take pictures, such as any camera app (other than the built-in Camera app, which is automatically allowed access), or apps like Dropbox (which can sync photos), Evernote (which you can use to add photos or scans to notes), and others.
- Health provides access to fitness apps, allowing them to read from or write to HealthKit, the underlying framework that the Health app uses. If you use any of these apps, you can limit which types of data they can read or write.
- HomeKit shows which apps have requested access to Apple’s HomeKit home automation information. You may not have any such devices and apps yet, but if you do, you’ll need to grant them access to be able to control them from your iOS device.
- Media Library shows which apps have requested access to your music or video content. This is new in iOS 10, and it probably doesn’t matter to you if an app can see what music you have on your iPhone.
- Motion & Fitness settings, like the Health settings, let you choose which apps have access to your activity. Using the built-in motion co-processor on certain devices, apps can find out how many steps you’ve walked, and how intensely. Turn on Fitness Tracking to allow this, then choose which apps can access this data.
You’ll be alerted any time an app requests access to the above data, but it’s good to check these settings from time to time to see which apps are accessing your private information. You may find some that you would rather turn off.
Notifications
Notifications are great. Combined with the new Raise to Wake setting which wakes your device as soon as you pick it up (you can activate this in Settings > Display & Brightness), you can get an update about what’s important with a quick glance at your iPhone.
But so can anyone else. You may not want strangers to be able to pick up your iPhone when you’ve left it at your desk and read your text messages, and previews of your emails. For Messages, go to Settings > Notifications > Messages, scroll down, and toggle off Show Previews. You’ll still see who sent you a message, but the text won’t display on the lock screen. Do the same for Mail; you’ll need to change this setting for each account, if you use more than one.
And More…
There are more new security features under the hood in iOS 10. Differential privacy is hard to explain, but is a pretty big deal. Apple is soon to require all apps to use encrypted HTTPS connections when they send or receive data, to ensure that none of your personal data can be caught in transit. And much more.
Have something to say about this story? Share your comments below!

