How to Configure and Use Control Center in macOS Ventura
Posted on
by
Kirk McElhearn
macOS has long had provided quick access to certain system settings in the menu bar, but when you have lots of these menu extras, your menu bar can get cluttered. Control Center in macOS Ventura gives you quick access to a panel containing buttons and sliders that you can use to adjust and toggle certain system settings. Here’s how to set up and use Control Center in macOS Ventura.
Make the menu bar easier to use
The right side of the menu bar displays menu extras, icons that are part of macOS or that are installed by third-party apps. These icons are useful, because they allow you to quickly view the status of certain services, access certain features, or adjust settings. There’s a volume menu extra, there’s one for wi-fi, and there’s one showing the time. I have third-party apps that install menu extras that display information (such as iStat Menus), or give me access to certain apps, such as Dropbox or 1Password.
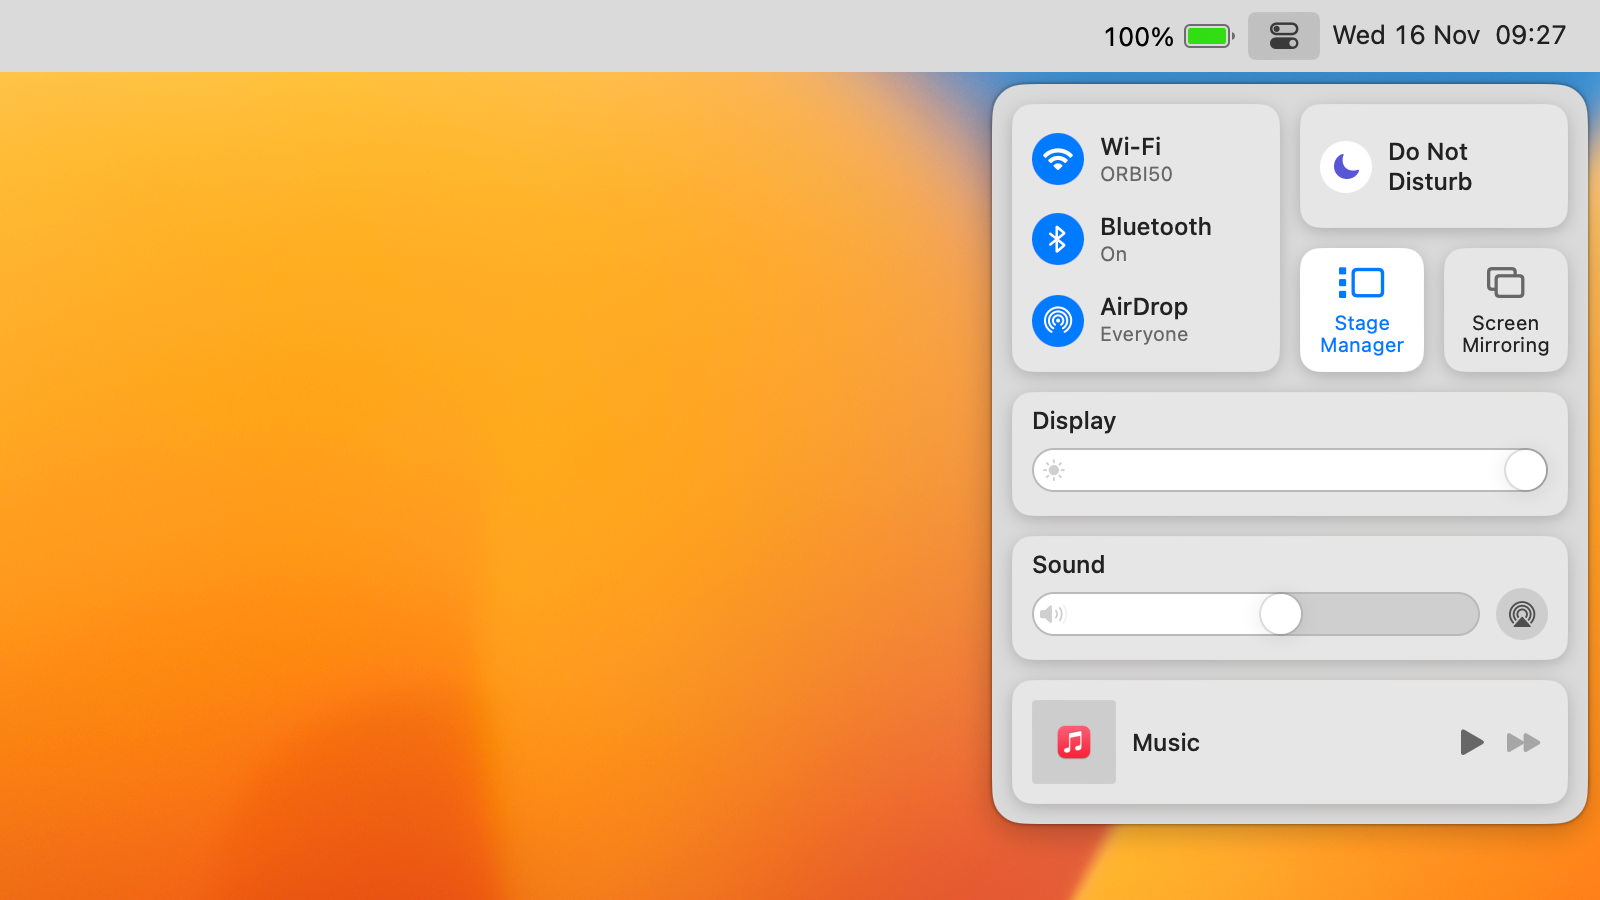
Control Center, which can hold many buttons and sliders, simplifies this. Instead of having all the controls you access in the menu bar, many of them are available in the Control Center panel. To display it, click the Control Center icon. Control Center displays with its palette of sliders and buttons:
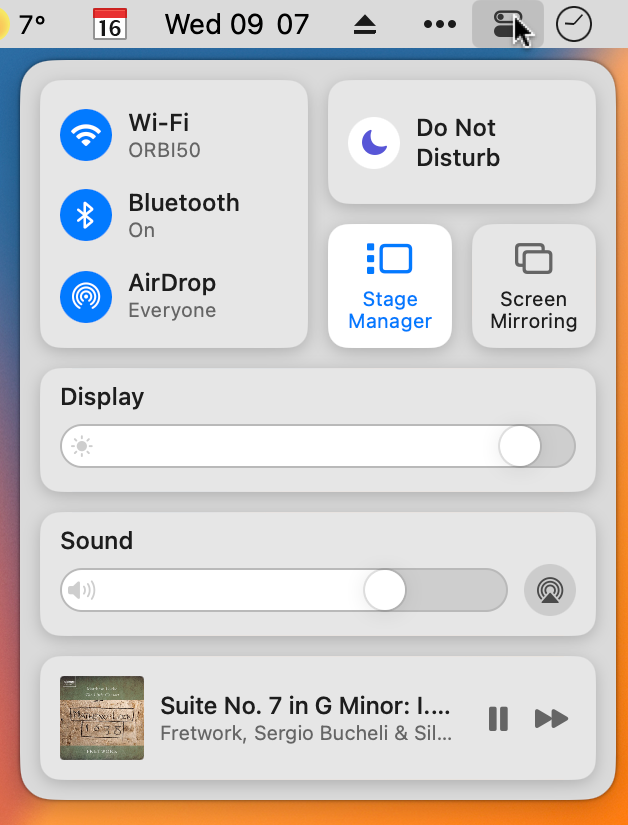
By default, Control Center contains controls for some of the basic features on your Mac. For example, if you click the blue circular icons, you can toggle Wi-Fi, Bluetooth, and AirDrop, and if you click elsewhere in each of those sections – such on their names – you open more controls for each of these services. For example, click Wi-Fi to see options for different Wi-Fi networks:
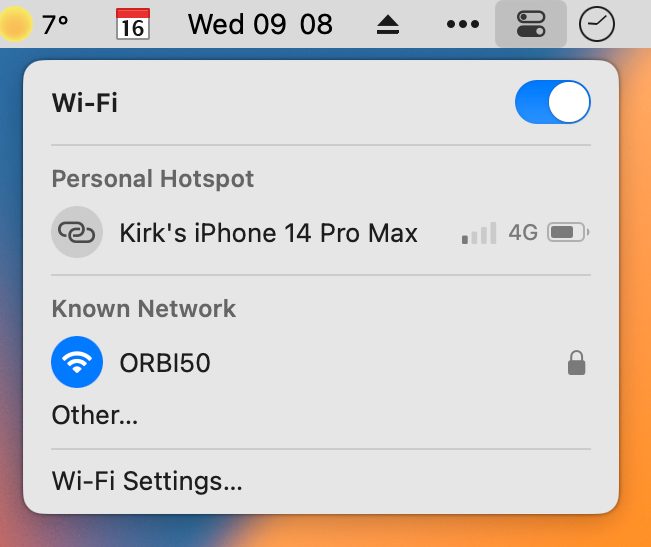
You can also see, at the bottom of the palette above, that you can quickly open the Wi-Fi Settings pane. Each of these feature-specific palettes contains a link at the bottom so you can access all their settings.
To return to the main Control Center palette again, click the Control Center icon in the menu bar; to dismiss the palette, click anywhere else.
Customize Control Center
Now that you know what Control Center can do, it’s time to make it work the way you want. Go to the Control Center pane of Settings, where you can customize what displays in the Control Center palette.
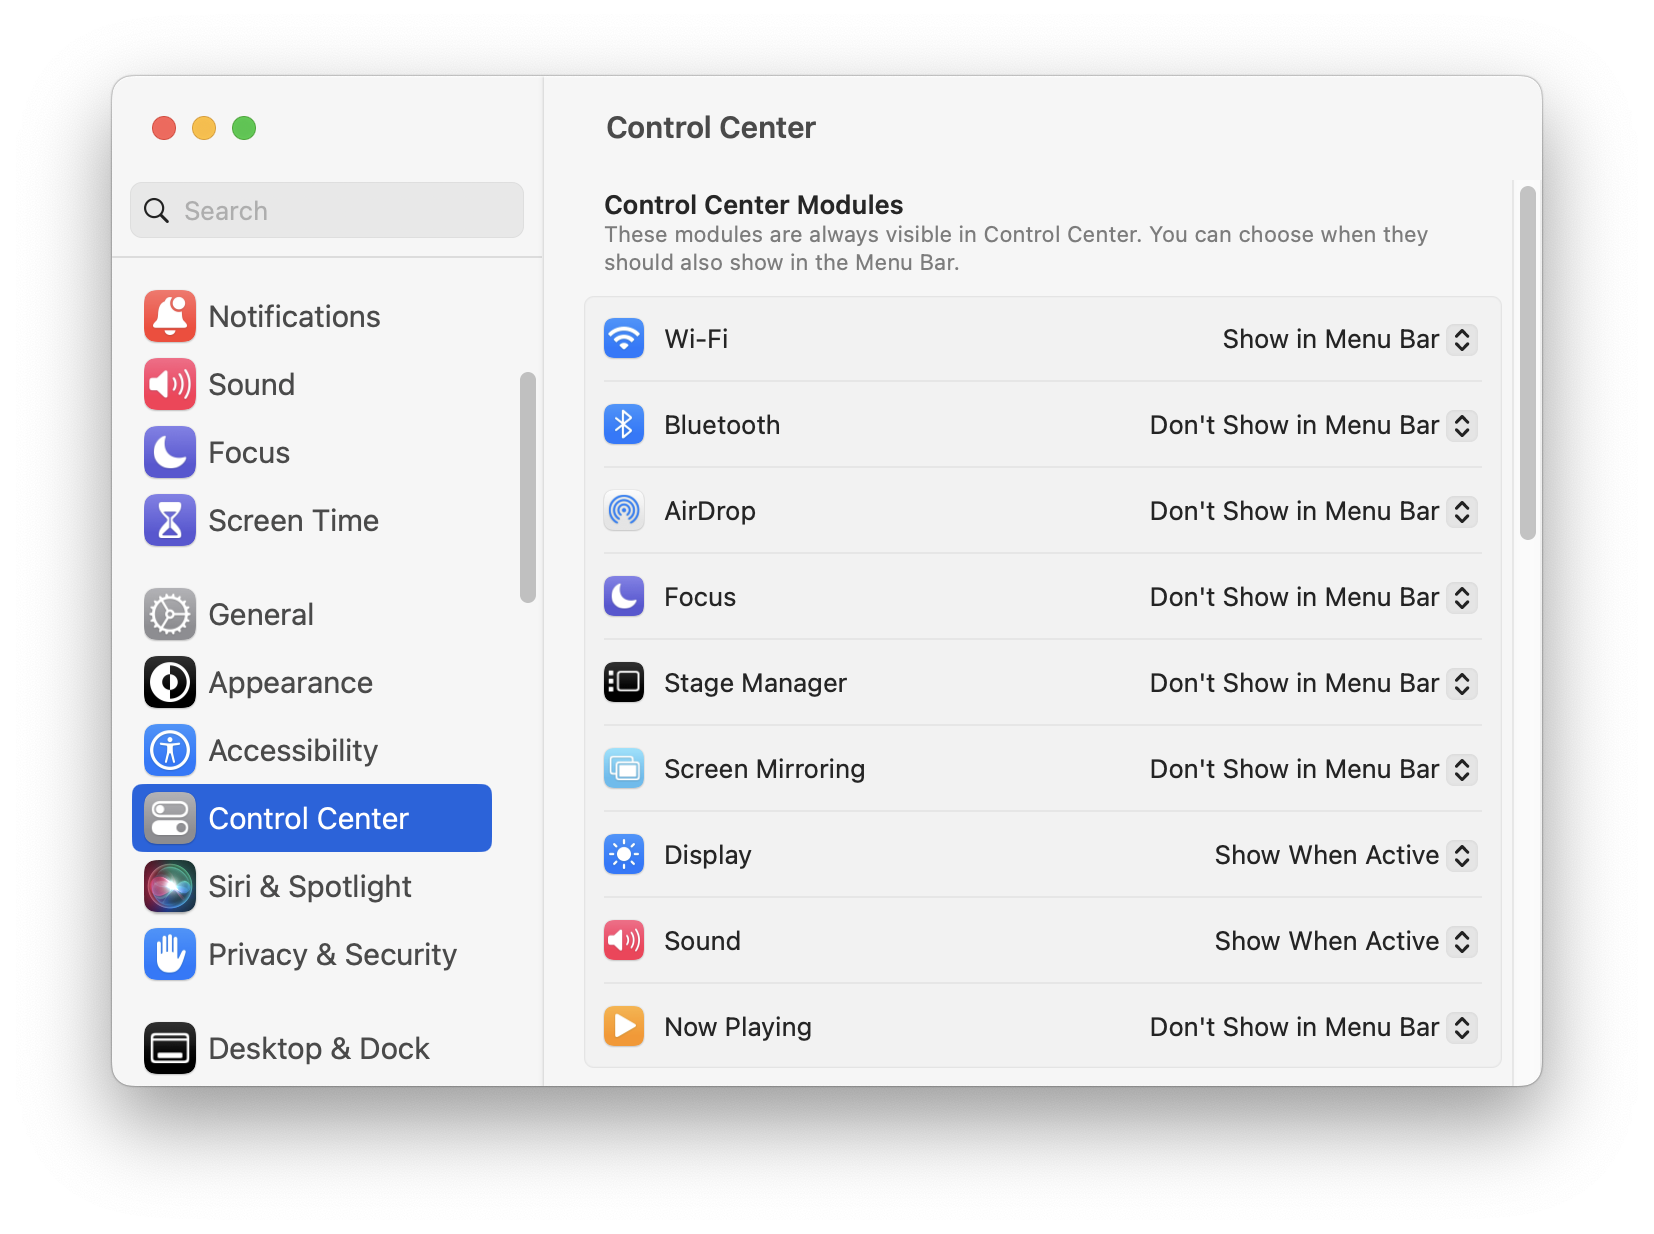
In the top section of this Settings pane, there are nine modules that work with Control Center. If you scroll down, you’ll see other modules for accessibility features, and, at the bottom of the list, you can also choose whether you want Clock, Spotlight, Siri, and Time Machine to display in the menu bar. in addition, you can adjust the way the clock displays.
The nine top modules in the list are always visible in Control Center, but you can choose whether you want to display them in the menu bar or not. For some of these, you can set them to only display in the menu bar when active. So, for Focus, you can have a menu icon remind you when it’s blocking notifications, and for Screen Mirroring, you can have an icon to indicate that you’re using this feature.
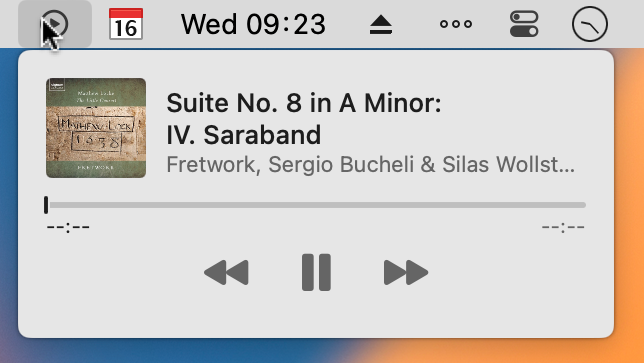
Sound and Now Playing can also display in the menu bar when active, if you’re listening to music or watching a video. You can use it to control, say, the Music app while you’re listening to music.
Note that there are still other options for accessing features like volume and display brightness; these are in the F keys on your keyboard, or on the Touch Bar on a MacBook Pro which has this element. If you control them in this way, then there’s no need to display them in the menu bar.
There are several “other modules” that you can choose to display in the menu bar, in Control Center, or both. The modules available depend on which type of Mac you’re using. If you use Accessibility Shortcuts to toggle VoiceOver, zoom features, or other accessibility features, you can put this in the menu bar. If you use a laptop, you probably want the battery icon in the menu bar, so you can see at a glance how much power you have left, but if you want less clutter at the top of the window, you can choose to only display it in Control Center, or turn it off entirely. You can also choose whether to display your battery’s current charge percentage. And if you use Fast User Switching to switch accounts, you’ll find it useful to have this in the menu bar; if you never use this feature, then you won’t need to display it in either location.
While Control Center helps you wrangle system menu extras, it still doesn’t help if you have lots of third-party icons in your menubar. But at least you can now remove a lot of the controls that you don’t need to access often but still have a way to get to them quickly.
How can I learn more?
Did you know iOS and iPadOS have Control Center, too? Check out our companion piece, 10 Top Tips for Control Center on iPhone and iPad.
 Each week on the Intego Mac Podcast, Intego’s Mac security experts discuss the latest Apple news, security and privacy stories, and offer practical advice on getting the most out of your Apple devices. Be sure to follow the podcast to make sure you don’t miss any episodes.
You can also subscribe to our e-mail newsletter and keep an eye here on The Mac Security Blog for the latest Apple security and privacy news. And don’t forget to follow Intego on your favorite social media channels: ![]()
![]()
![]()
![]()
![]()
![]()
![]()

