How to Back Up Your Mac to a NAS
Posted on
by
Kirk McElhearn
We all know how important it is to back up your Mac. It’s easy to connect an external hard drive to your Mac to back it up, but if you use a laptop, you might forget to do this regularly. You can use an online backup service if you have the bandwidth, but a practical way to back up your Mac locally is to use a NAS: a network-attached storage device. Here’s why it can be convenient and practical to use a NAS for backups, and as a personal cloud.
What’s a NAS?
A network-attached storage device is a computer with one or more drives designed to store files. It can be as small as a single hard drive in an enclosure, or it can be a rack-mounted device with a couple dozen drives or more. What sets a NAS apart from a small computer such as a Mac mini is the fact that it doesn’t need a display; in fact, NAS devices don’t have video cards, so you can’t connect a display to it.
To set up and manage a NAS, you connect to it over a network. Your NAS could connect to your Mac via an Ethernet cable, and could be in the same room as your computer; or it could be in any location as long as it can access your network. Some NAS devices have wifi, and some allow the use of wifi if you connect a dongle to a USB port on the device. You could put a NAS in an out-of-the-way location such as a closet, for example, as long as it can connect to your local network.
It’s useful to think of a NAS as a hard drive with an operating system, which allows you to create user accounts copy and manage files, and more. It uses little power, and is always on, so you can access it at any time.
Many NAS devices are used to stream video, with software such as Plex, and have processors that can convert video on the fly. Others can be used as media repositories, with the ability to stream music and photos; for example, you could store your iTunes or Music app library on a NAS. And some are just used for file sharing and storage.
Setting up a NAS for backups
While you can use a NAS for many tasks, I’m just going to talk here about backups. If you buy a NAS that holds two or more drives (for the most part, NAS devices use hard drives, but you can use SSDs as well, though they are much more expensive), you can set it up in a RAID configuration. This allows extra data protection, and for backups, it’s a good idea to consider using a NAS with RAID. See this article to understand the different types of RAID.
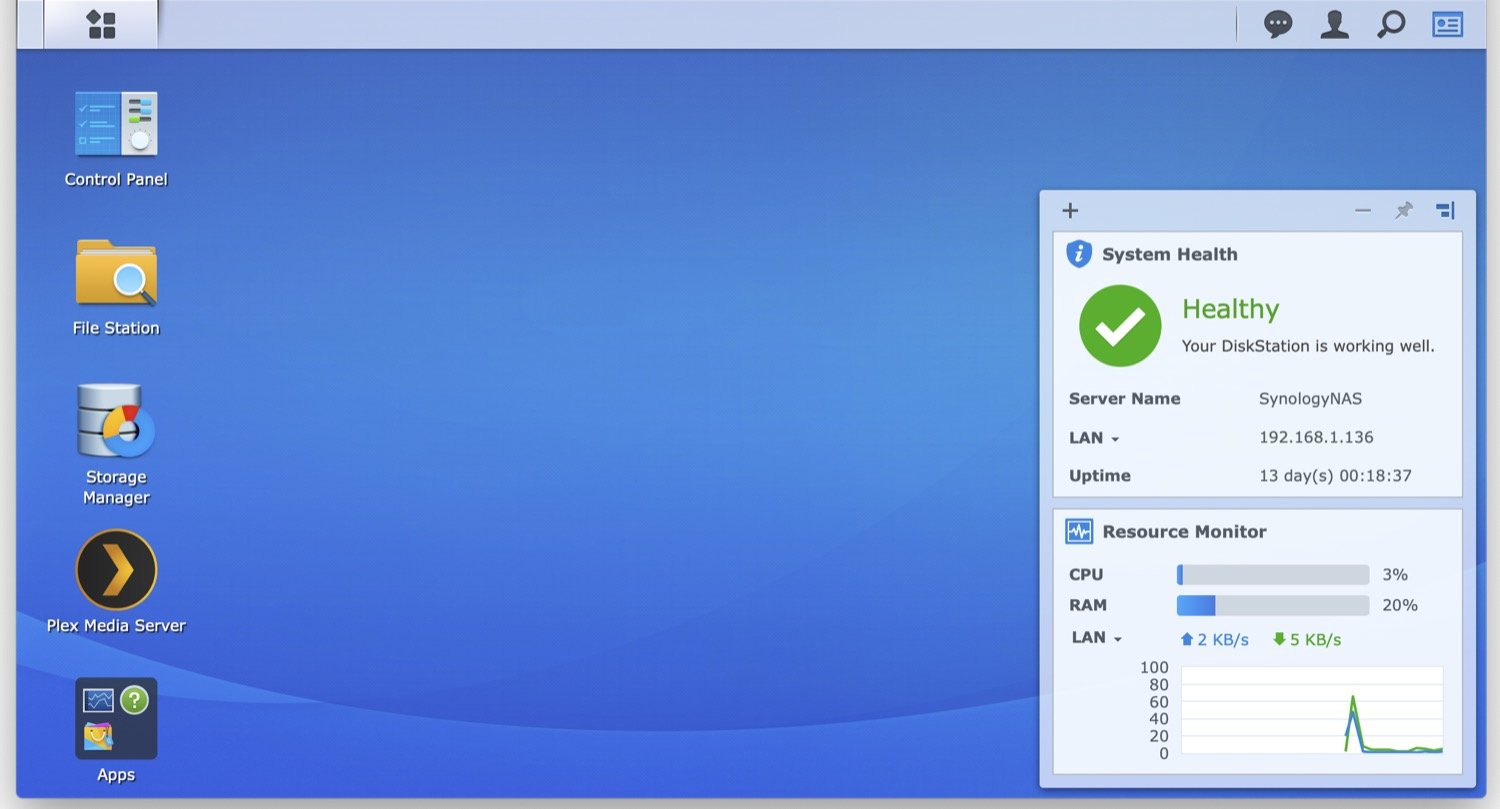
NAS devices today are relatively user friendly. They either offer their own apps for configuration or you set them up in a web browser. I have a Synology NAS, and here’s what I see in my browser:
When you set up your NAS, you create a user account, just like on your Mac. To set it up for backups, you should encrypt that folder, to make sure your backups are protected. This process is different on different devices, but there’s a gotcha on Synology’s operating system: filenames have a maximum of 143 characters in encrypted folders, compared to 255 characters in normal folders.
Your Mac can use two networking protocols: SMB and AFP. AFP, or Apple Filing Protocol, has been deprecated, meaning that it still works, but that Apple doesn’t recommend using it. I’d recommend turning off AFP on your NAS, if it supports this protocol, and using only SMB; it’s more reliable.
Mounting your NAS
To access your NAS, you mount its volume in the Finder. Choose Go > Connect to Server, then click Browse to find your NAS. Or click Network in the Finder sidebar. Double-click the NAS, then enter your user name and password. You’ll see any folders that you have set up, and that are accessible to your user account, along with folders the NAS’s software created. Double-click a folder to mount it and access its files.
Preparing your backup
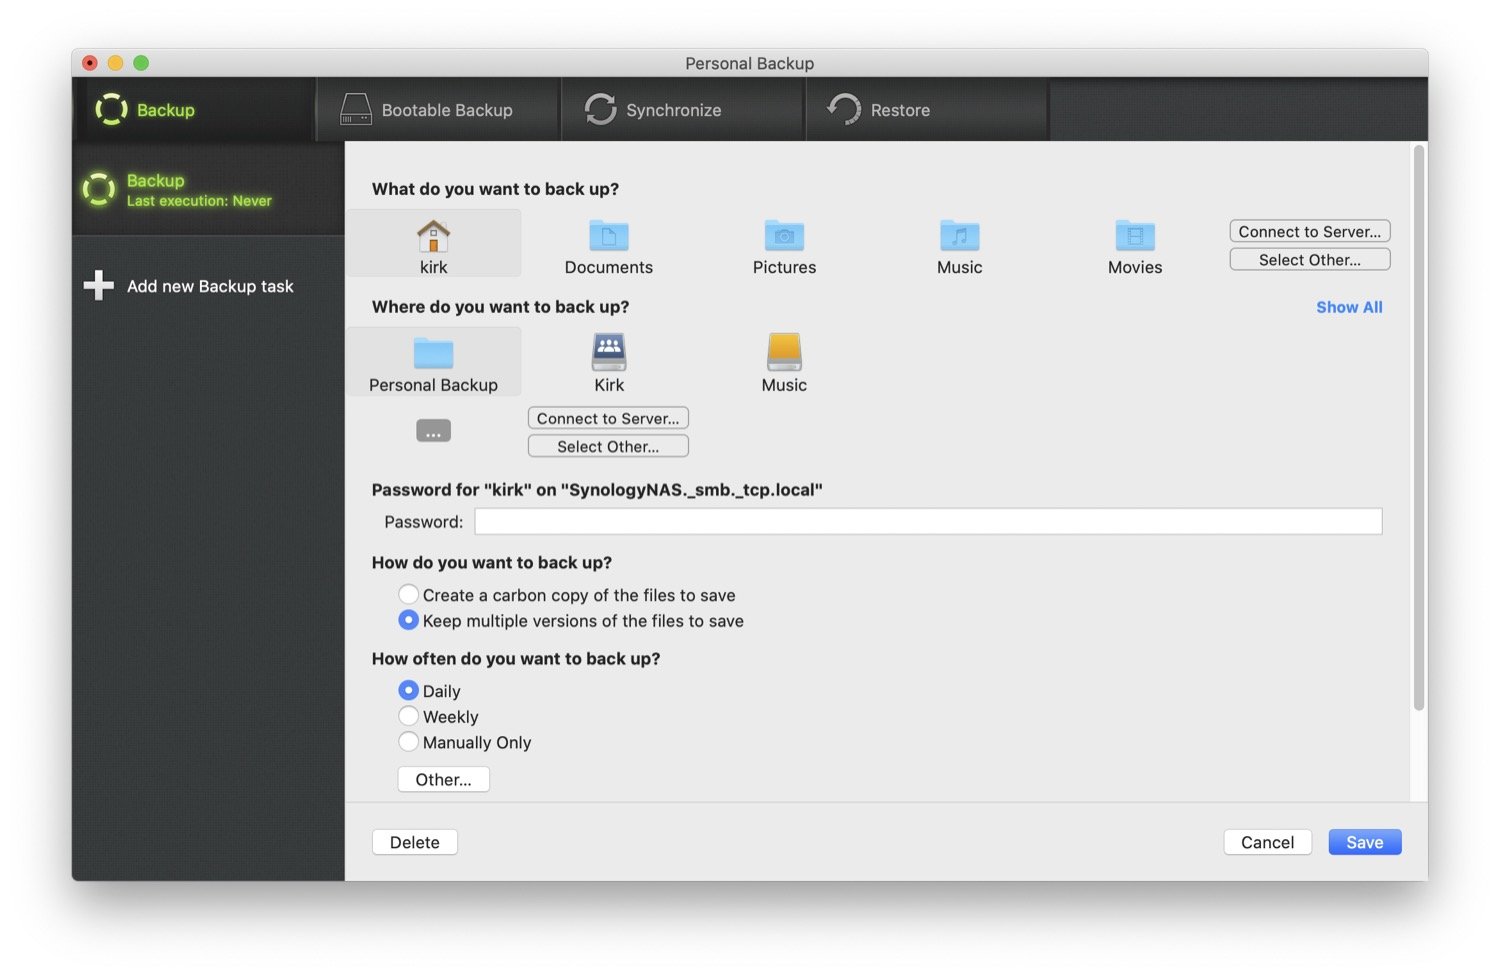
When you have mounted a folder on your NAS, the Finder treats it like any other folder. So you can select that folder as a target for backups. For example, if you use Intego Personal Backup, which is part of Intego Mac Premium Bundle X9, select the folder you’ve set up on the NAS for backups, and Personal Backup will automatically back up your files at the frequency you choose to the NAS. If the folder on the NAS isn’t mounted, Personal Backup will mount it and run the backup.
As with all backups, your first backup will take some time, depending on what you’re backing up, and subsequent backups will only write files that are new or have been changed, so if you are backing up a lot of files, it’s best to run this first backup overnight.
Using a NAS with Time Machine
Apple’s Time Machine, built into macOS, is another useful backup tool, and many NAS devices can use Time Machine. The advantage of using Time Machine is that it can automatically back up your Mac every hour, but if the backup target is not available, your Mac stores snapshots of all your files each hour (if you have enough free space on your computer). When you then have network access, Time Machine backs up all those versions to its target.
The disadvantage of using Time Machine on a network device – whether it’s a NAS or a hard drive connected to another computer on your network – is that the software creates a disk image, rather than copying the individual files directly. This disk image is practical, because it creates a self-contained volume for the backups, but it is not uncommon to find that networked Time Machine disk images become corrupted, and need to be replaced. The main advantage of Time Machine backups is that you can keep them for a long time, if you have a large enough drive – I have Time Machine backups of my main Mac going back to 2017 – but you lose old backups if your disk image becomes corrupted.
Access files remotely
You can also use your NAS to access your files remotely. If you back up your Mac to a NAS, you can then connect to the NAS from anywhere and copy files. Different companies use different methods for this – either via apps or web browsers – and you can use your NAS the same way you would use a cloud storage service, such as iCloud Drive, Dropbox, OneDrive, or Google Drive. You’ll be able to store more files on the NAS, if you choose large drives, and they won’t be stored on someone else’s computer.
However, your NAS has to always be on, and your home or office, where the NAS is located, has to have internet access; if you lose power, or if your internet access goes down, you will no longer be able to access files on the device.
A NAS is a great adjunct to a home or small office computer system. It’s a great way to ensure that your Macs are backed up, it can serve media files to your home devices, and you can use it as cloud storage when you’re away. You might find that a NAS is the computer that you didn’t realize you need.
How can I learn more?
 Each week on the Intego Mac Podcast, Intego’s Mac security experts discuss the latest Apple news, security and privacy stories, and offer practical advice on getting the most out of your Apple devices. Be sure to follow the podcast to make sure you don’t miss any episodes.
You can also subscribe to our e-mail newsletter and keep an eye here on Mac Security Blog for the latest Apple security and privacy news. And don’t forget to follow Intego on your favorite social media channels: Facebook, Instagram, Twitter, and YouTube.

