How to Encrypt Disk Images with Disk Utility to Protect Sensitive Files
Posted on
by
Kirk McElhearn
If you want to protect files on your Mac, on an external drive, or even in the cloud, it’s a good idea to encrypt them. You don’t need any special software to do this; your Mac already contains the app you need. Apple’s Disk Utility lets you create an encrypted disk image that you can use to store sensitive files that no one, not even the NSA, can get at.
We recently discussed how to use Disk Utility to manage disks and volumes. One of this app’s powerful features is the ability to make disk images, with or without encryption. To do this, start by opening Disk Utility — you’ll find this app in the Utilities folder in your Applications folder (go to Finder > Applications > Utilities).
You have two options for creating encrypted disk images: you can either create a new, empty disk image, or you can have Disk Utility make a disk image of a folder, such as one containing files that you want to archive. In this article, you will learn both ways how to encrypt disk images to protect files with Disk Utility.
How to create a new encrypted disk image
Let’s start by creating a new blank disk image. Choose File > New Image > Blank Image, or press Command-N. As you can see in the screenshot below, you have a number of options for creating your disk image.
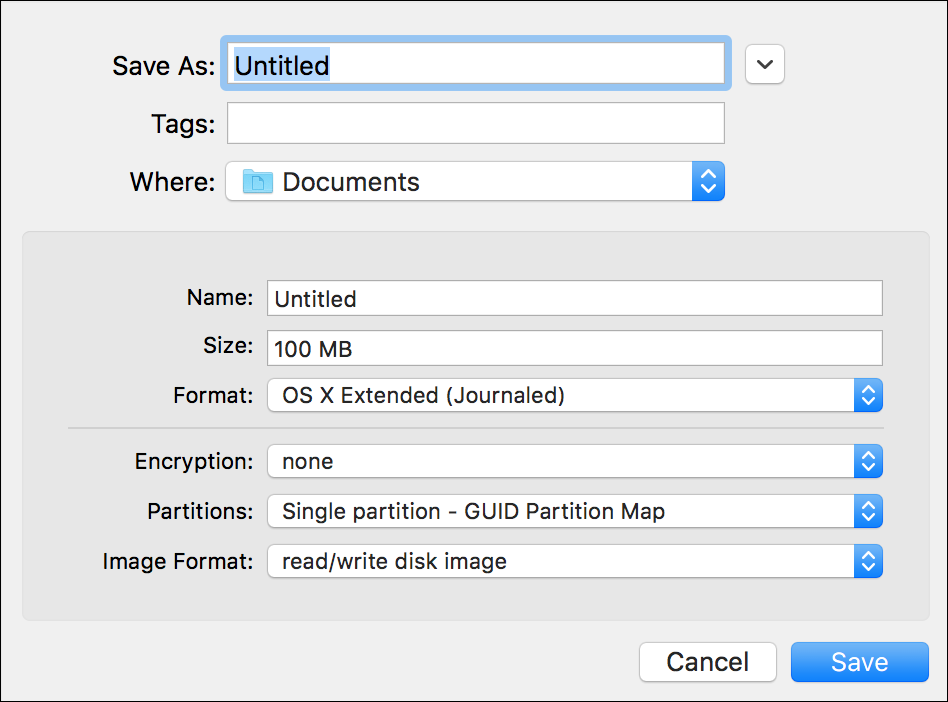
Start by choosing a name and the location where you want to save the disk image. You name the disk image twice: once for the file name, at the top of the dialogue, and once for the name of the volume, which mounts in the Finder. That’s the second Name field, lower down in the dialogue.
Choose a size for your disk image. By default, Disk Utility sets the disk image to be 100 MB. Depending on how many files you want to store, you may want to make this a bit smaller or much larger. (Note that you can choose from a number of image formats that make your disk image more flexible.) Click the Image Format menu and you can choose a sparse or sparse bundle disk image. These two formats are quite similar, but for our purposes we will choose a sparse disk image. With a sparse image, you can add more files to the disk image, and it will resize itself. This is the best choice if you plan to alter the contents of the disk image. If not, just choose read/write disk image.
Next, click the Encryption menu and choose either 128-bit or 256-bit encryption. The latter is twice as strong, but may require a bit more processing power. Given the speed of today’s Macs, you are better off choosing 256-bit encryption. Disk Utility will ask you to enter a password. Make sure you remember this password; you will be able to add it to your keychain later.
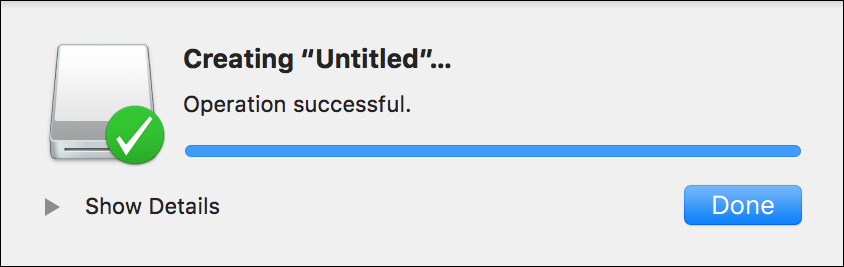
Click Save, and Disk Utility writes the disk image to the selected location. If you have created a very large disk image, this may take several minutes. When this operation is completed, Disk Utility will alert you.
Now, go to the Finder, and double-click your disk image. The file looks like this and has the extension .dmg:
![]()
The Finder asks you to enter the password that you entered when creating the disk image. If you wish, you can check “Remember Password” in My Keychain, so you don’t have to re-enter the password each time you mount the disk image.
The disk image mounts on the Desktop, or in the Finder sidebar, like any other disk or volume. When you drag files into the disk image, they get encrypted. When you eject the disk image, no one can access these files without your password.
How to create a disk image from an existing folder
As mentioned earlier, you have two options for creating encrypted disk images. The second is to take an existing folder and convert it into a disk image. To do this, put the files you want to protect in a folder somewhere in the Finder; then, in Disk Utility, choose File > New Image > Image from Folder. Disk Utility asks you to select the folder, and then you go through the same process described above, choosing a name, size, format, and so forth.
There are fewer options available when you create a disk image from a folder. You get the same encryption options, but the image format options are different. Disk Utility knows how big the folder is, and you cannot create a sparse image, so creating a disk image from a folder is less flexible. You should only do this if you plan to archive files and never want to add any files to the disk image. Choose either Compressed or Read/Write for the image format.
Once you’ve done this, you’ve got an uncrackable way to store files. Copy them to another drive or computer, put them in the cloud, or just leave them on your Mac. Your secrets will be safe.
Further reading:
- How to Manage Disks and Volumes with OS X’s Disk Utility
- 15 Mac-Hardening Security Tips to Protect Your Privacy
- OS X El Capitan: Security and Privacy Features Overview

