How to Use Annotations and Quick Actions in the macOS Mojave Finder
Posted on
by
Kirk McElhearn
Among the new features in macOS Mojave is a set of powerful tools in the Finder that lets you manipulate or annotate files. Instead of needing to open an app to make simple changes, you can perform some operations on files directly in a Finder window or using Quick Look. In this article, I’m going to tell you about these new features: Annotations and Quick Actions.
Annotations
You have long been able to use Apple’s Preview app to annotate PDF files using a number of tools available from an annotation toolbar. Apple has rolled this feature into Quick Look, allowing you to annotate PDFs or images directly in the Finder without opening Preview.
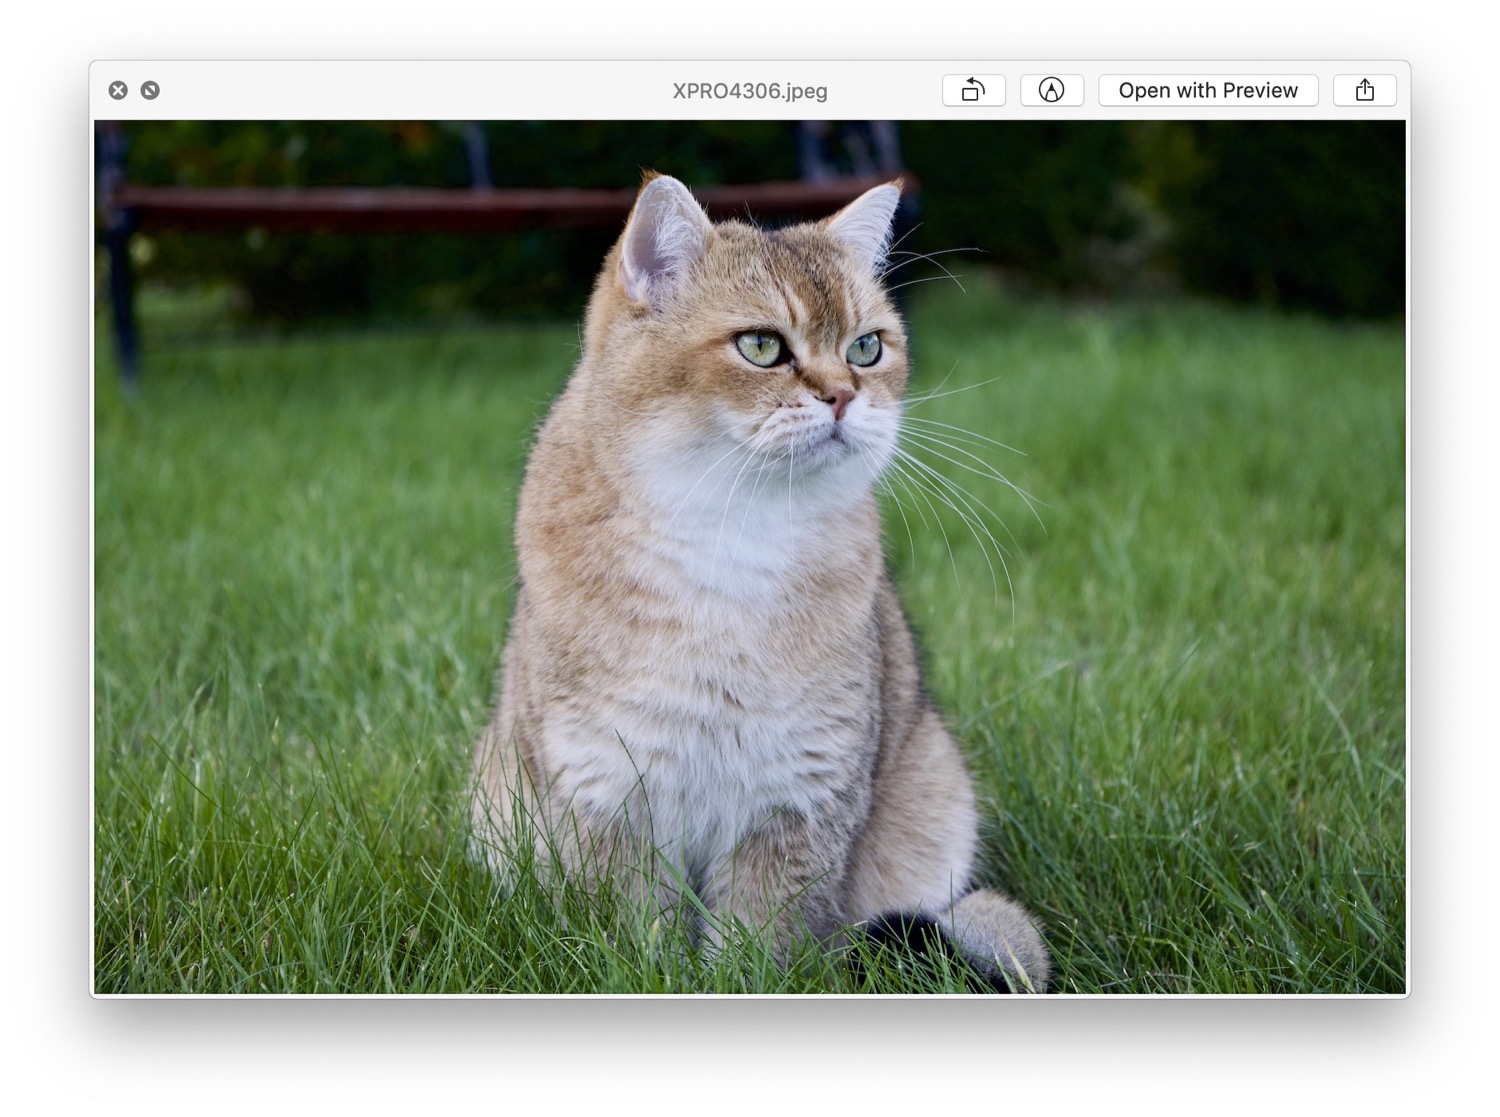
To do this, select an image or PDF file and press the space bar; this activates Quick Look, which opens a window showing the file’s content. You can use Quick Look for many file types – text files, videos, audio files, and more – but these annotation tools only work for graphics in a variety of formats, such as JPG, TIFF, etc., and PDFs.
When viewing a file in the Quick Look window, you’ll see a small annotation icon in the toolbar; it’s the one that looks like a pen point in a circle.
Click this icon to display the annotation toolbar.
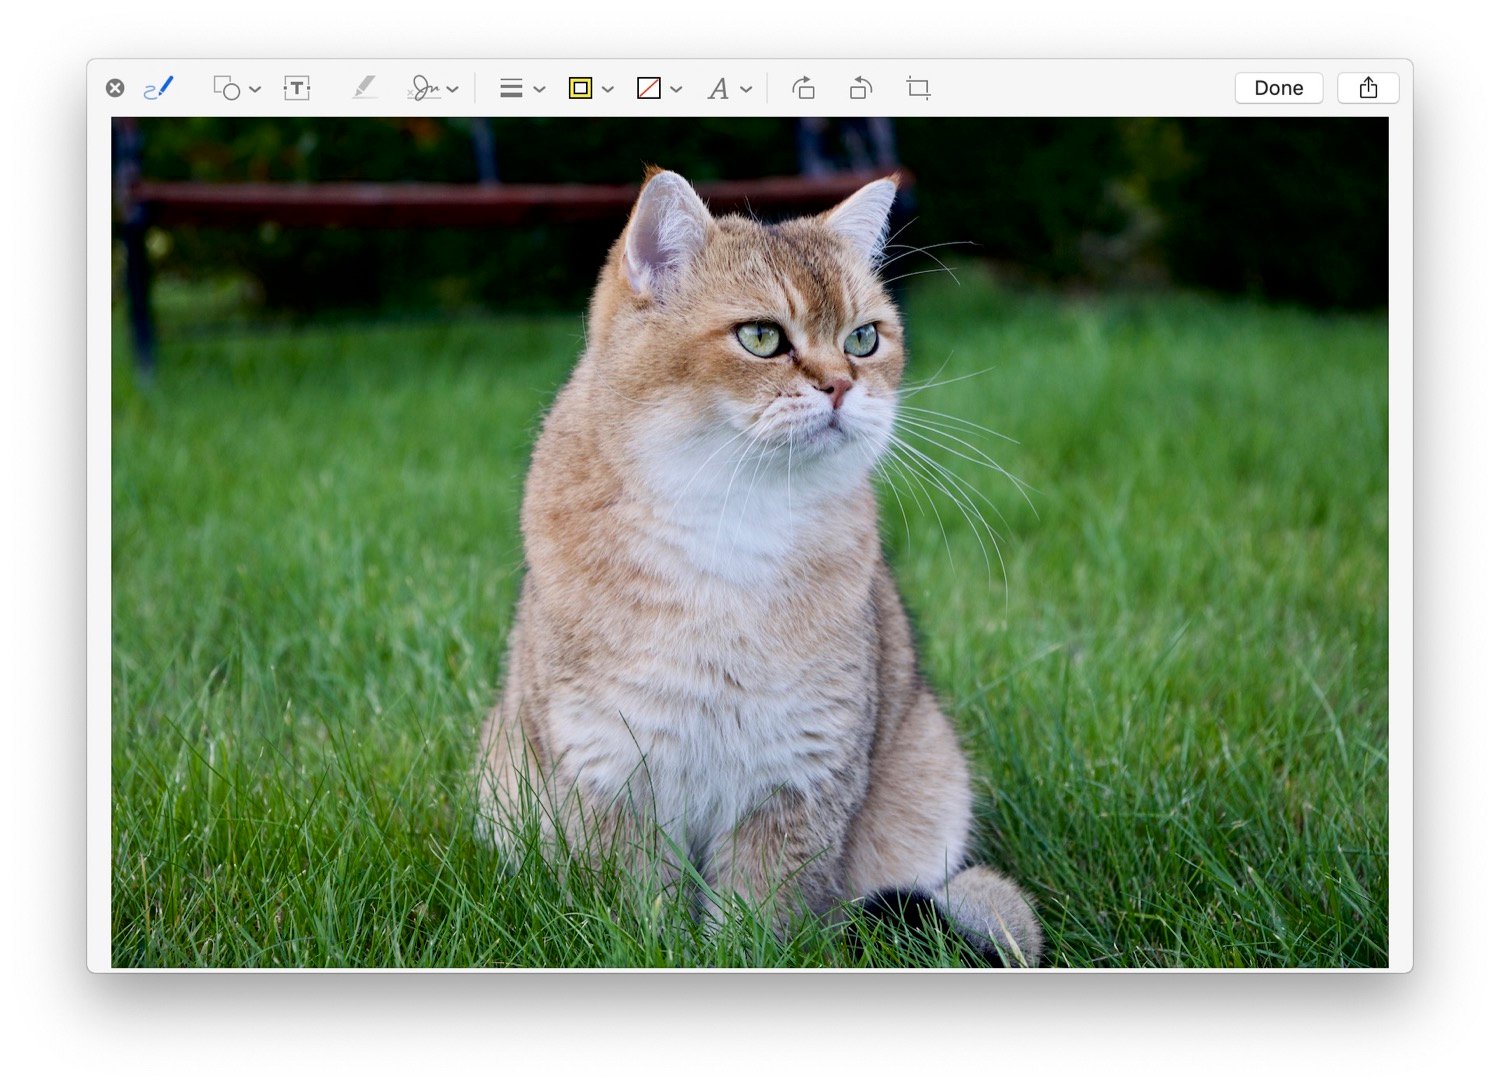
There are a number of tools available. You might want to rotate a photo – there are two buttons in the toolbar that allow you to rotate it clockwise or counter-clockwise. Maybe you want to crop it. Click the Crop icon at the right of the annotation icons and drag the corners to where you want to crop the photo. (Unfortunately, the corners are white, and can be difficult to see and to grab with your cursor.) Click Crop to save your changes.
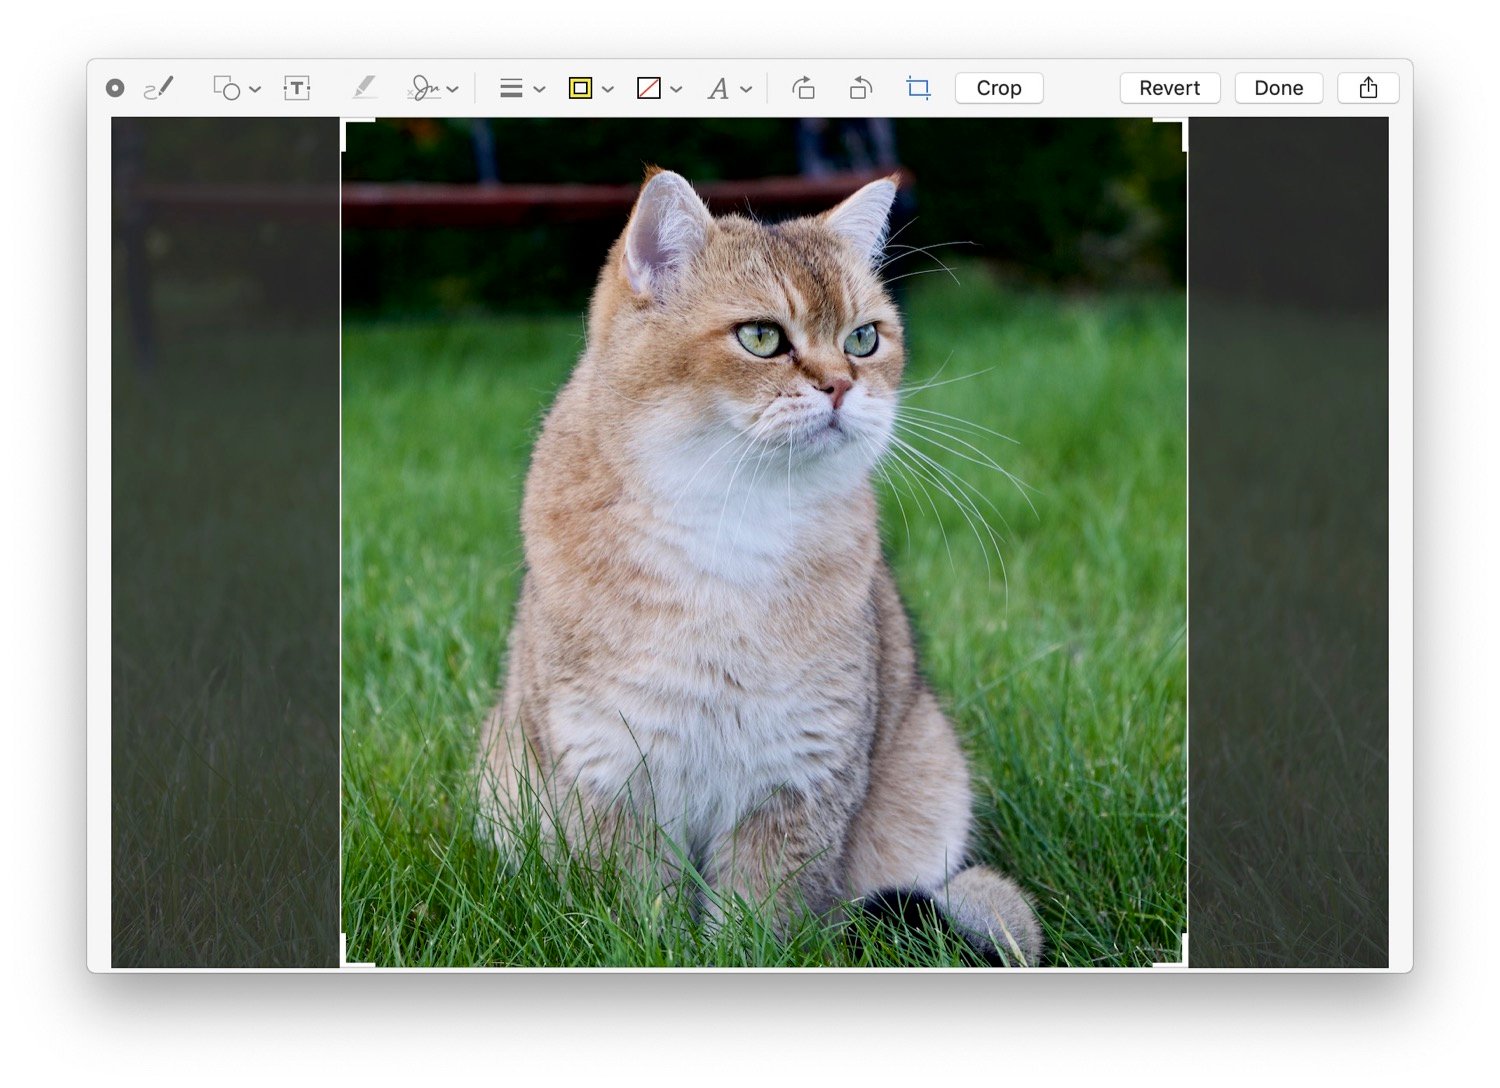
Click Done when you’ve finished.
With PDF files you can do much more. The toolbar offers icons that let you add shapes such as circles, ovals, and squares to your documents; you can add text; you can add lines and arrows; you can set colors for any of these; and more. Here’s an example of a PDF file with some annotations:
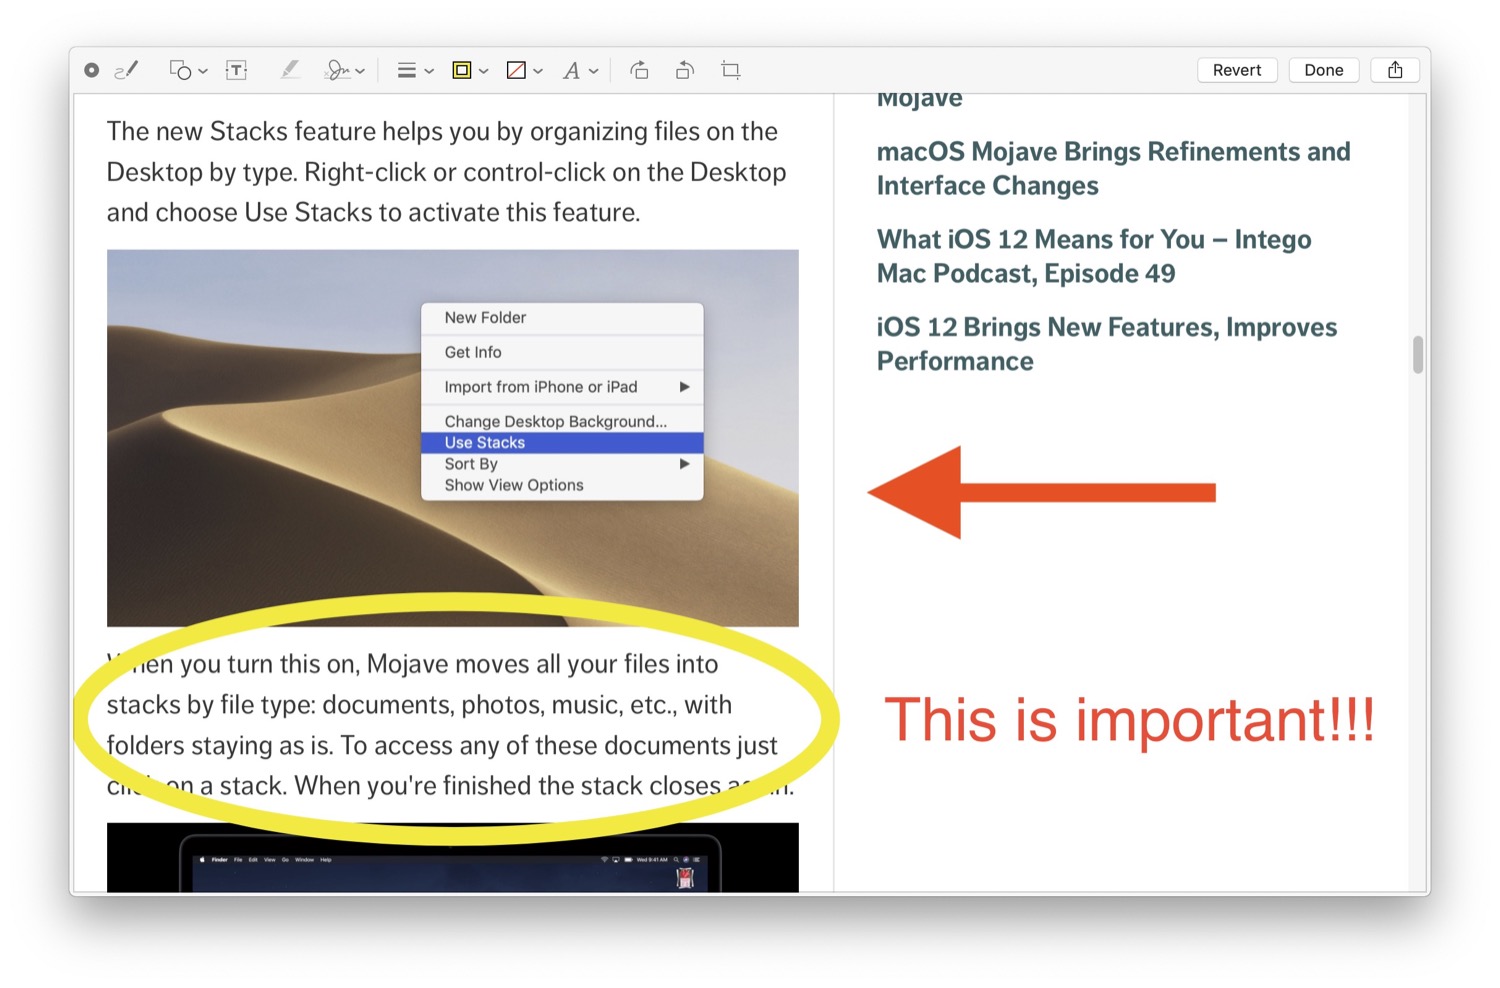
See this Apple support document for more on each of the annotation tools.
Quick Actions
New in Mojave, Finder Quick Actions let you manipulate files in many ways. You’ll see them in the preview pane in any Finder view (press Command-Shift-P to display this pane at the right of a Finder window).
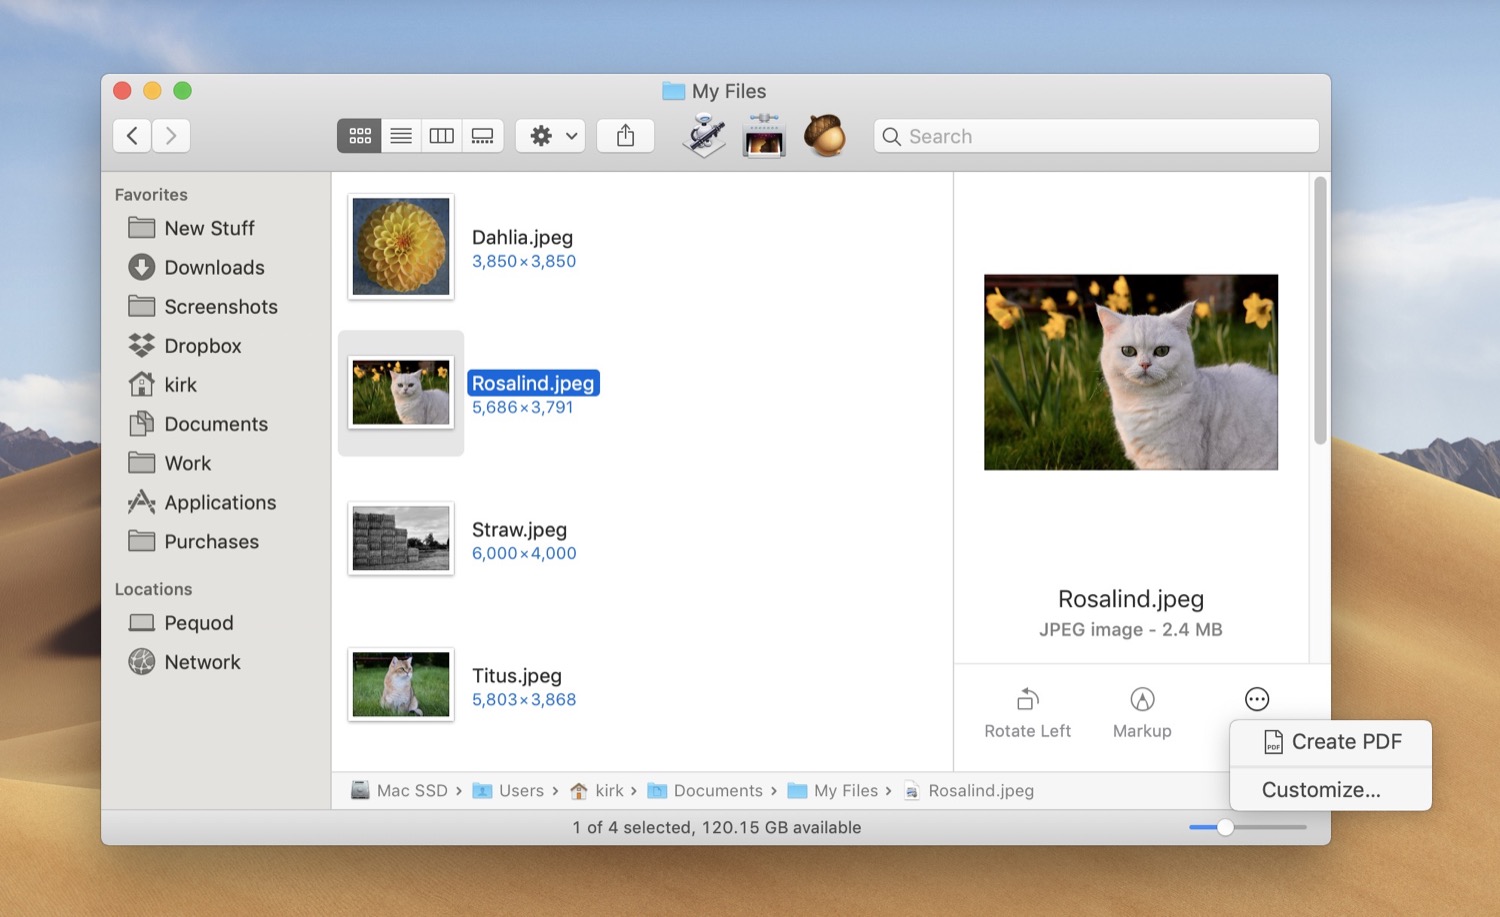
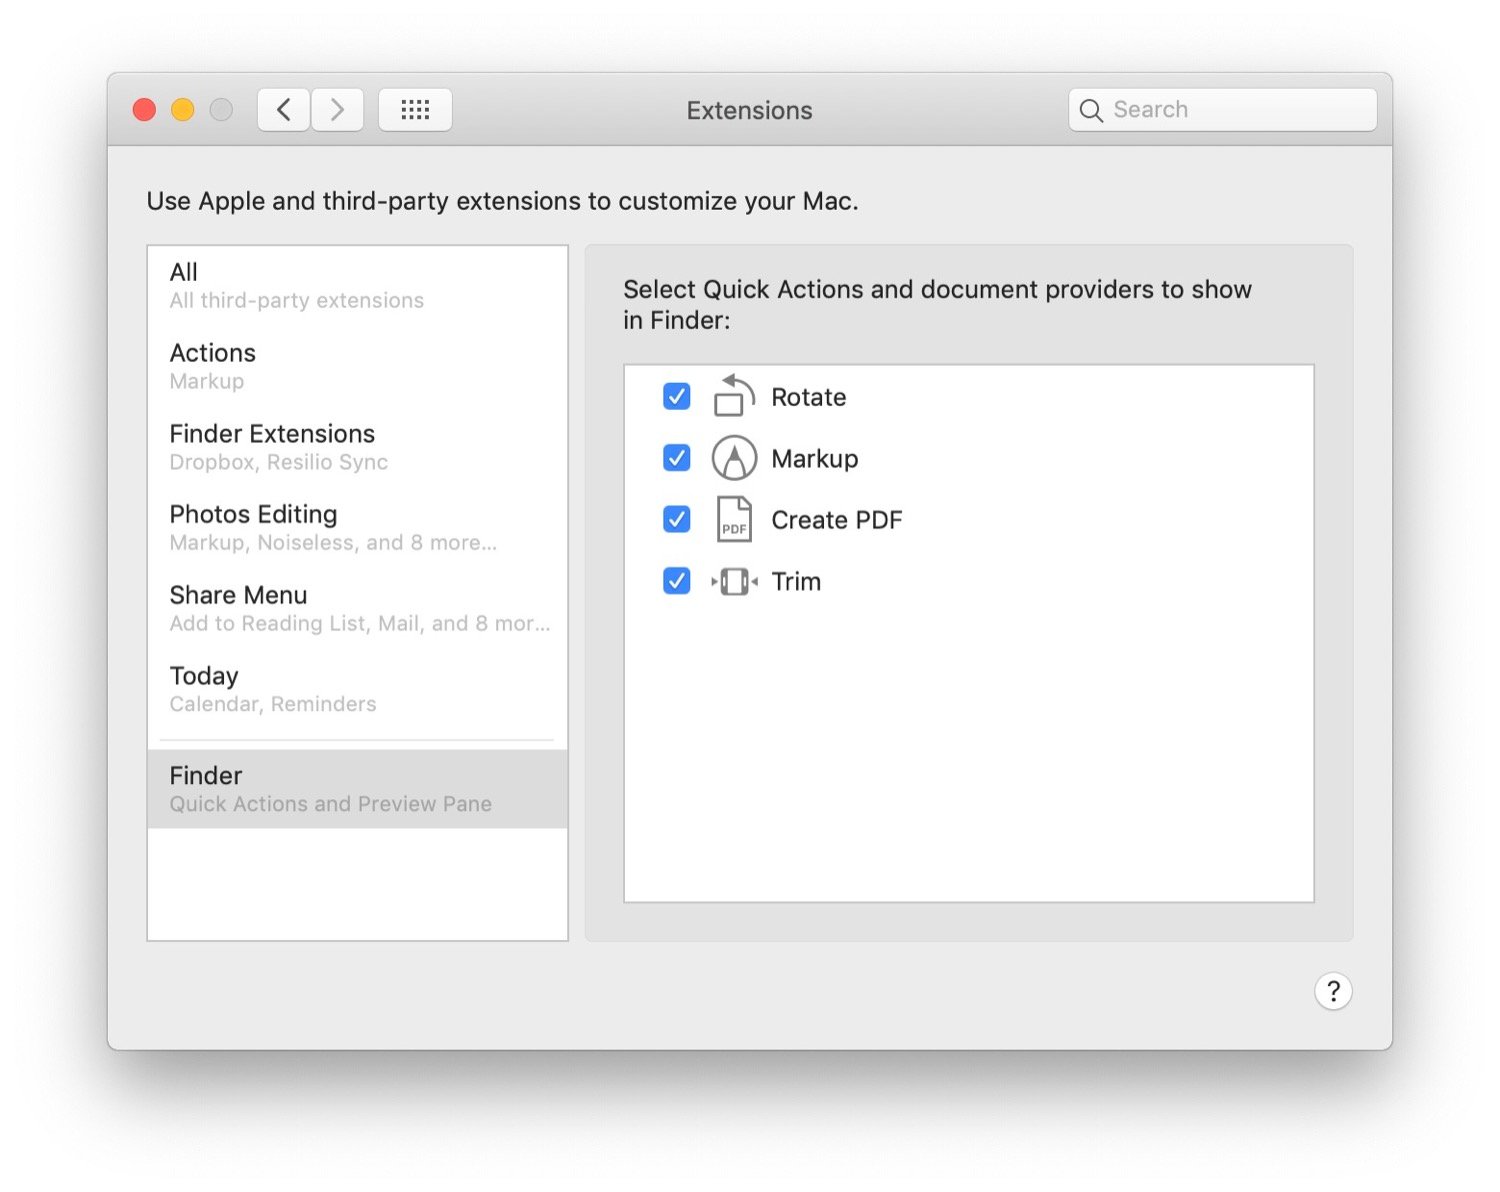
At the bottom of the Preview pane, you’ll see three icons: two of them are Quick Actions (Rotate Left and Markup) and the third is a More button that lets you see which other actions are available. In the example above, the only other available action is Create PDF, but if you choose Customize, this opens the Extensions pane of System Preferences where you can choose which actions appear in this pane and menu and in which order. Drag the actions in the order you want and those at the top will display as the first two icons.
However, as you can see, there are only four Quick Actions available by default, and one of them – Trim – doesn’t display in my example. That’s because this Quick Action only works with audio or video files – it allows you to trim them, cutting out the beginning or end. Quick Actions are contextual and display according to the type of file you’ve selected.
Quick Actions are just workflows created by Automator, an app that has been in macOS for many years. With Automator, you can set up series of operations that use system functions, specific apps, or even multiple apps. One way that I use Quick Actions is with some workflows that I created to convert and resize image files. (See this article for more on using Automator for this purpose.) With Quick Actions, I can quickly launch these workflows on my images.
In the article I link to, you’ll note that Automator shows Services as a type of file you can create; these are now called Quick Actions.
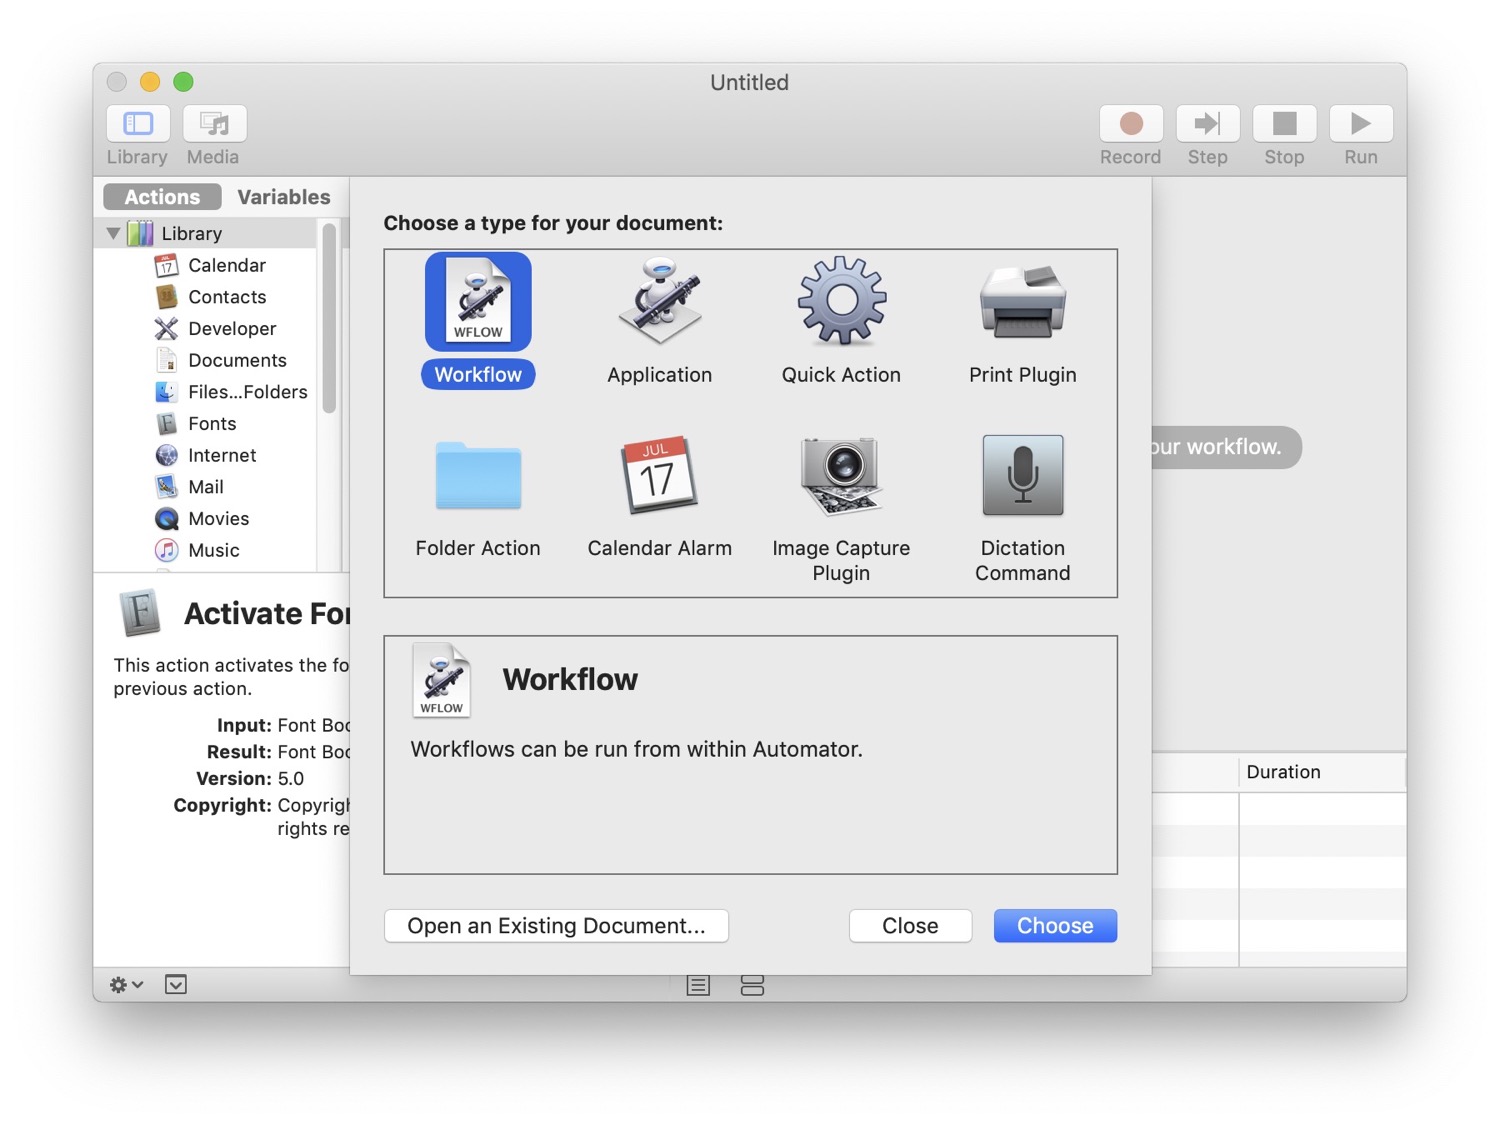
If you have existing Automator workflows, you can convert them to Finder Actions so they show up in the Preview pane or its More menu while still using the originals in a Finder contextual menu.
You can learn more about using Automator here.
These two new tools in the Finder will save you a lot of time, especially if you work with PDF and image files often. And their interfaces are easy to use, not overloaded by dozens of functions as is often the case with image or PDF editing tools. Take advantage of them to streamline your work.

