How to Secure Your WiFi Network
Posted on
by
Kirk McElhearn
Whether at home or at work, your wifi network is the gateway to the internet. While it lets your devices reach out into the world, it can also let hackers get into your network, potentially compromising your devices. As such, the security of your wifi network is essential. In this article, I’m going to explain how you can secure your wifi network.
WiFi Is an Easy Target
Wifi networks are an easy target because they are often insecure, or at least not as secure as they could be. In a recent episode of the Intego Mac Podcast, we discussed how some Russian hackers were caught in the Netherlands trying to hack into the wifi network of the Organization for the Prevention of Chemical Weapons. This organization’s network was well hardened, and the hackers thought that they might find a weakness in their wifi rather than trying to get at them directly over the internet. Instead of attacking remotely, they parked near the building and tried to get in that way.
The wifi network in question was secure, but that’s not the case for all networks. Your home network or the one at your office probably uses a basic router with simple settings designed to make things easy for users. It’s important to take some actions to make your router more secure.
Basic Steps
The first thing to do whenever you get a device that connects to the internet, is change the default password. If not, anyone can get into your router and change its settings. There are databases on the internet with the default passwords for all routers, so don’t think that hackers won’t know yours.
Use a strong password, and if there are options for which authentication protocol to use, choose WPA2, which is currently the most secure. (When WPA3 rolls out, choose that if you can.) For something as sensitive as your router, the longer the password the better. You can go up to 63 characters and if they’re random, that’s the strongest; it prevents someone parking near your home or office and trying a brute-force attack. It’ll be a pain the first time you enter it, but your device, web browser, and/or password manager will remember the password, so you won’t have to manually type it whenever you need to change settings. And if you think someone may be targeting your network, change your wifi password regularly.
After you’ve changed the password, check for a firmware update. Your router’s settings will have a button you can click to do this. Think about checking every couple of months because router manufacturers issue updates to fix security issues that may have been discovered.
Limiting Which Devices Connect to Your Network
One way to protect your network is to not let just any device connect to it. There are two ways to do this. Some routers use Wi-Fi Protected Setup (WPS). With this setting, you have to press a button on the router to connect a new device for the first time. This means that you need to have physical access to the router to be able to connect devices. Don’t use WPS if your router doesn’t have a physical button and instead lets devices connect with a short PIN.
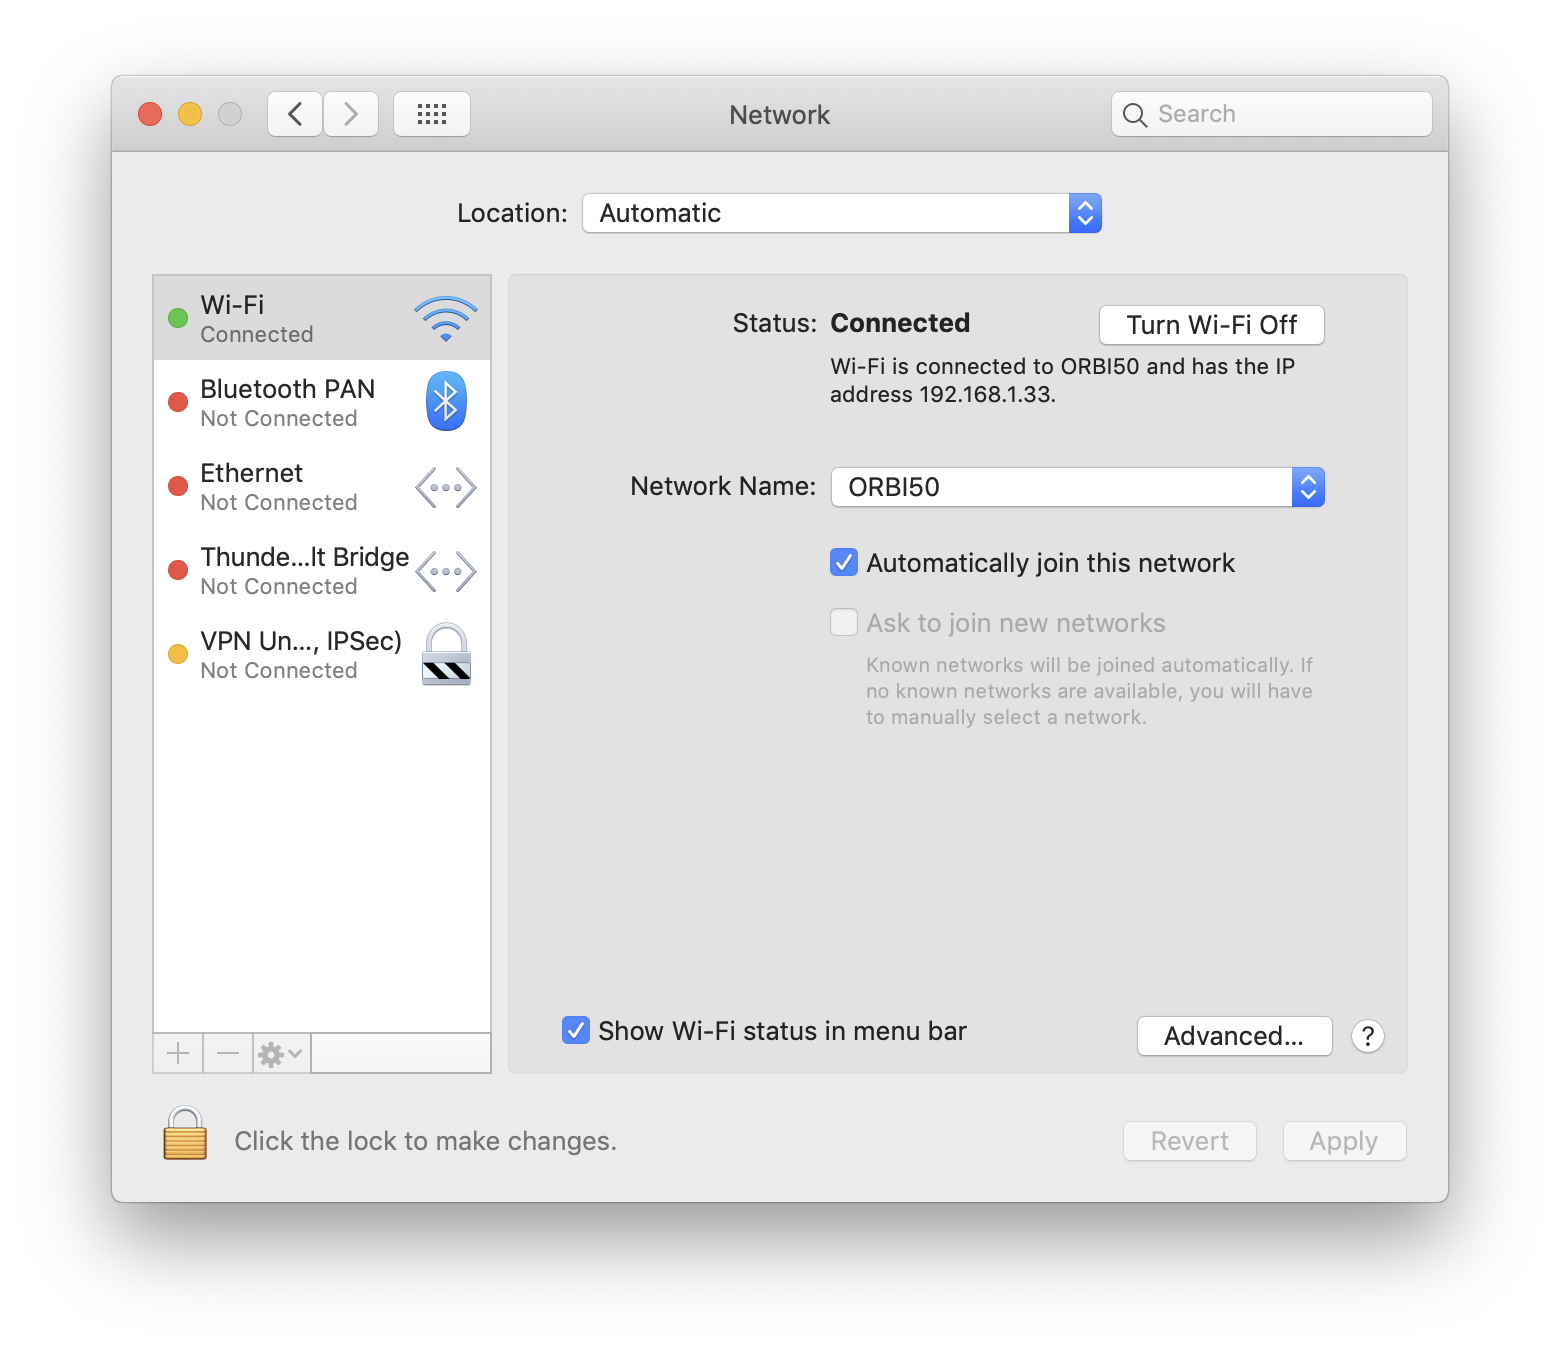
Another option is to tell your router that only certain devices can connect. You do this by whitelisting devices using their MAC address, a unique identifier that every network device has. (The MAC address is 12 characters with colons as separators, in the form AB:12:CD:34:EF:56.) Most routers let you limit which devices can connect to the router, using those addresses to identify them and preventing new devices from connecting. This isn’t foolproof, however, since MAC addresses can be spoofed. In your router’s settings, you’ll probably find a list of connected devices; you’ll see their IP address and MAC address and perhaps what type of device they are. You can find the IP address for each of your MACs in System Preferences > Network, and for iOS devices in Settings > WiFi; tap the little i icon to see the information.
You may find it useful to find which device is which on your network and add its name to your router if possible. Here’s some of my devices on my Netgear Orbi router:
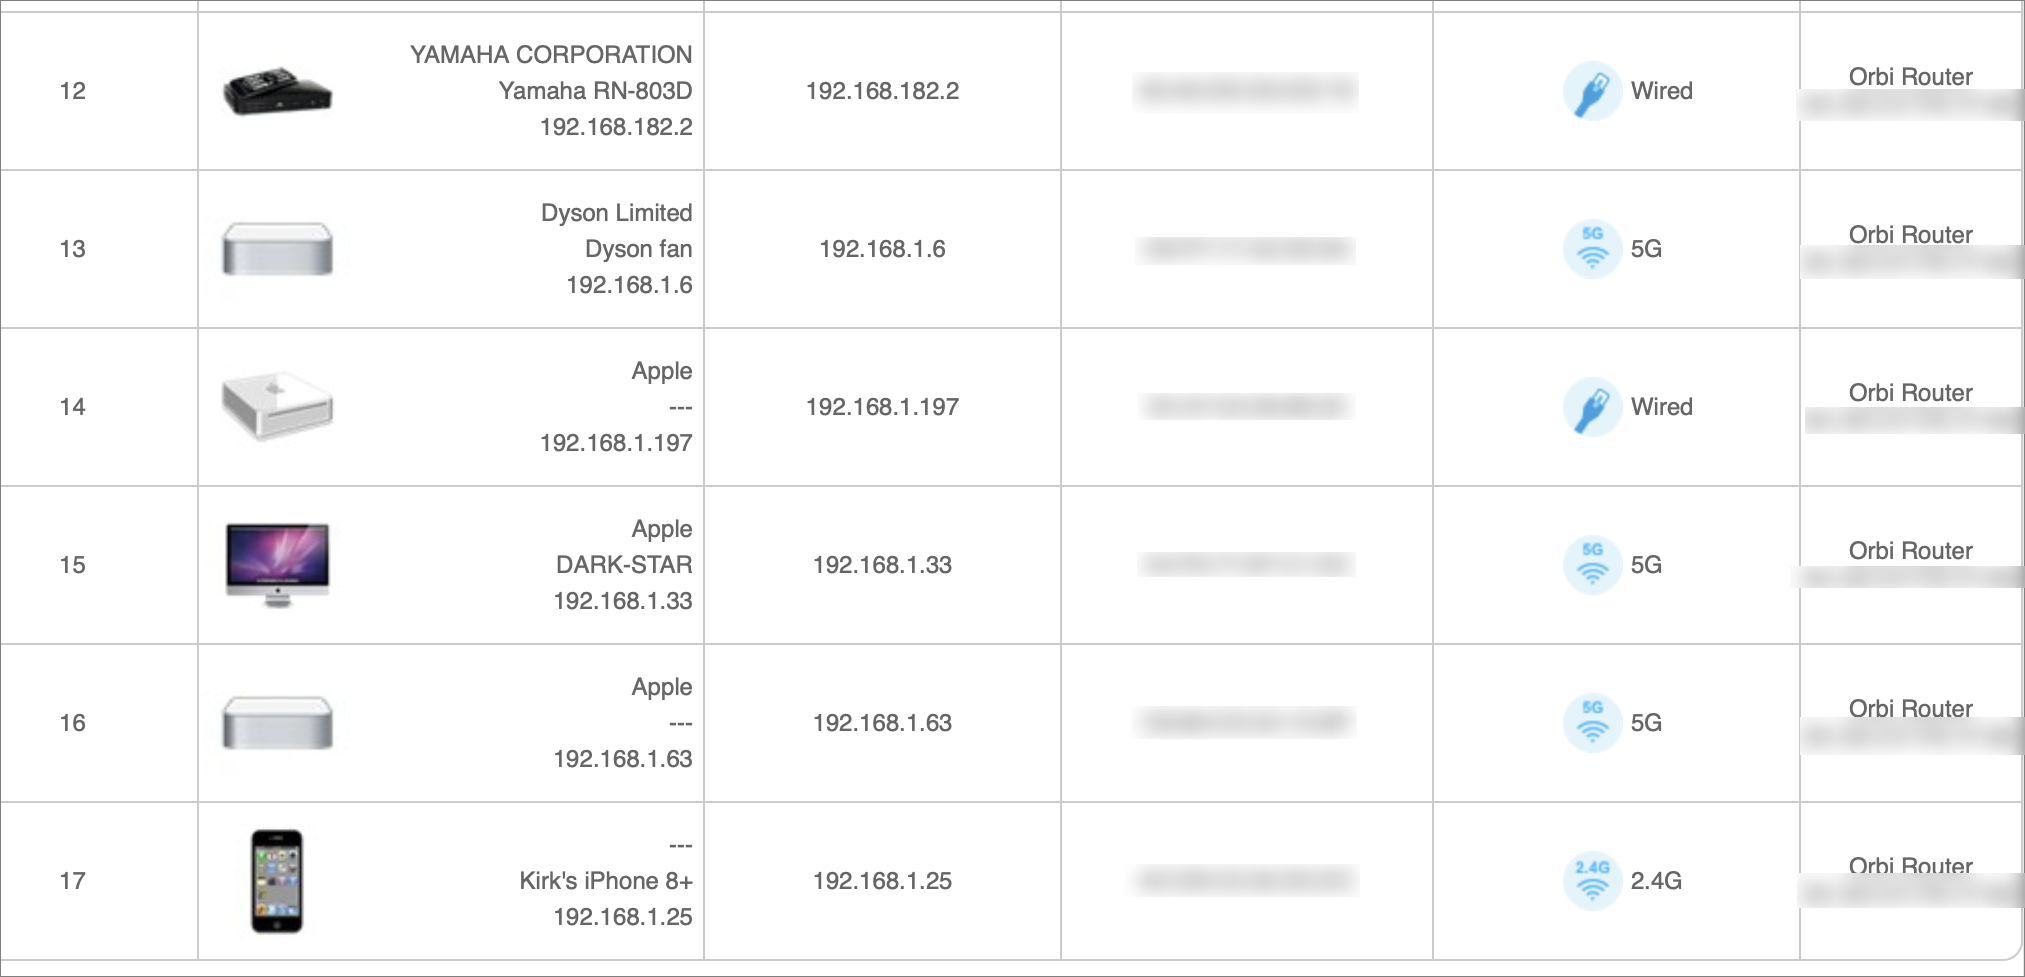
I’ve entered the names of some of the devices above and for others you can see how the router displays them; for example, it knows which manufacturer some of the devices are from. For some devices, however, I only see the name of the manufacturer of the network chip.
Once you’ve done this, you can lock down your router to prevent new devices from connecting. You can then deactivate this temporarily when you do have a new device to add to your network, then add that device’s MAC address.
If you have friends or clients who need to use the network, most routers let you set up a guest network. This way, you’ve got one protected network for your devices, and another that can’t communicate with the first for guests. Make sure to use a strong password on the guest network, but it doesn’t have to be as strong as your main password. If you have any smart home devices, which are generally not very secure, you might want to set them to use the guest network. However, this may make them harder to control, since the devices you use to turn them on and off need to be on the same network.
More Hardening
Some other settings are important. The first is to turn off remote administration. You may need this if you’re using a router for your business and an IT manager may need access to the router during off hours, but otherwise, it’s dangerous to leave it on. If the router has a firewall – which most do these days – turn that on. Turn off UPnP, which is a way that apps can get through the firewall if they initiate connections from inside the network. This may prevent some apps from working, notably games. If you have problems, check the documentation for the apps in question and set up port forwarding.
Staying Hidden
Another way to protect your network is to hide its SSID, or Service Set Identifier. This is the name of your network that you’ll see when you scan for wifi networks with a device. If the name isn’t broadcast, anyone who wants to connect needs to know it’s exact name. You can then give it a fairly complex name; instead My Network, you could call it, for example, Myyy NetWoRk, or some other combination of characters that you can remember but that others won’t guess. You may need to type it when connecting with a new device, or you can go into the router’s settings and turn SSID broadcast back on, connect with the new device, then turn it off again; each device remembers the networks it’s connected to.
This doesn’t provide total security because the SSID can be discovered in other ways; your device broadcasts it when it is trying to connect to a familiar network, and someone sniffing network traffic might discover it.
As you can see, there are a number of useful ways you can secure your wifi network and some of them have drawbacks. Have a look at all the settings on your router and make sure nothing is on by default that weakens your security.

