How to Keep Your Mac Organized All School Year
Posted on
by
Kirk McElhearn
As you prepare to go back to school, it’s time to look at the way you keep your studies and assignments organized on your Mac. Many people store their files and folders somewhat willy-nilly, but by streamlining the way these documents are organized, you can save time and be more efficient when looking for files. You have lots of important work to do, so it’s best not to waste time searching for files. With a few simple tips, you can set up your Mac so all of your work is logically organized and easy to find.
Viewing Files and Folders in the Finder
There are four ways you can view files and folders in the Finder. In the Finder window toolbar, click one of the four buttons in this controller:
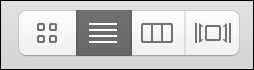
From left to right, these options are Icon View, List View, Column View, and Cover Flow View. Each of these views lets you browse and see files and folders in different ways, and there are advantages and disadvantages to each of them. Some people may use the same view all the time, and others may choose a certain view for specific types of files or folders.
Icon View
![]()
This view displays your files as large icons. If you press Command-J to display the View Options window, you can adjust a number of ways the look: you can change the size of the icons and their spacing, you can choose a sort order, you can set the size of the text for the icons’ names, a background for the folder, and much more. Icon View is generally best for folders where you don’t have a lot of files, or those where you want to see thumbnails of the files. (Check Show Icon Preview.)
List View
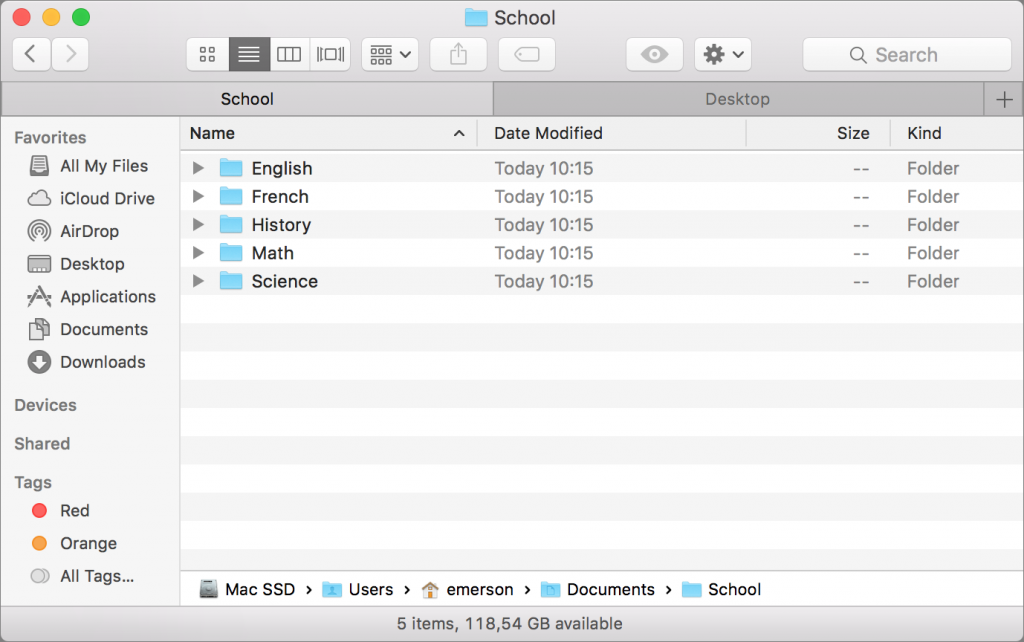
List View, as its name suggests, displays your files and folders in a list. This allows you to sort them by any of a number of column headers: Name, Size, Date Modified, etc. You can choose which columns display from the View Options window. This is the best way to sort your files newest first, or largest first, and so on. And it’s relatively compact, with the icons either small or medium sized (press Command-J to make this and other changes). It’s good for folders with lots of items.
Columns View
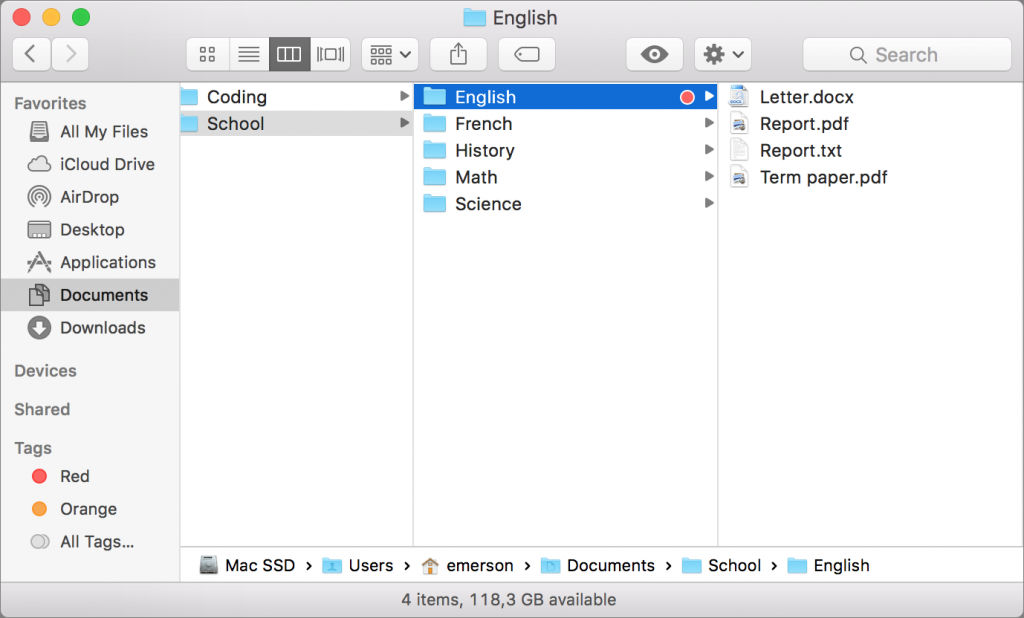
Columns View is useful if you move around a lot among your Mac’s folders. You can use the arrow keys to move left and right or in and out of folders, and up and down to select other folders or files. In addition, when you select a file in Columns View, the Finder displays a large preview at the right of the window. There are not, however, many options for the way items display: you can change the text size, toggle previews and the preview column, but that’s about it.
Cover Flow View
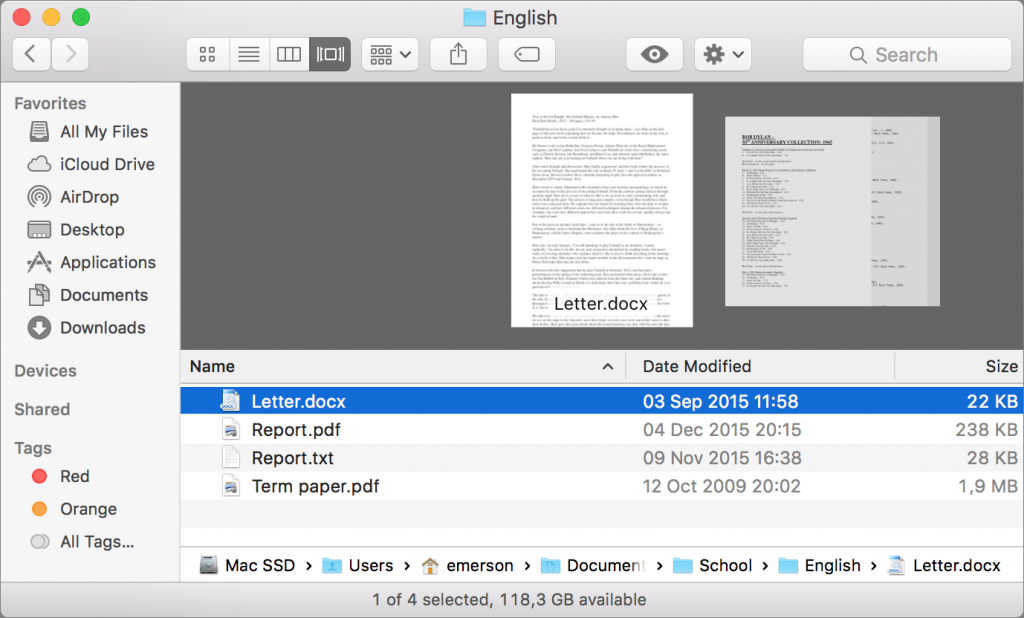
This view combines a list view at the bottom of Finder windows with a larger preview view at the top of the window. This is very useful if you want to view graphic files, for example, because you get a good view of the files’ contents. These previews aren’t big enough to read the text in text files, but you can see their layout if that helps you choose the files you want to work with.
Organizing Folders
Many people dump all their files in one folder and, when they want to open a specific file, search the folder, or scroll through it. However, it’s much more efficient to create a folder structure to organize your files.
For example, start with a top-level folder named School. Inside that folder, you can have sub-folders for each of your classes: Math, English, Science, and so on.
Within each of those folders, you can then have sub-folders for specific assignments, term papers, or exam prep. Each folder can contain all of the files for the given class and topic: text files, graphics, spreadsheets, videos, PDFs, and more. Instead of rooting around in a single folder, you’ll be able to quickly zero in on the files you need.
For quick access to specific folders, drag them to the Finder sidebar; when they’re in the sidebar, you can access their contents with a single click.
RELATED: How to organize your Desktop, Dock and Smart Folders with Mac Washing Machine
Finder Tags
The Finder lets you apply “tags” to your files and folders. This lets you mark specific items with colors and labels, allowing you to sort them efficiently. For example, you can use the green tag for items that you have completed; the yellow tag for items that you need to revise; and the red tag for new items that you haven’t yet started to work on. And you can create your own tags, with or without colors.
To use tags, right-click a file and click on a tag near the bottom of the contextual menu. The default Finder tag labels are just color names, but you can change them in the Finder’s Tags preferences. Choose Finder > Preferences, click Tags, and then right-click one of the tags and choose Rename. If you use the method outlined above, you could, for example, rename the Green tag to “Done,” the Yellow tag to “In Progress,” and so on.
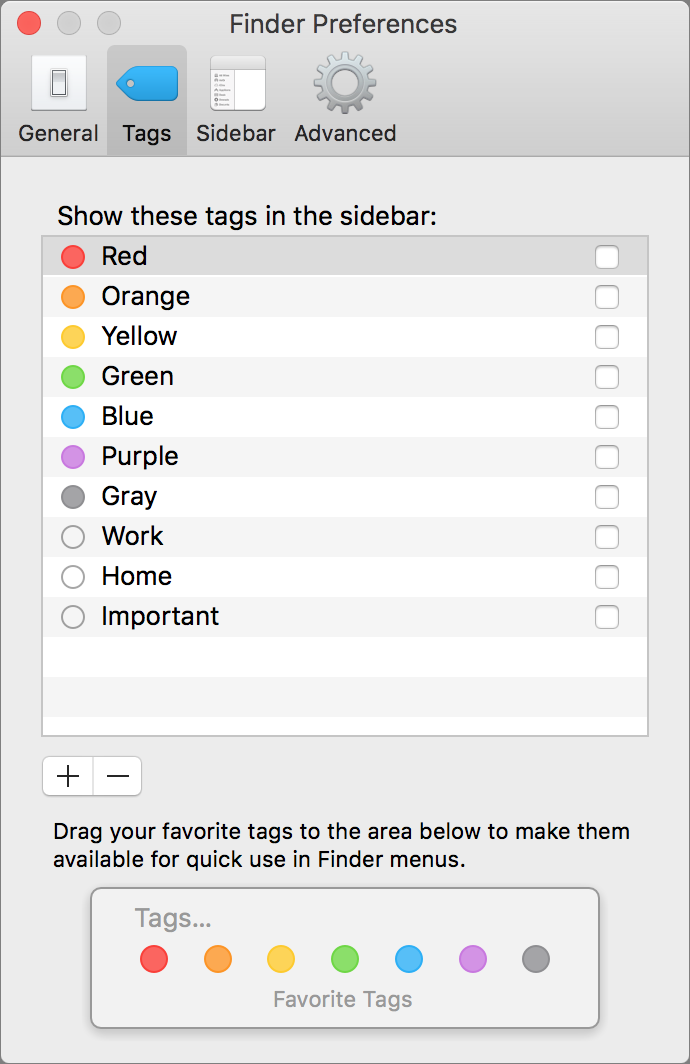
You can also add your own tags: Just click the + icon and enter the name of the new tag you want to use. Right-click your new tag to choose a color. To use custom tags, either choose Tags… in the contextual menu, then type the tag you want to apply in the popup that displays.
If you do this often, you may want to add a button to the Finder window toolbar. In the Finder, choose View > Customize Toolbar, then drag the Edit Tags button to the toolbar. Click OK. Next, select an item in the Finder, and click the Edit Tags button. You can type the name of the tag you want to use, or you can click Show All to have the menu display all your tags. Click the one you want to apply to the selected item, and the Finder records this. (Note that you can tag files and folders, and that you can apply multiple tags to any item.)
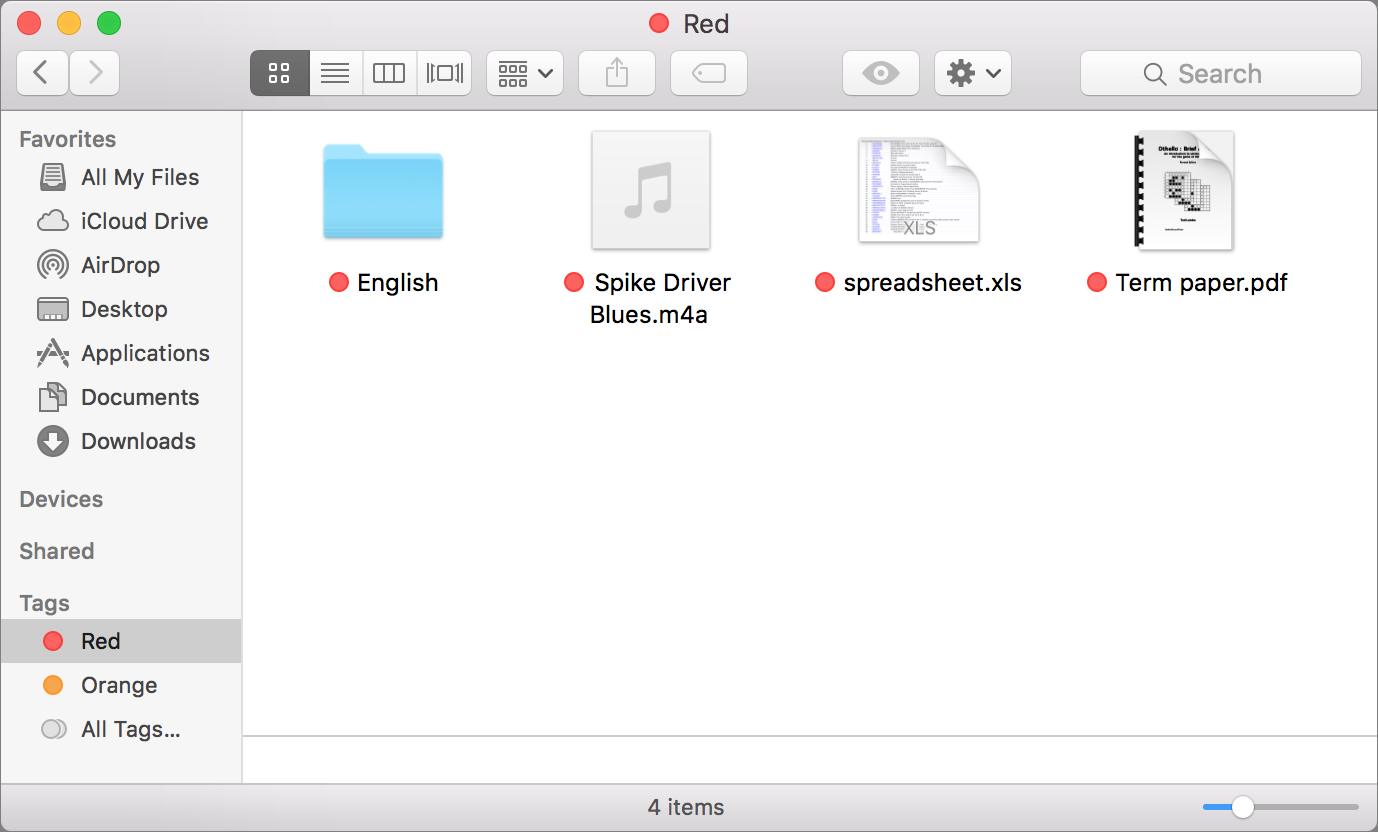
Using tags allows you to access your files in a different way. In the Finder Tags preferences, click the check boxes to the right of the tags you use to have them display in the Finder sidebar. Clicking one of the entries in the sidebar displays all the files you have marked with that tag, so you can quickly access, for example, all of your In Progress files. Or you can tag the folders you access most often, and view them from the Tags section of the sidebar as well.
It’s useful to get into the habit of being more organized in the Finder. Using the right view for the files you work with, an efficient folder structure, and especially Finder tags, you can more easily find the files you need and save time searching.
This story comes to you as part of our Think Security series helping students and parents prepare for back to school. Each week through September 18 we’ll provide educational guides with Mac tips and tricks.

