Power Tips for Efficiently Using the Trash in macOS
Posted on
by
Kirk McElhearn

I’ve always felt that the concept of the Trash on the Mac, or the Windows Recycle Bin, is one of the great inventions in computing. Prior to this, deleting files was all done via text commands, or by selecting files in a list, and you could still type the wrong file name or select the wrong file. It was easy to make mistakes and get rid of files that you didn’t mean to delete.
The Trash on a Mac is a sort of buffer. You move files there, but still have a chance to say Oops! You can delete the Trash immediately after you’ve placed a file there, or at the end of the day, or the end of the week. You don’t need to ever delete the files, unless you’re running out of space on your drive.
In this article, I’ll give you some power tips for using the Trash. I’ll tell you how to quickly delete files with keyboard shortcuts, how to recover files from the Trash, how to have your Mac automatically empty the Trash, and how to securely delete files so no one can recover them.
Moving Files to the Trash
Moving files to the Trash is easy: just drag them to the Trash icon in the Dock. If you’ve been using the Mac for a while, you may remember when the Trash icon was on the Desktop, but it being in the Dock means you never have to move windows to find it. You can drag one file or many to that icon and they get placed in the Trash.
You can also move files to the Trash from the keyboard. Select one or more files, then press Command-Delete.
Recovering Files from the Trash
If you’ve accidentally put some files in the Trash that you want to keep, you can just drag them back to the window or folder where they were. And if you want to recover the last file(s) you moved to the Trash, you can press Command-Z while in the Finder; this is the Undo command, which undoes your previous Move to Trash command. Or you can press Command-Delete; while you may expect this to delete the files, it does the opposite, undoing your original deletion.
You can also right-click an item and choose Put Back. The Finder will put it back where it was before you put it in the Trash. This is useful if you are no longer viewing the folder where the item was located.
Note that some apps send files to the Trash; this may occur if, for example, you delete files in iTunes. The only way to recover these is to do so manually. The Undo and Put Back commands don’t work, because it wasn’t the Finder that sent the files to the Trash.
Emptying the Trash
You can empty the trash in several ways.
- Click and hold the Trash icon in the Dock and choose Empty Trash.
- Choose Finder > Empty Trash.
- Press Command-Shift-Delete. This brings up a warning asking you to confirm that you want to empty the Trash.
- Press Command-Option-Shift-Delete to empty the Trash without a warning. Make sure you really want to empty the Trash.
You can also delete some of the files in the Trash without emptying the Trash entirely. You may want to do this if you have a very large file or installer, and want to free up space, but still retain some files in the Trash. To do this, click the Trash icon in the Dock, find the file(s) you want to delete, right click, then choose Delete Immediately.
Automatically Emptying the Trash
macOS Sierra offers an option to automatically empty the Trash. This is great if you have plenty of space on your drive and don’t want to worry about manually emptying it. To access this feature choose the Apple Menu > About this Mac, click Storage, then click Manage. There is an option to Empty Trash Automatically.
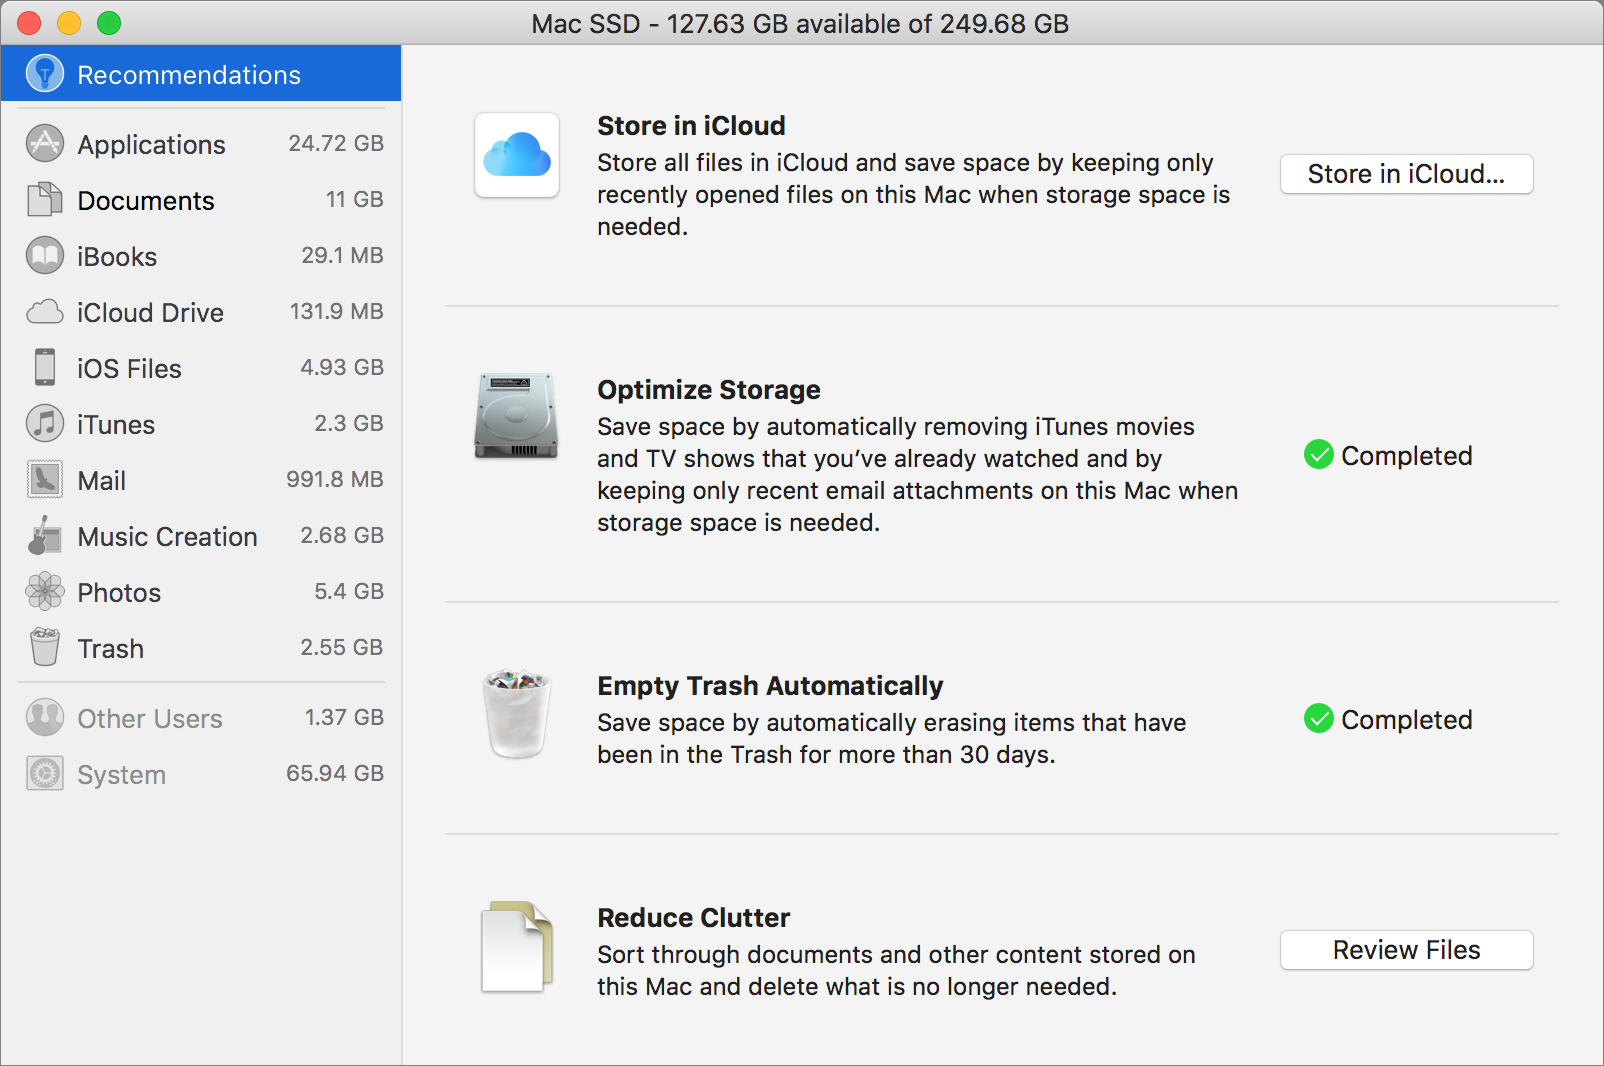
If you turn this on, your Mac will empty items in the Trash that have been there for thirty days. So you have lots of time to pull back a file that you may have mistakenly sent to the Trash, and you won’t have to worry about manually emptying the Trash. You can still manually empty the Trash at any time, of course.
You can also access this setting by choosing Finder > Preferences > Advanced, then checking Remove items from the Trash after 30 days.
Securely Delete the Trash
When you delete files on a Mac, the Finder simply erases the catalogue information about where those files are on your drive. With the right data recovery software, you might be able to recover them. There used to be an easy way to securely delete files — not just erasing catalogue information, but overwriting them several times — however, this is no longer accessible in macOS from the Finder. You can, on the other hand, securely delete files using Terminal. (This article explains how.)
Nonetheless, when you delete files on a Mac, you only delete the final versions of those files. As you work on files and save them, your Mac writes the new versions to different areas on your drive. As such, it is possible to recover files with data recovery software. The above article about securely deleting files also explains how to securely delete free space, erasing any trace of your files. It’s a good idea to do this before selling or disposing of your Mac, so no one can recover files you may think you have deleted.
Since you regularly delete files on your Mac, learning how to master the Trash, and how to manage it, can save you time, and prevent you from losing files you need. Use these tips and you’ll be a lot more productive.
Have something to say about this story? Share your comments below!

