Apple + How To + Software & Apps
Master Photos 3.0 for macOS High Sierra
Posted on
by
Craig Grannell
With macOS High Sierra, Apple made it easier to find and edit your photos. In this guide, we explore the new features in Photos 3.0, which enable you to loop Live Photos, filter a feed to display only those items you’ve edited, adjust individual colors, and more.
Filter photo feeds
The Photos sidebar is now tidier. At the top, Library houses major categories, including previous imports, which are arranged by date. Shared is where you find iCloud albums. Below that, Albums has a Media Types folder that provides fast access to specific shot types, such as selfies, Live Photos, and long exposures.
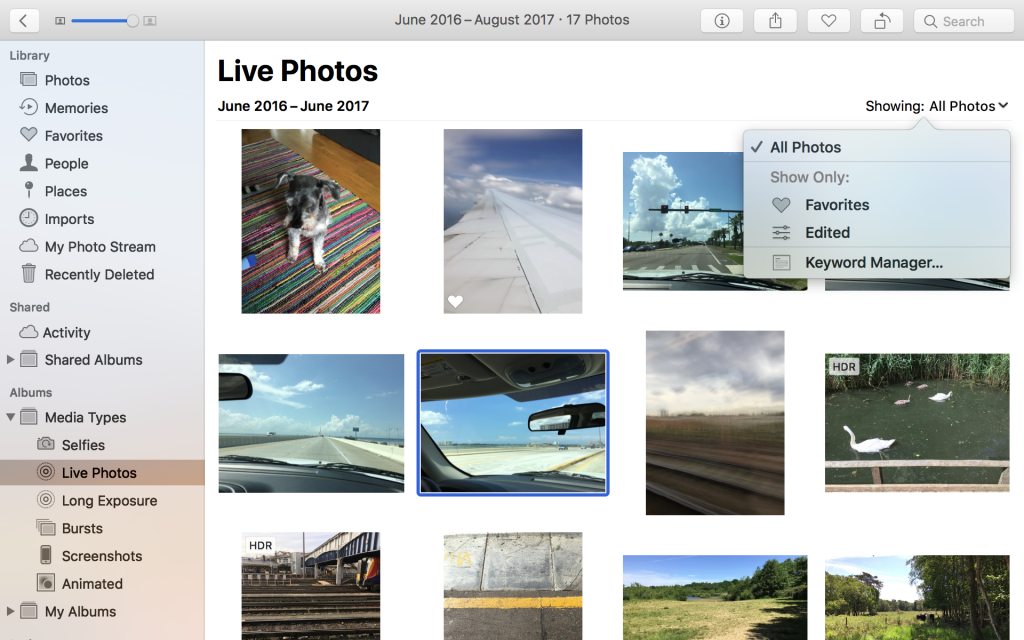
When viewing a standard photo feed, there’s now a Showing menu at the right-hand side of the window. It defaults to All Photos, but click it to access options for filtering the current feed to one or more of Favorites, Edited items, Photos, Videos, or items that match keywords you’ve defined in the Photos Keyword Manager.
Edit Live Photos
Live Photos combine still imagery and video, coming alive when pressed on iPhone, or when the cursor hovers over them on a Mac. Photos for macOS Sierra could perform minor edits to such images, but Photos 3 for macOS High Sierra takes things further.
Double-click a Live Photo, and click Edit to enter the Edit view. Using the many sliders in the sidebar, you can apply various adjustments to your image, but we’re interested in other settings.
The two buttons at the bottom left are Turn Off Live Photo, and Turn On Mute; respectively, these transform the Live Photo into a standard still image, or just remove the audio.
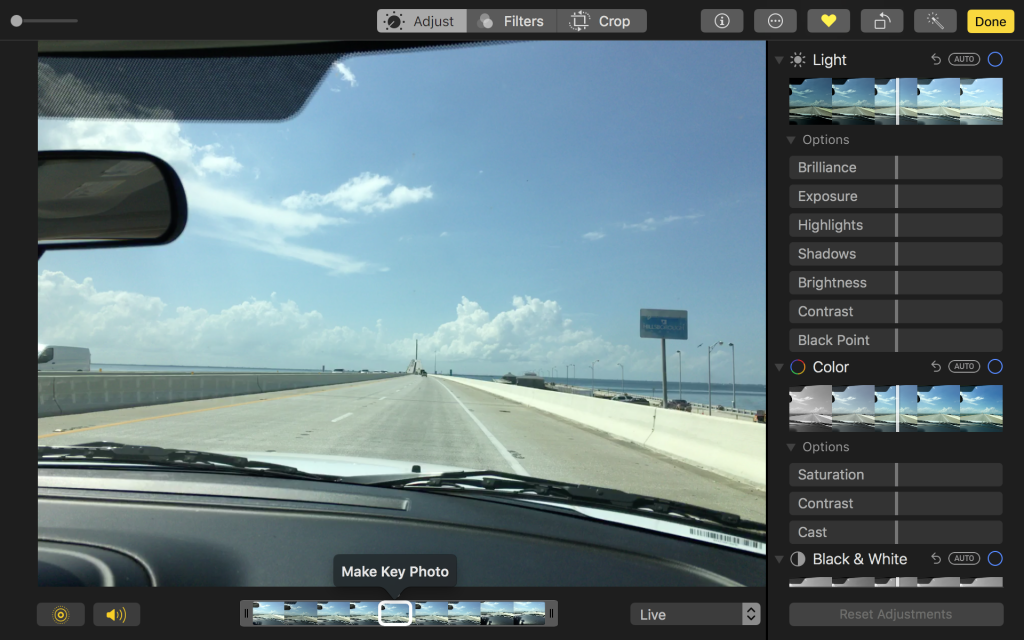
The film strip to the right is more interesting for editing, and has a dual purpose. Click anywhere on the strip and then click Make Key Photo to define a new still image to represent the Live Photo in a feed. And to tweak the video portion of the Live Photo, simply drag the handles at the start and end of the strip.
To the right of the film strip is a menu that initially has the value of Live, which denotes what you’re looking at is a Live Photo. But you can instead choose one of the following settings:
Loop endlessly repeats the video portion of the Live Photo. Where possible, Photos makes the loop seamless, and stabilizes the image, to smooth it out.
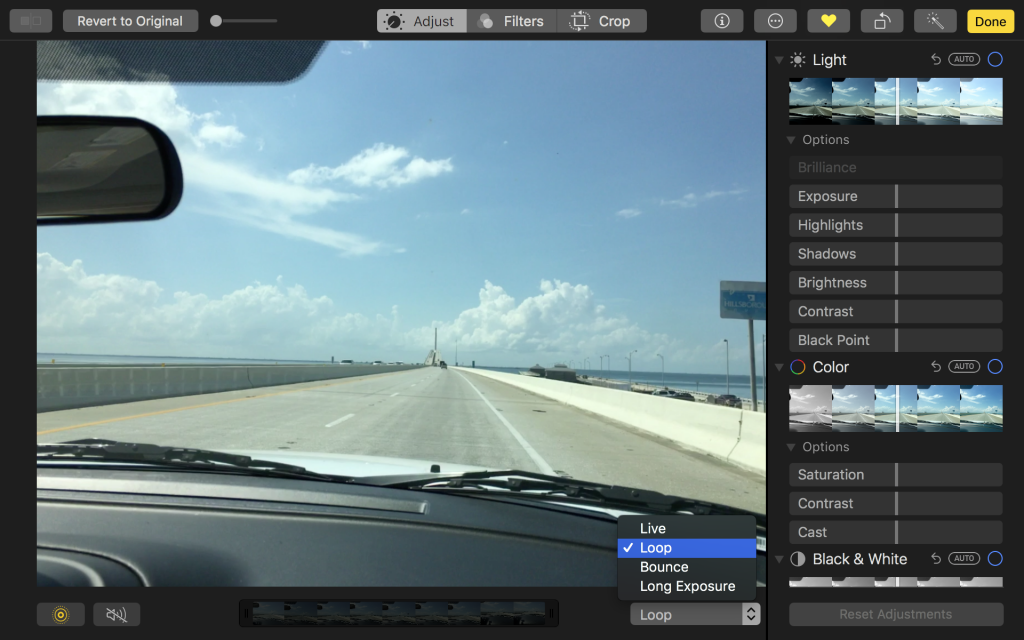
Bounce endlessly runs the footage back and forth. This can make for comedic repeating videos – people jumping into a swimming pool and the footage then running in reverse. It has less obvious practical usage, however.
Long Exposure is designed to fake a long exposure shot. For example, a Live Photo of a waterfall will have the water blur, as if it was a still image captured over several seconds.
Tweak your Curves
The Curves tool in Photos is like the ones you’ll find in professional photo editors. You drag the line to adjust the tones in your image – shadows being represented to the left, and highlights to the right.
To edit the curve click to add a point and then drag to move it. You can add multiple points. If you no longer want one of them, simply select it and press the Delete key.
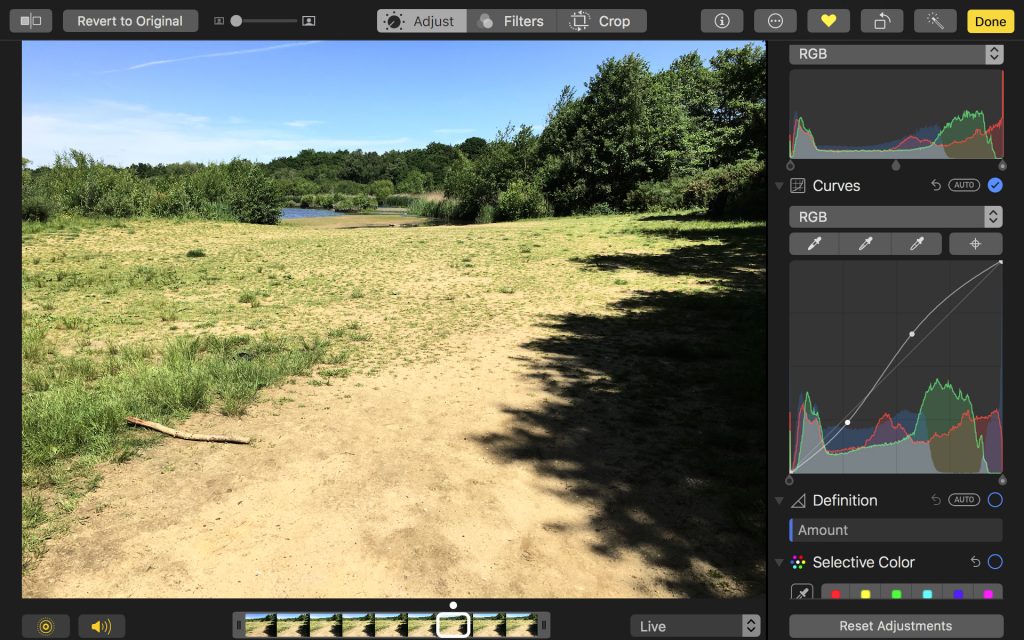
A common curve used in photo editing is a shallow S. This makes an image pop through darkening the blacks and making the whites crisper. Dragging from the center of the diagonal line to make it bulge upwards is another useful trick, brightening up dull images.
For more nuanced editing, you can target individual color channels from the RGB menu.
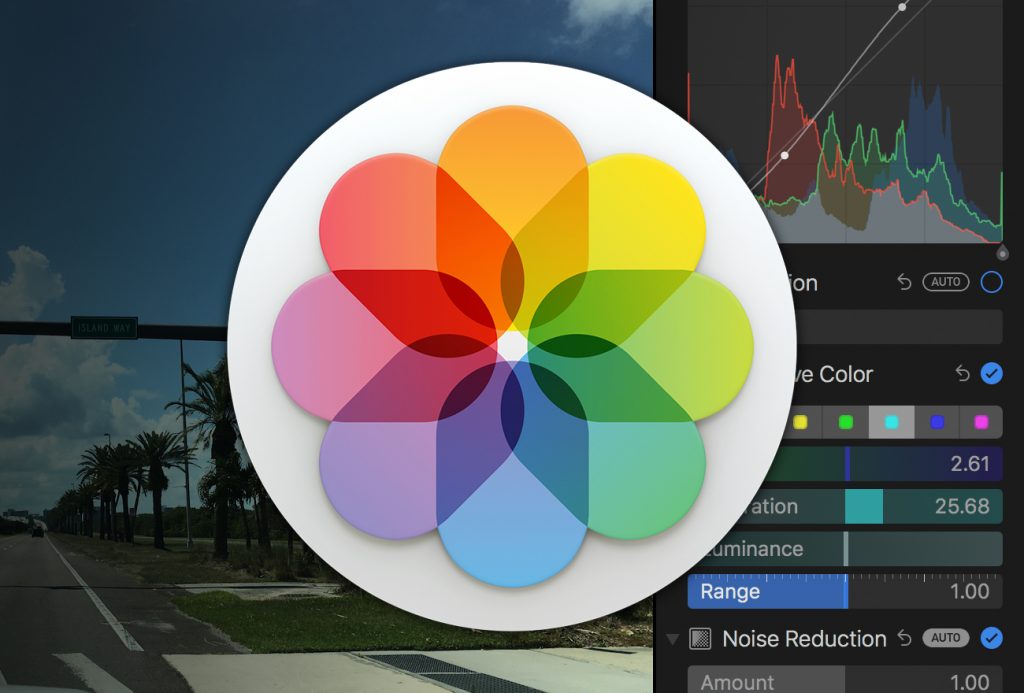
Use Selective Color
The Selective Color tool makes it possible to select a color and then adjust its hue, saturation, and luminance. For example, you can use it to make a blue sky bluer, or remove the selected color from an image entirely by setting Saturation to the lowest possible value.
To get started, click one of the hue options, or select a custom color by clicking the eyedropper and then your photo. Use the three sliders to make your adjustments, and Range to define the color range your settings target. In the example image below, green grass and leaves have been turned yellow.
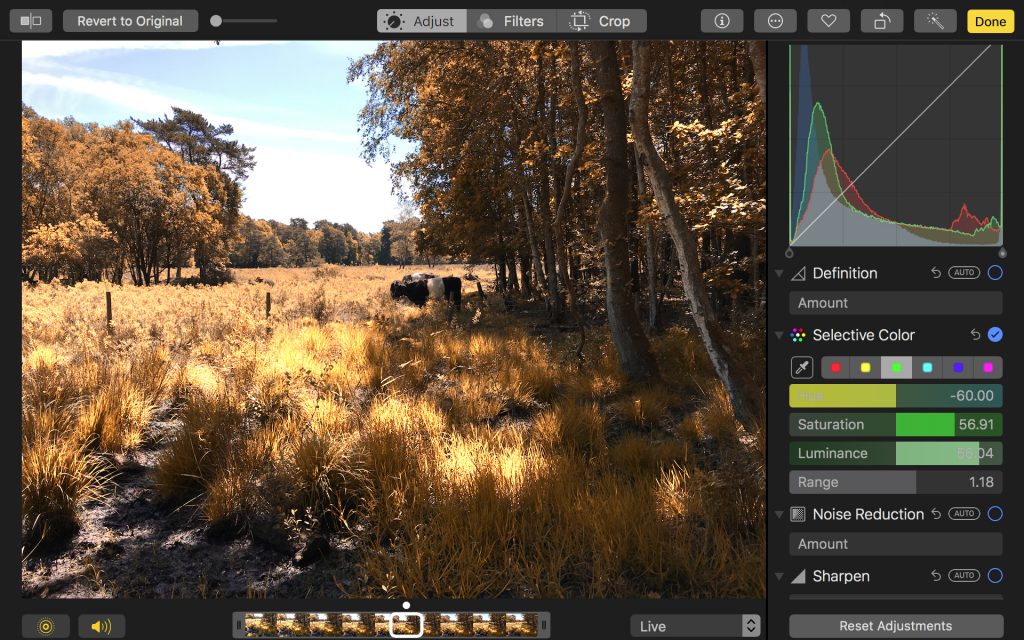
Be mindful that Selective Color is restricted to one color in any given picture. So you can use it to tweak a sky, or remove a color cast, but not to make several such edits within the same shot. You can get around this limitation by duplicating the image and performing Selective Color again on the copy.
Revert changes
Note that all of the editing options and settings outlined above are non-destructive. They can be changed individually, or you can reset a photo back to how it was before you started editing by clicking Revert to Original.
New to Mac? Learn more macOS tips at Intego’s New Mac User Center!
Want to get the most out of your new MacBook, iMac or other Apple computer? Whether this is your first laptop or you’ve just switched from Windows, there are a few things you should know about your new Mac, like basic keyboard shortcuts or how to use the various features macOS has to offer. Learn more about what your Mac computer can do for you at the Intego New Mac User Center: Get started now!
