Get to know the System Settings app on macOS Ventura
Posted on
by
Kirk McElhearn
There are lots of settings, preferences, and options on the Mac, and many of these settings are organized in one app: System Settings. You can access this app from the Apple menu, and it offers a plethora of options for customizing your Mac’s environment, and many of its features.
The System Settings app is new in macOS Ventura; since the early days of Mac OS X, it was called System Preferences. While the new System Settings app includes everything that was in System Preferences, its organization is different.
In this article, I’m going to show you how to use the System Settings app and how to change some essential settings for your Mac.
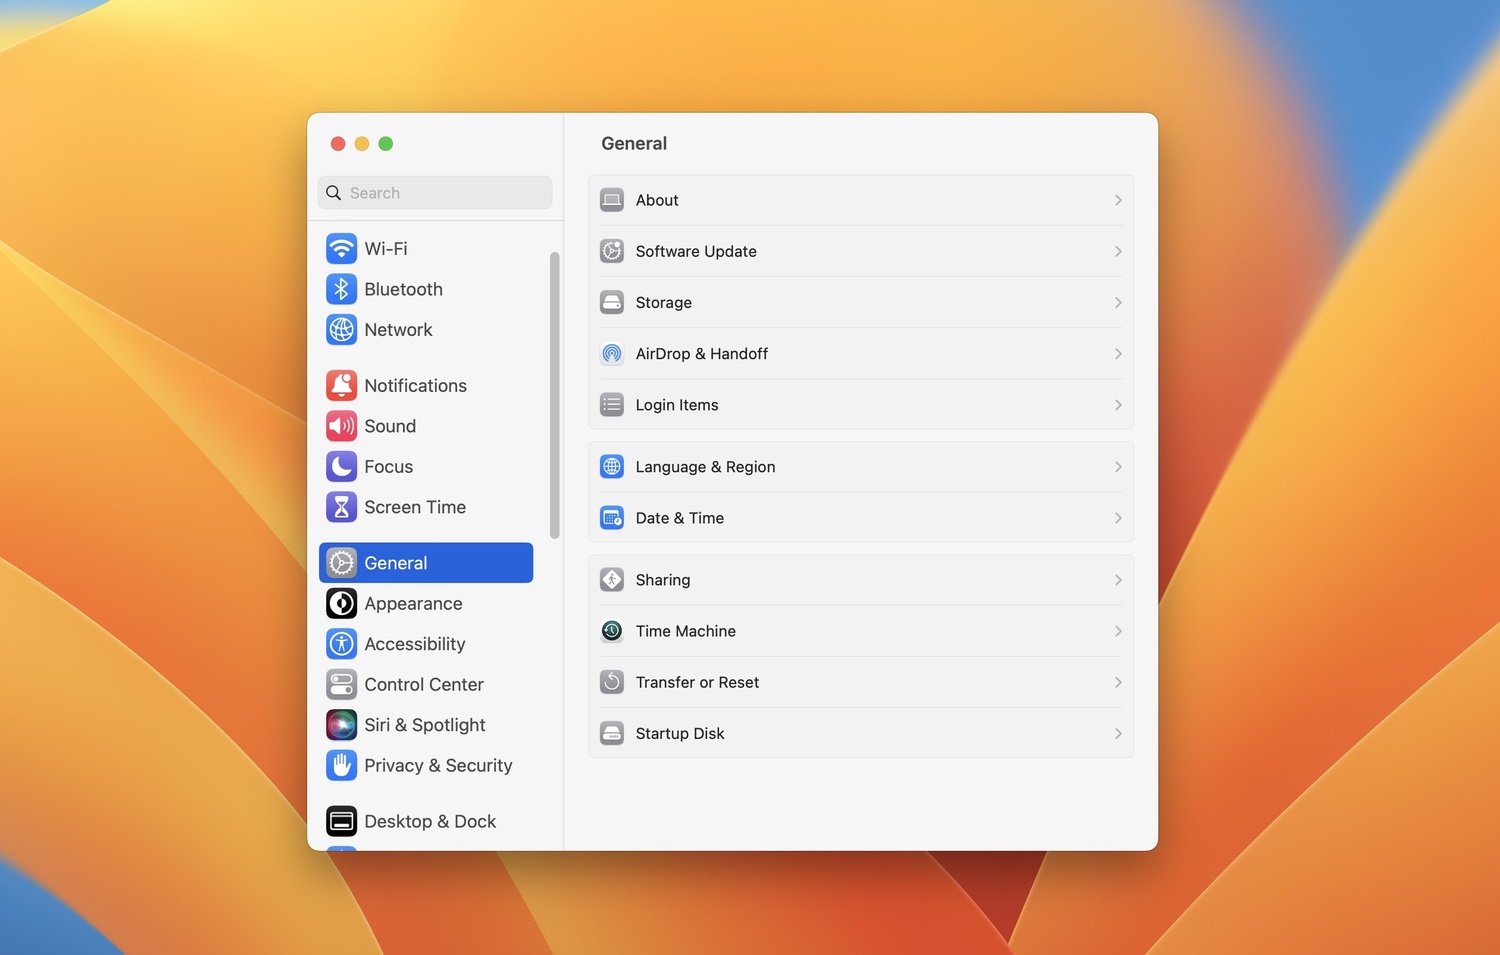
The System Settings app
There aren’t that many visual changes in macOS Ventura, compared with the previous version of macOS, with the exception of the new Stage Manager, which offers a different way of working with windows, and the new System Settings app. Designed to mirror the Settings app on iOS and iPadOS, System Settings has abandoned the long-standing idea of icons on a window that you click to open their contents and adopted the more common sidebar metaphor.
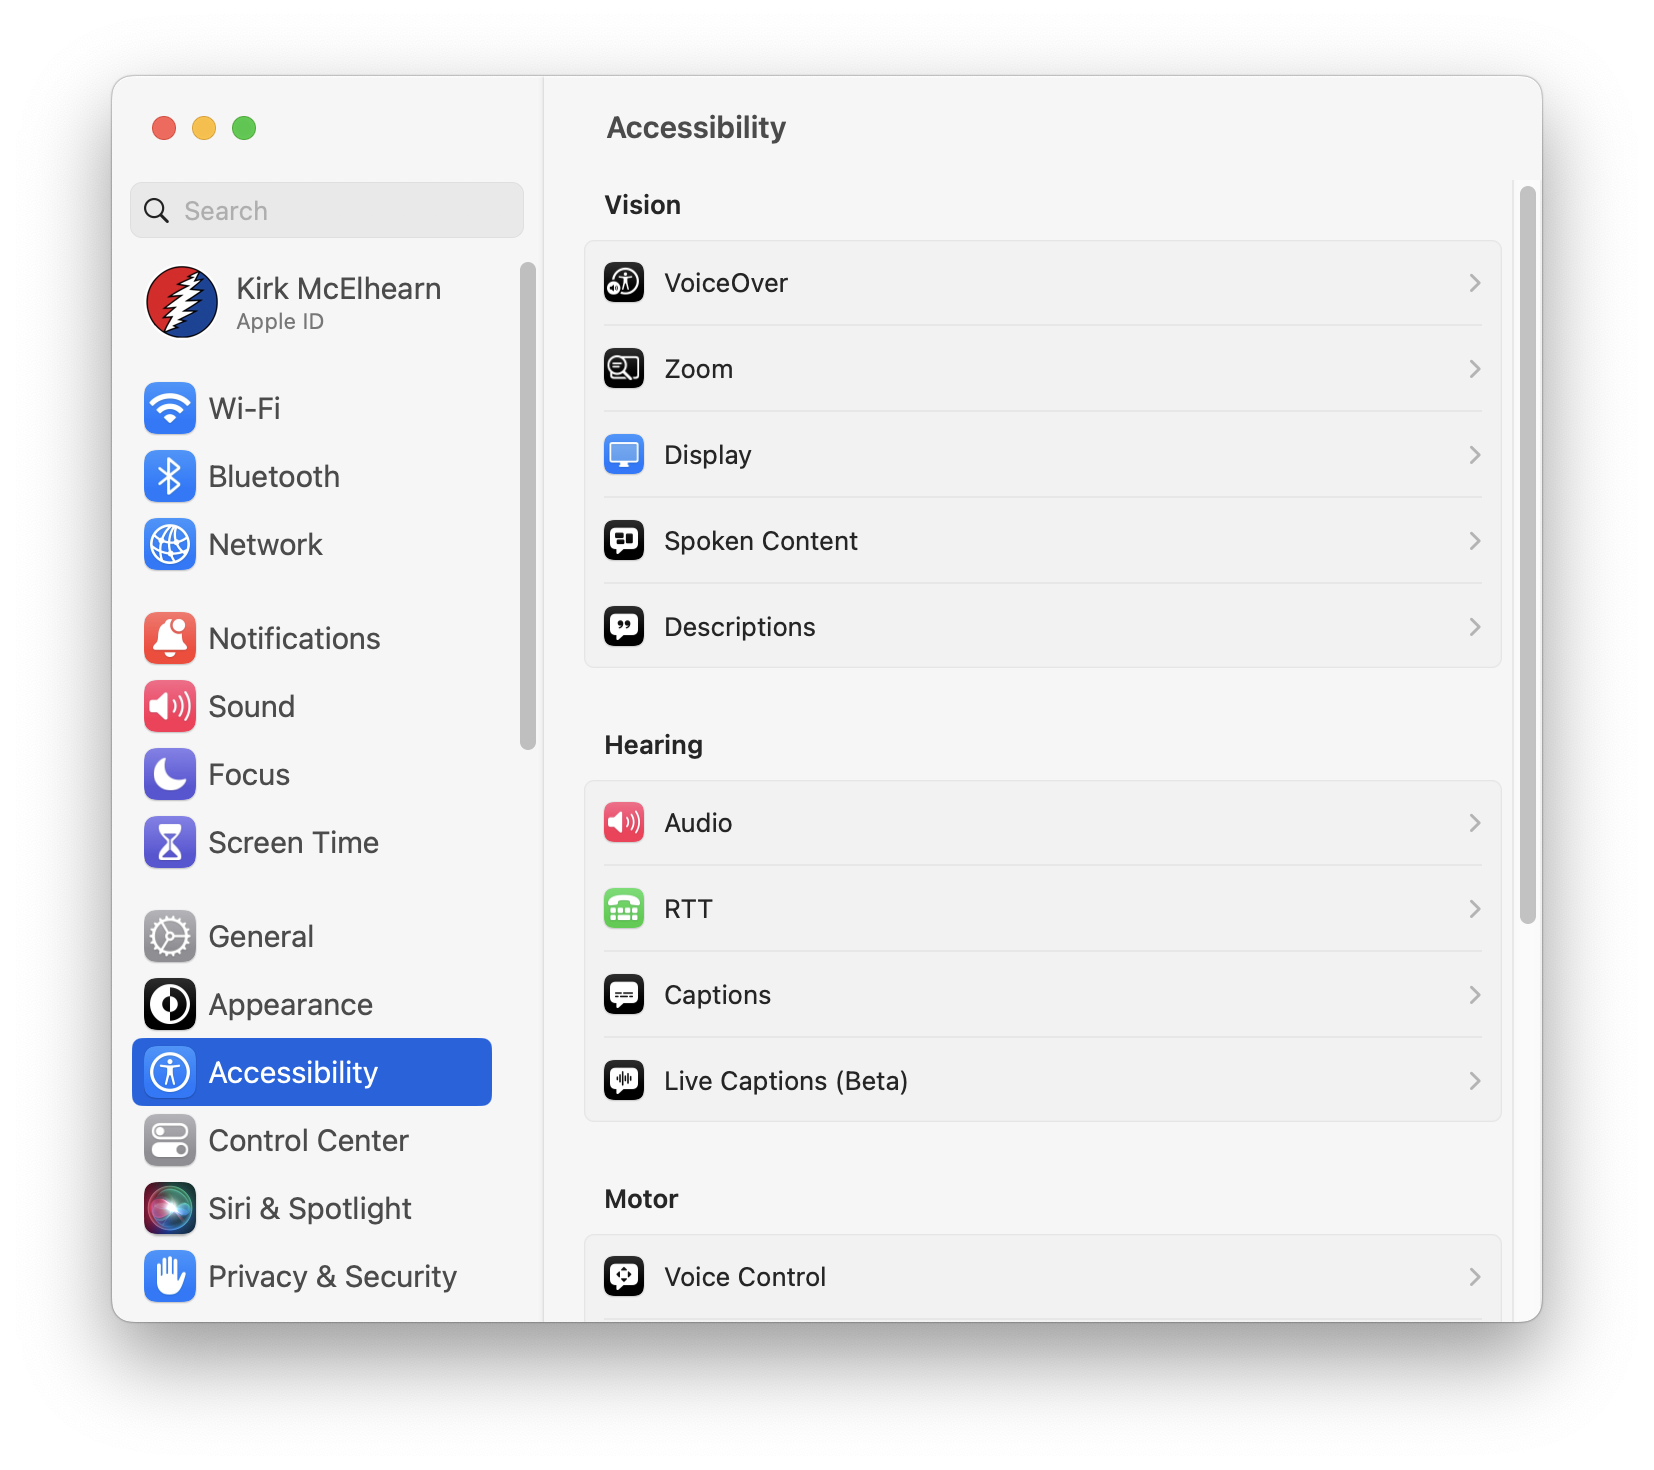
The sidebar contains more than two dozen entries, each of which, when clicked, displays a pane with settings. In some cases, clicking a sidebar entry can open a pane with a dozen or more sub-entries, as you can see if you click Accessibility. Click one of these entries to access settings.
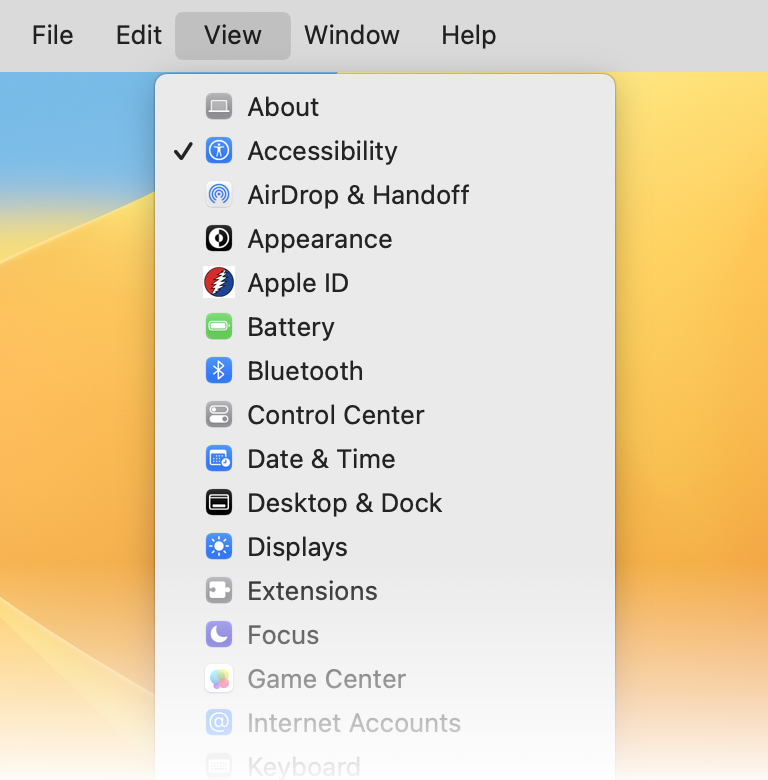
You can also access any System Settings pane by clicking the View menu. One advantage of using the View menu is that the entries are listed in alphabetical order, making it easier to find what you’re looking for. The arrangement in the sidebar of the System Settings app is somewhat arbitrary; it groups settings by theme. At the top, you see network settings (Wi-Fi, Bluetooth, and Network), below that, you see settings that control how you interact with your Mac (Notifications, Sound, Focus, and Screen Time), and so on.
Note: One oddity of the System Settings app is that, at first glance, you may not think it has many settings, because of the default way that scrollbars display. Here’s how it looks.
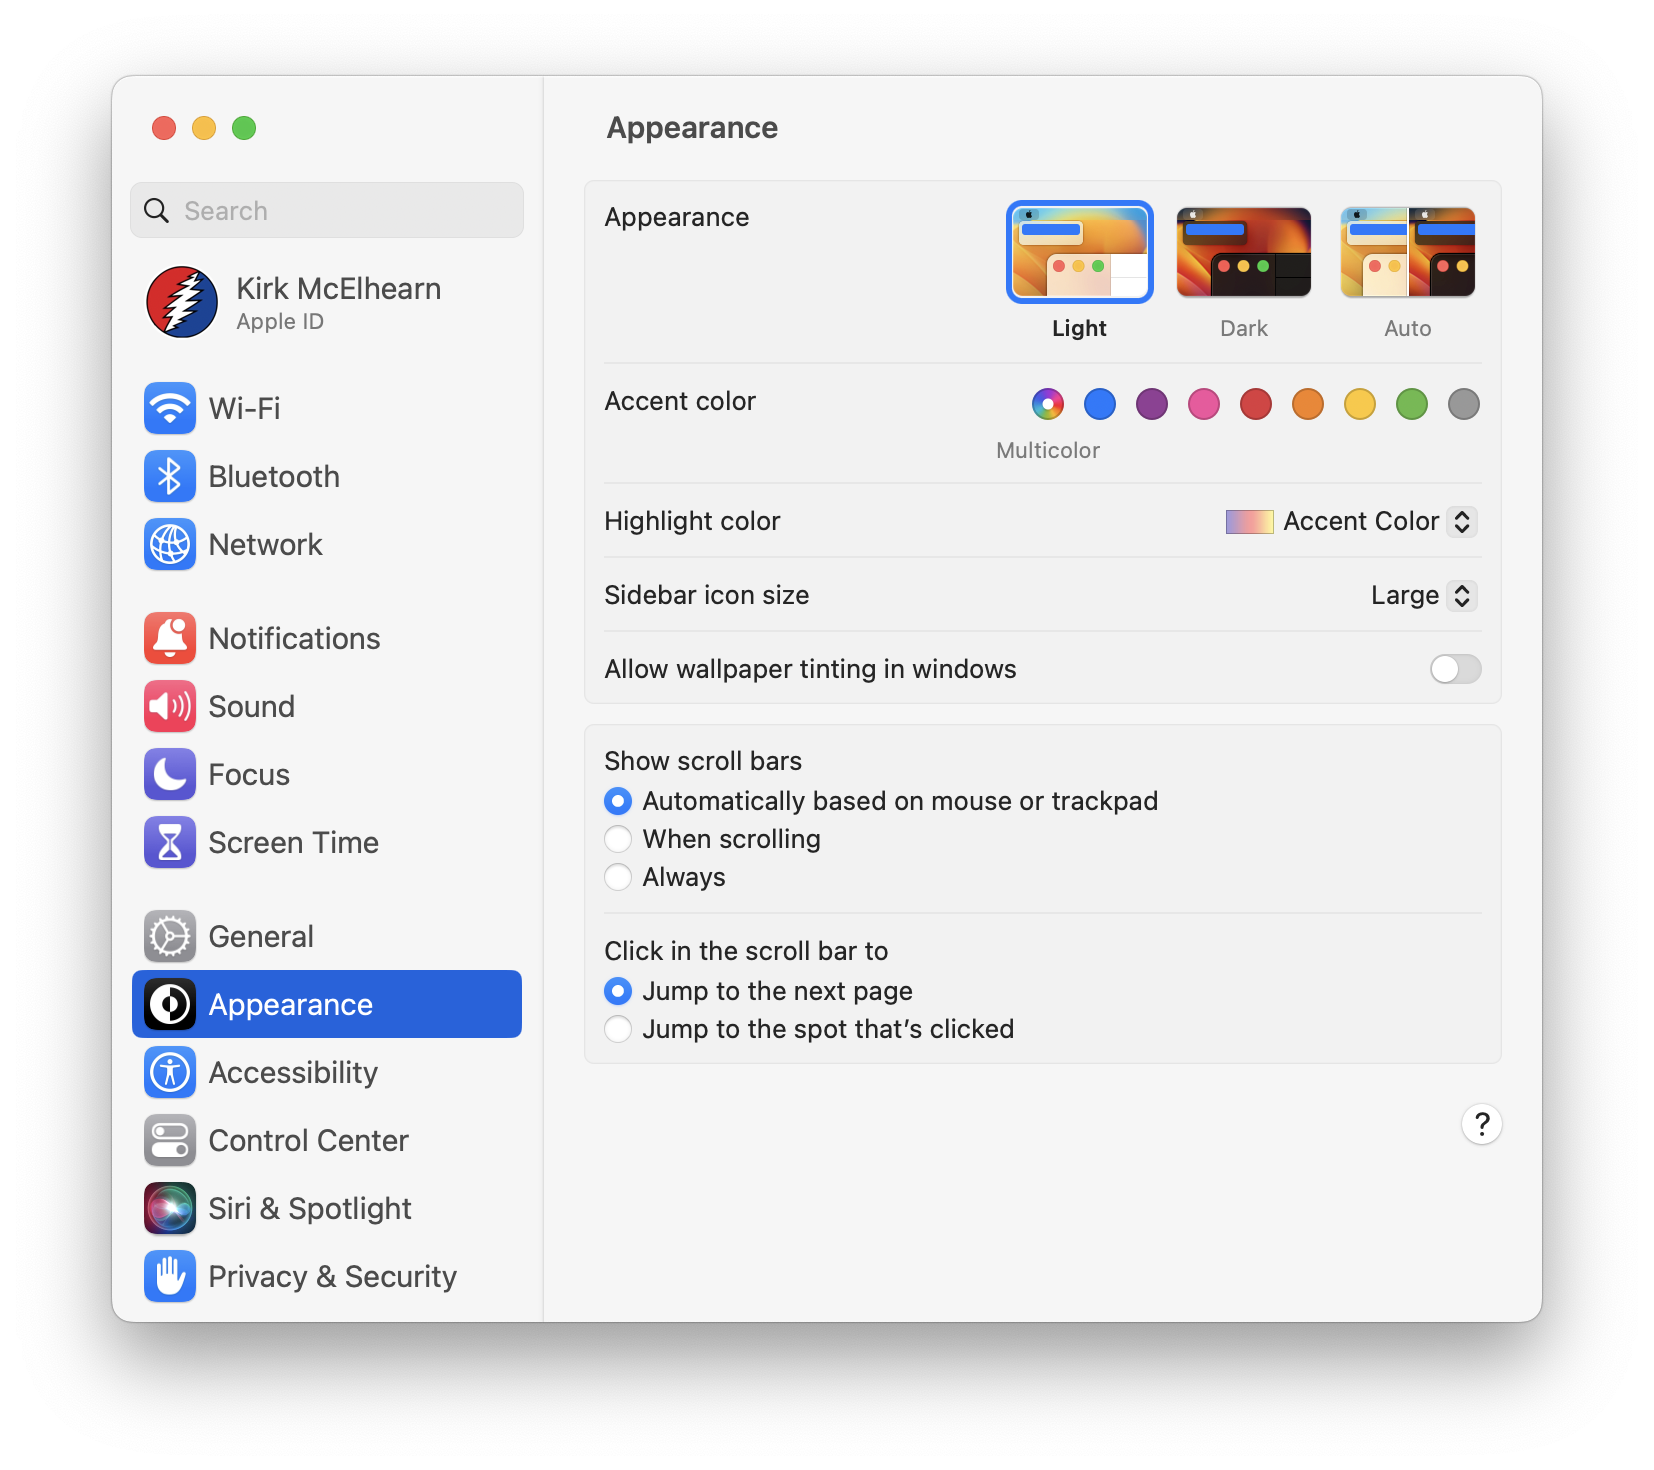
Hover your cursor over the sidebar, then scroll, and you see all the entries. One useful setting to change, both for the System Settings app and others, is the one that shows scrollbars all the time. You can change this is the Appearance pane.
The System Preferences window was a fixed size, but the System Settings window is partly resizable. Move your cursor over the top or bottom edge of the window and you can drag it to change its height. This is practical if you want to change a lot of settings; make it as tall as you want, so you can easily see the settings panes without scrolling too much.
Finding settings
Searching for individual settings in the old System Preferences was hit and miss; and on the iPhone and iPad, it was the same. It seems that Apple finally cleared this up, and you can use the Search field at the top of the sidebar in System Settings to find (almost) anything. I used a qualifier because I’m not sure that every discrete setting can be found this way, but the results are certainly copious. Here’s one example: I searched for “keyboard,” and dozens of results displayed. The length of the scrollbar shows that the list is quite long (another reason to have scrollbars display all the time).
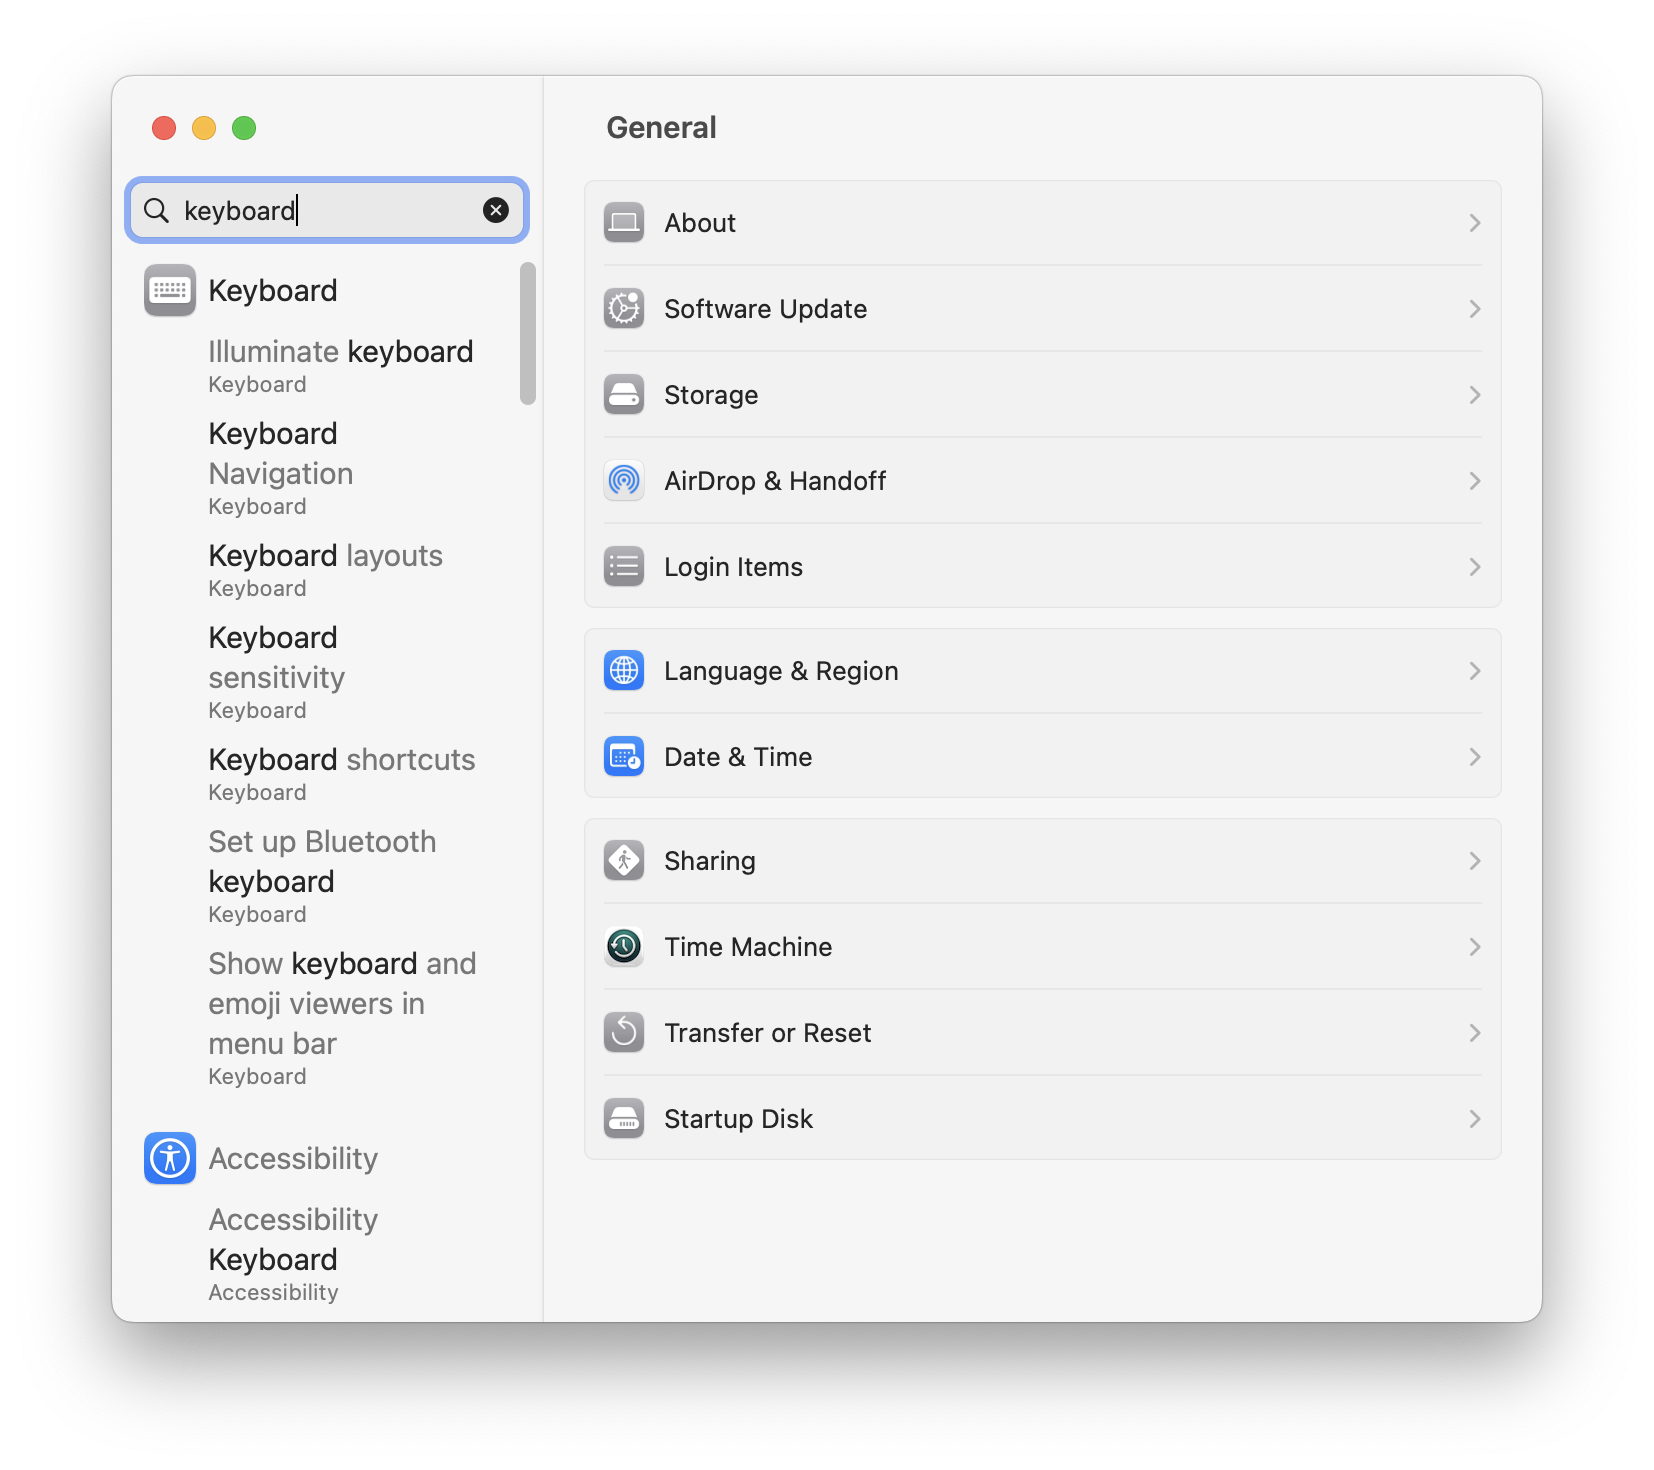
Click one of the search results to jump to its setting. If the setting you’re searching for is available after clicking a button in a settings pane, clicking it in the search results opens the dialog that would display if you clicked that button.
Apple ID settings
Your Apple ID settings are important, and they’re at the top of the sidebar. Click this entry to see settings for your Apple ID and iCloud.
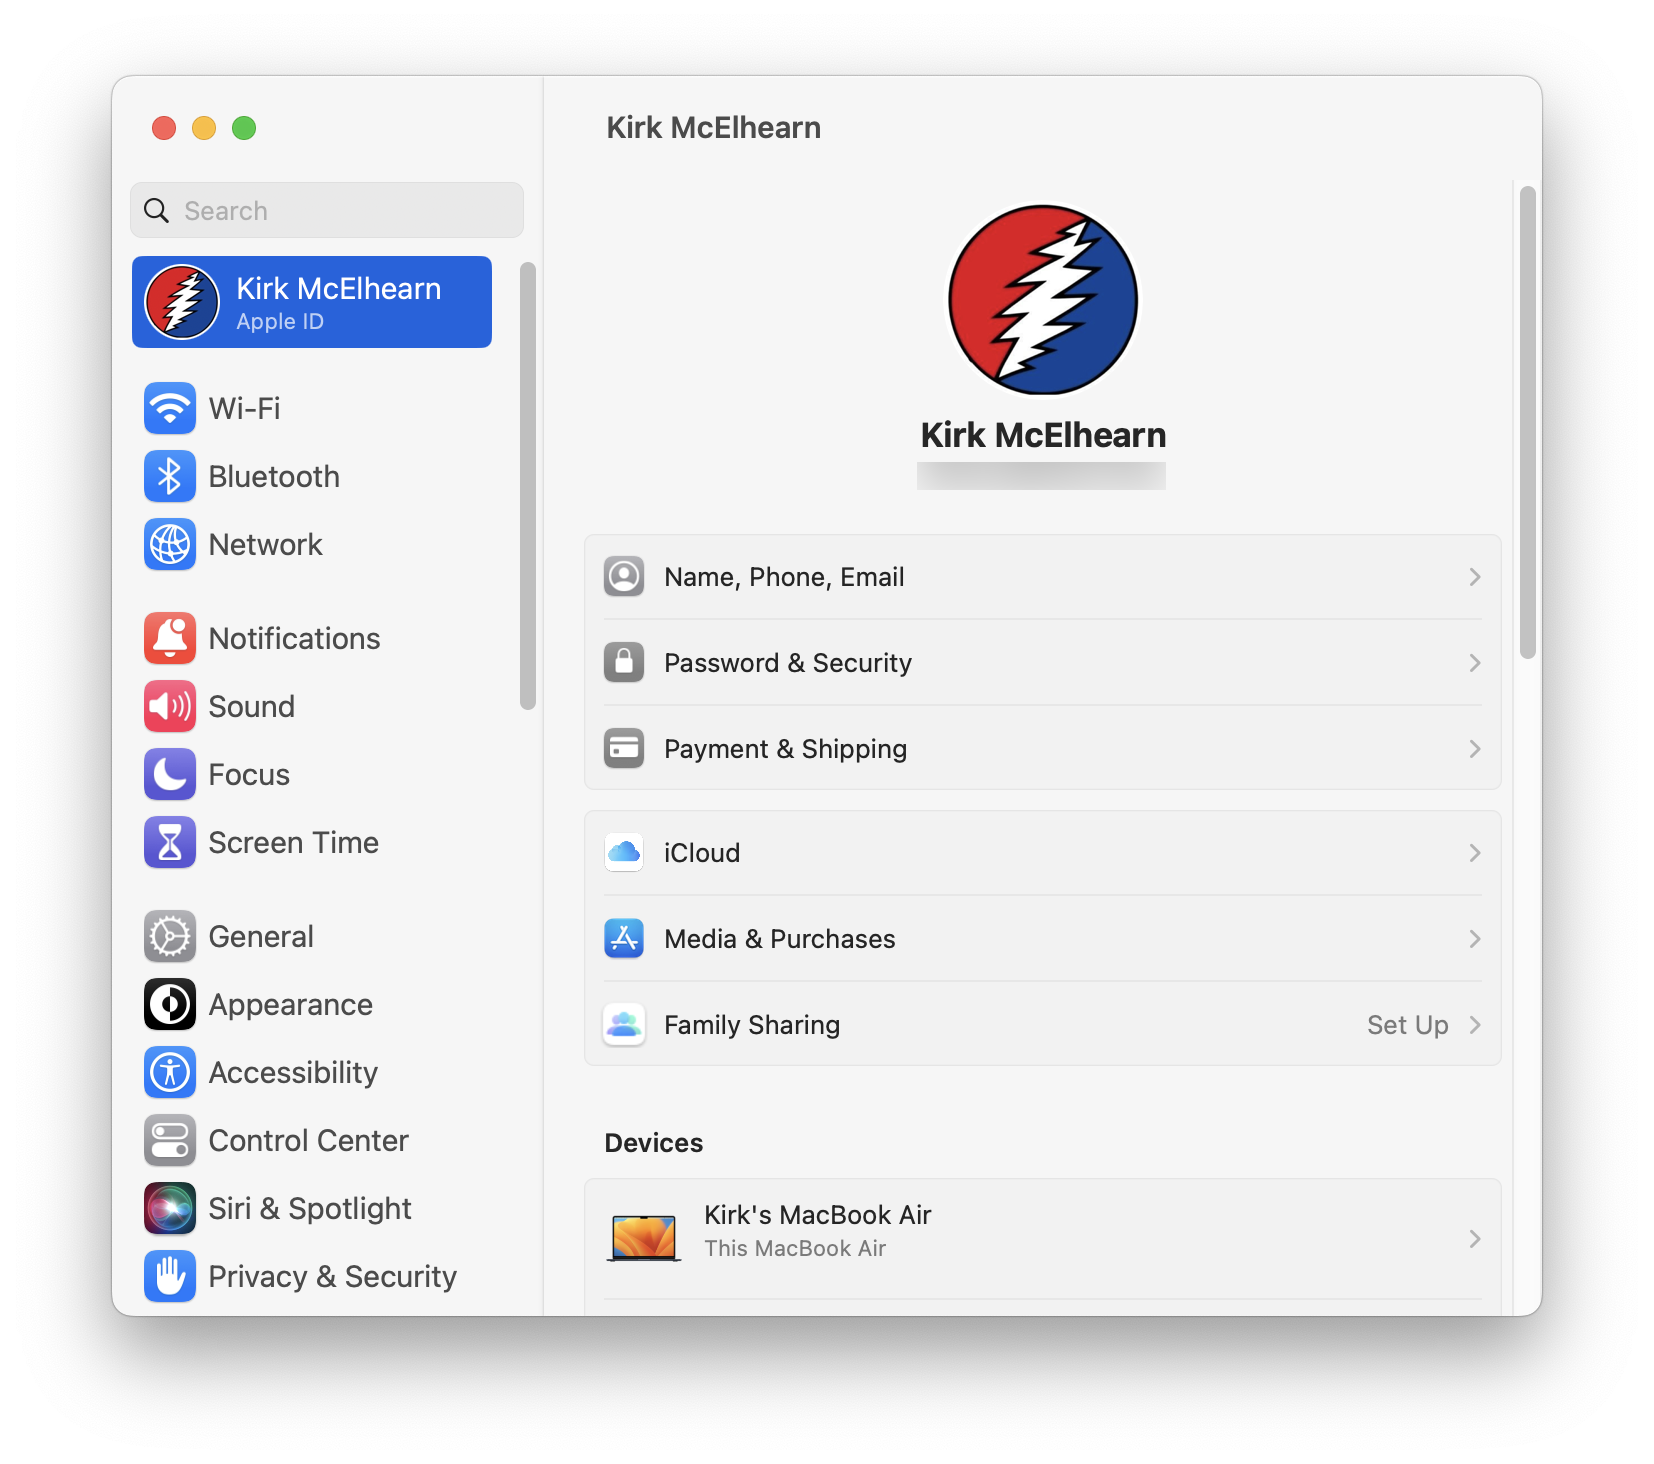
You can change settings for your name, phone number, email, and address, and also change your Apple ID password in Password & Security. In this pane, you can also set trusted phone numbers, turn on two-factor authentication, if you haven’t already done so, set up account recovery and legacy contacts, and more. (See How to Set iCloud Account Recovery Contacts, Legacy Contacts, and Trusted Phone Numbers for more on these features.)
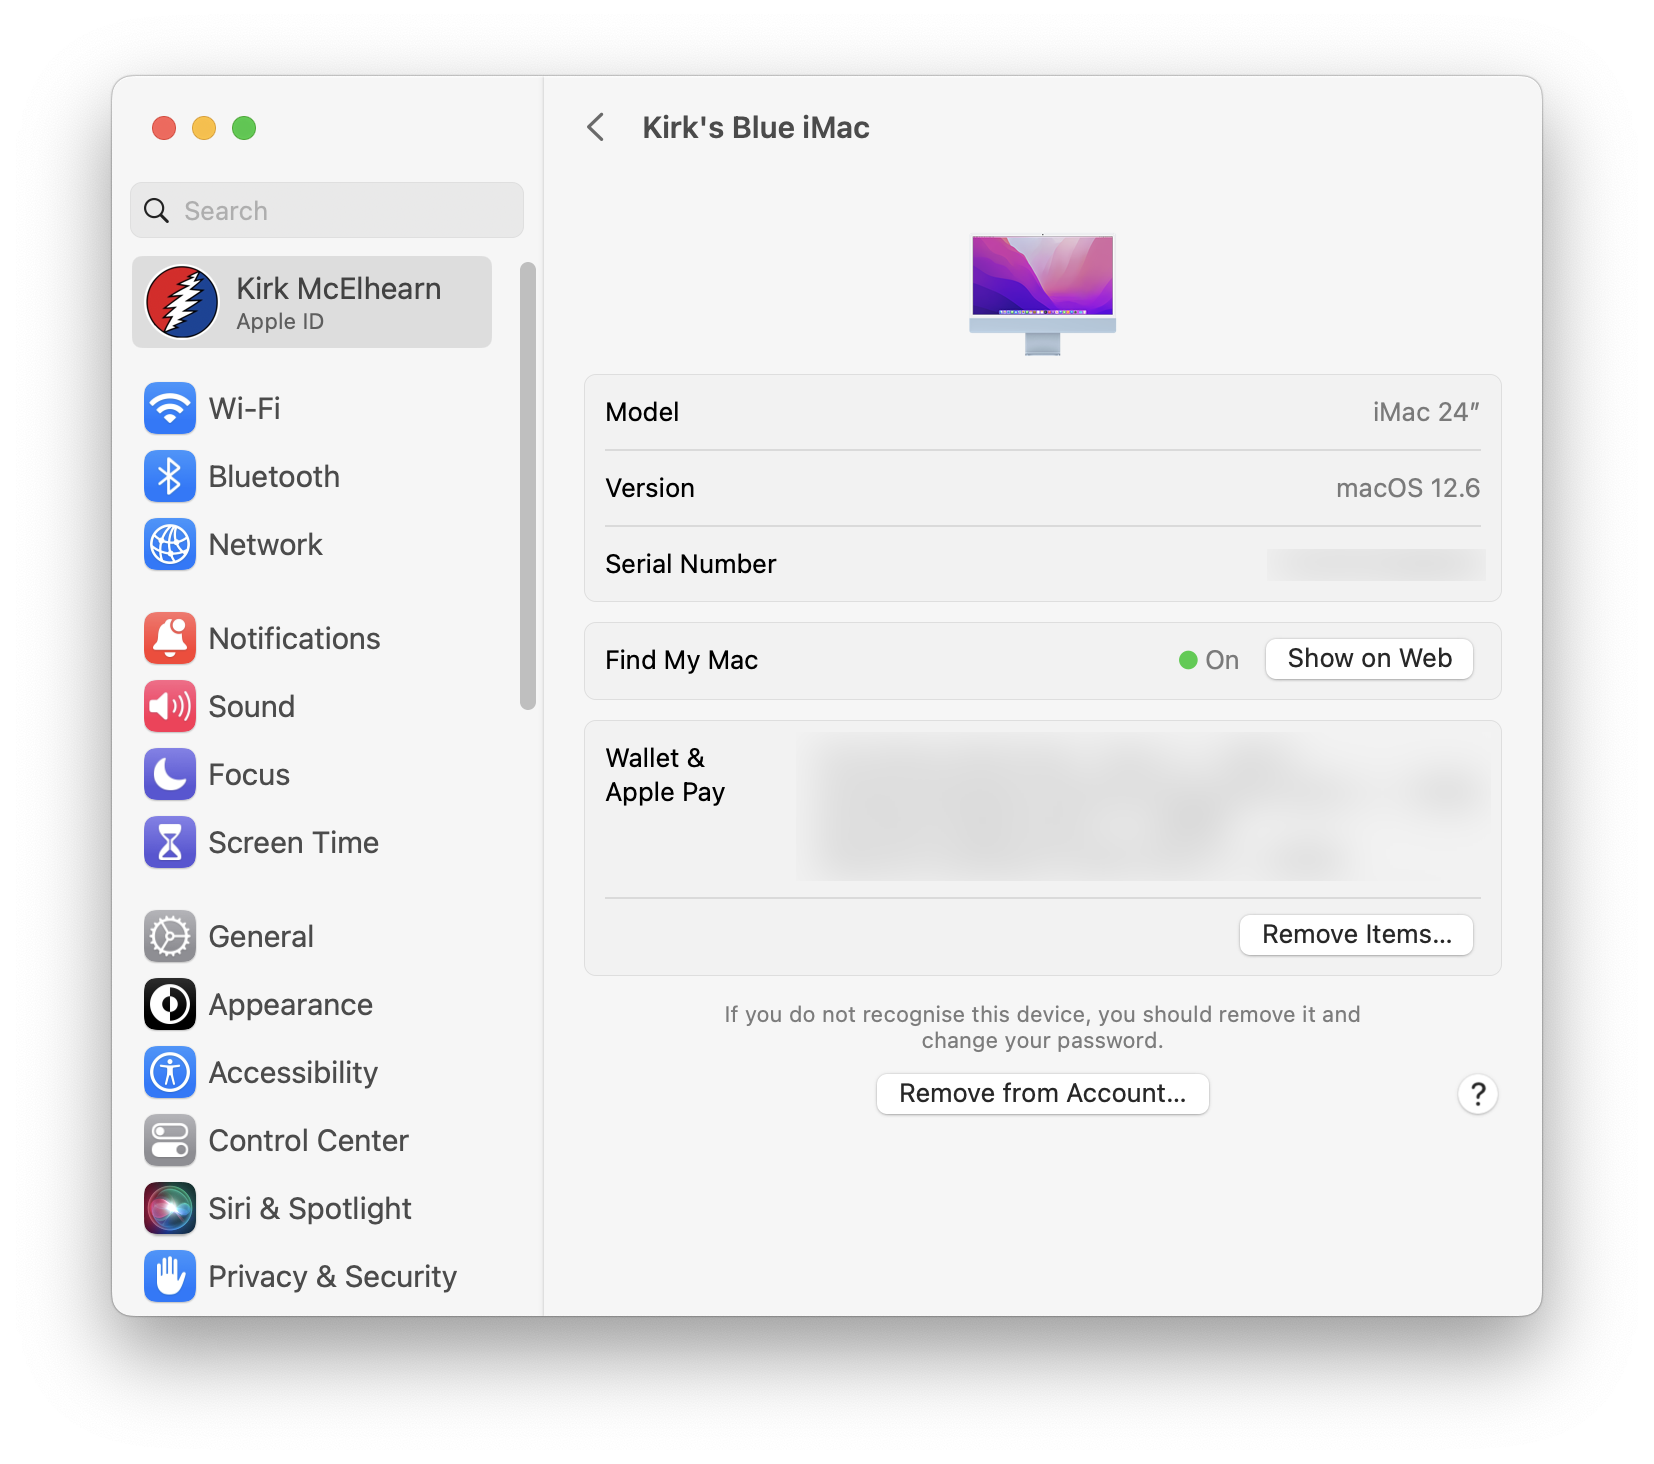
At the bottom, you can see all your devices that are signed into iCloud; click one of them to see information about it, such as its serial number, any payment cards set up for Apple Pay, and its Find My status. If you find a device listed that you no longer have, you can click Remove from Account.
Settings accessible to administrators
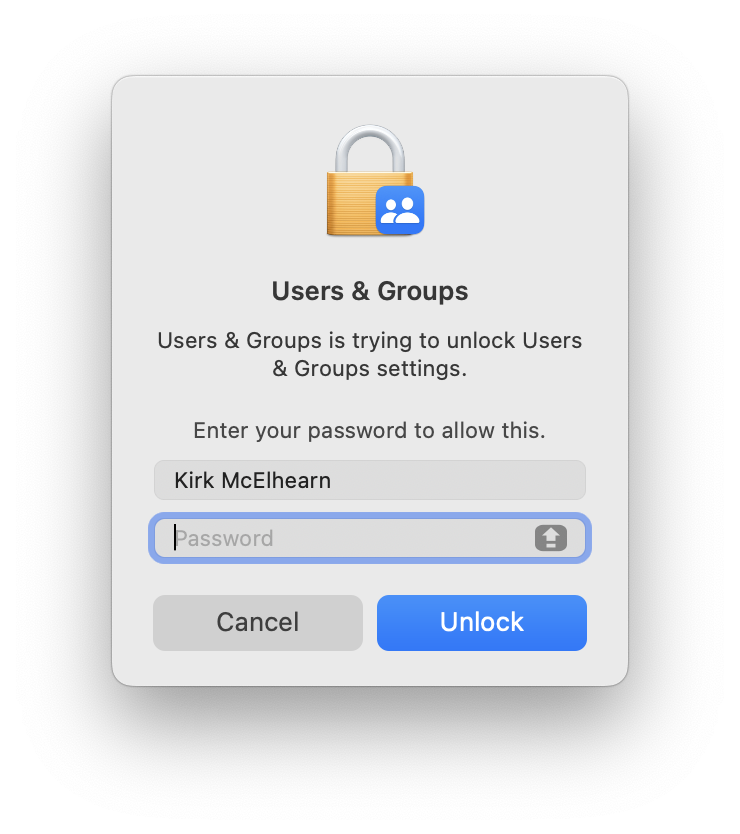
With the old System Preferences app, you could always tell which settings were only accessible to administrators: there was a padlock icon, which you clicked to make changes, and the admin-only settings were dimmed. This is no longer the case. You can’t see which settings require administrative rights, but a dialog display when you try to access such settings.
Settings that only administrators can change include creating user accounts, advanced network settings, some security and privacy settings, and more.
Interestingly, Apple has made access to some system-wide settings accessible to all users, at least by default. You can change this – it’s a good idea to do so if you’ve set up a Mac for a child, or if you’re in a business – by going to Privacy & Security, scrolling down to the bottom of the pane, then clicking Advanced. Toggle on the first setting here: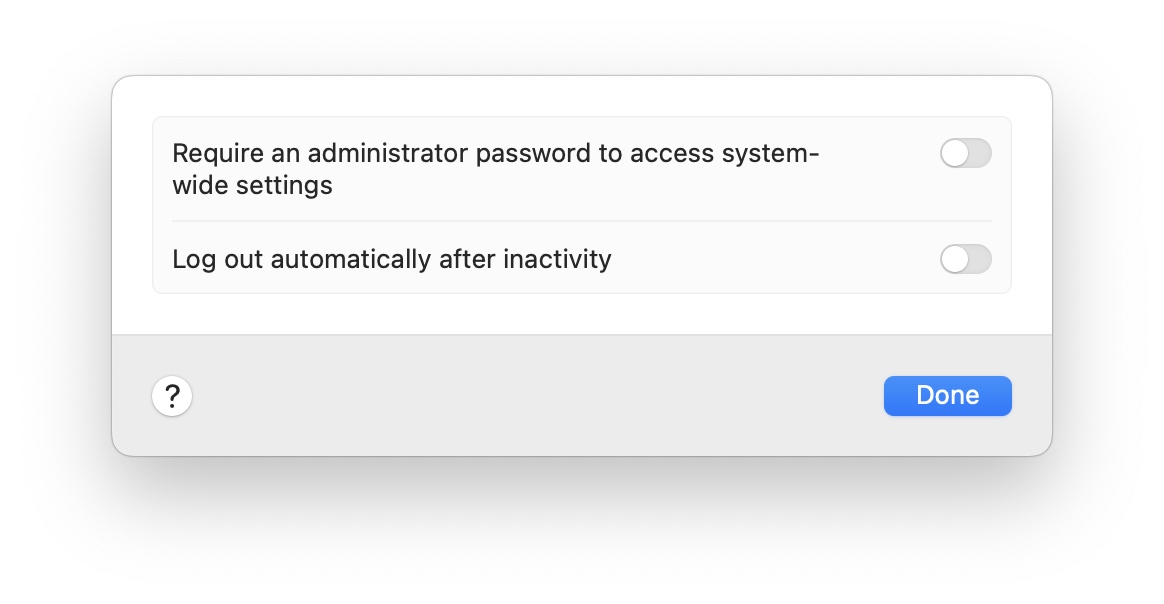
Panes removed in System Settings
Other than the Apple ID and iCloud, which were at the top of System Preferences, there were 31 preference panes in macOS Monterey. Several of these have been removed, so if you want to access them, you may have to search for them. It’s interesting that Apple considered some of these important enough to have their own panes before, but have relegated many of them to the bottom of another pane.
For example, there were preference panes for Mission Control and Startup Disk. The former is now at the bottom of the Desktop & Dock pane, and the latter is at the bottom of the General pane. The two panes just after General in Monterey – Desktop & Screen Saver and Dock & Menu Bar, are now reorganized as three lanes: Desktop & Dock, Wallpaper, and Screen Saver. Siri and Spotlight are now united as Siri & Spotlight; Language & Region is now in General, as is Time Machine, Sharing, Date & Time, and Software Update.
Getting used to the new System Settings app may take a while, but it really does make more sense. Use the search feature to find what you want, because the reorganization of settings makes it difficult to know where some things are now located.
How can I learn more?
 Each week on the Intego Mac Podcast, Intego’s Mac security experts discuss the latest Apple news, including security and privacy stories, and offer practical advice on getting the most out of your Apple devices. Be sure to follow the podcast to make sure you don’t miss any episodes.
You can also subscribe to our e-mail newsletter and keep an eye here on The Mac Security Blog for the latest Apple security and privacy news. And don’t forget to follow Intego on your favorite social media channels: ![]()
![]()
![]()
![]()
![]()
![]()
![]()

