Stay Secure: Why and How to Go Paperless
Posted on
by
Kirk McElhearn

About four years ago, I moved from France to the UK. Moving to another country is complex, and expensive; you need to cart a lot of stuff with you. Preparing for the move, I tried to slim down my possessions in many ways and examined the many items that filled my shelves. One thing stood out: I had about 10 linear feet of records for my business.
This pile of records were printouts of accounting documents, invoices and expense receipts, and printouts of tax forms. While this was only a drop in the bucket compared to all the stuff that would eventually fill a moving truck, it seemed like a good time to get rid of those documents and go paperless.
Going paperless is a good way to cut down on clutter, and it can help keep things more organized and more secure. As you can imagine, going from all or mostly paper to paperless can certainly appear as a daunting task—but with the right tools and know-how, it can be done! Are you ready to go paperless?
This post covers how you too can keep all your records in digital form, and outlines the advantages of going paperless and how to securely store and archive your documents.
The Principle Behind Going Paperless
The principle behind going paperless is simple. You already receive a lot of documents in digital form; for instance, you may get invoices and receipts as PDFs, and many services offer these documents on their websites. Your bank probably offers statements in digital form, too. Even if you manage your own accounting or personal finances, it remains digital unless you decide to print it.
While you can never truly go 100% paperless, it is not difficult to store 95% of your records and documents in digital form. There are some notable exceptions: you cannot have a digital passport, birth certificate, or drivers license, and you need to retain some original contracts and other documents. However, for the most part, you can either create digital documents or scan paper documents that you receive. Most countries allow the retention of digital records, but you should check where you live, just in case, particularly if you own a business.
Scanning 10 years of documents, and then shredding the originals, can take about a week. This is a long process at first, but once you have all your past documents scanned, it doesn’t take long to stay up to date. Some people scan the documents as they receive them while others do so once a week or once a month. No matter the case, the process becomes quick once you get used to it.
There are four steps in the process to go paperless:
- Scan the documents
- Name digital files so you can find them easily
- Store the files in a series of folders and sub-folders
- Shred the original paper files
Remember, on a Mac you can create a PDF from any document, in any app—including your web browser. So if you have an invoice or receipt on a web page, just choose File > Print, and then from the PDF menu choose Save as PDF.
The Tools Needed to Go Paperless
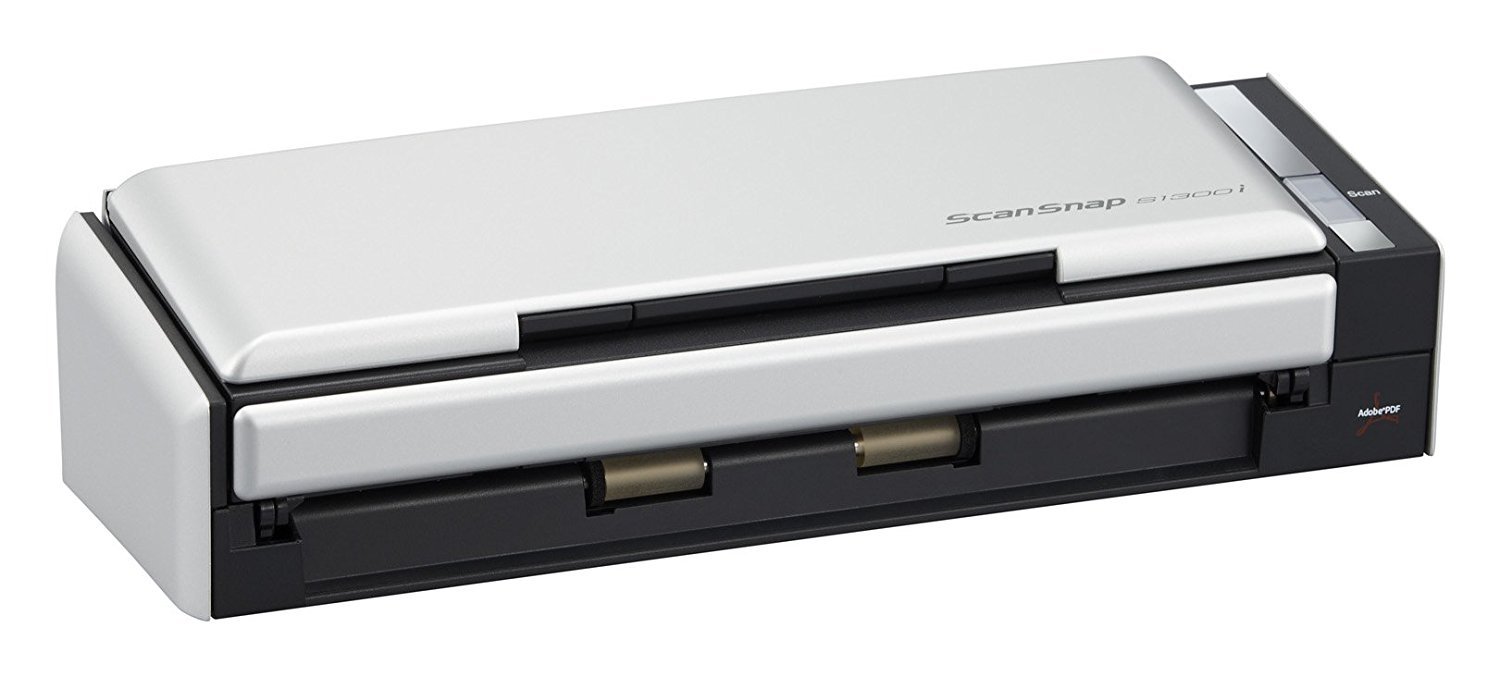
The main tool you need to go paperless is a good scanner. For example, I bought the Fujitsu ScanSnap, which made it a breeze to scan all my documents. This scanner lets you put 10 pages at a time into its paper feeder, and it can accept documents of many sizes. Its software converts the documents into PDFs and performs optical character recognition (OCR), so you can search for text in my documents. How cool is that?!
Once you figure out the optimal settings for scanning and saving your files, it’s just a question of feeding them into the device. Trying to go paperless with just a flatbed scanner is challenging, because you have to manually insert documents one page at a time. That said, I have had to use my flatbed scanner for some documents, so it can be helpful to have both.
The other tool I have personally used was Joe Kissell’s ebook, Take Control of Your Paperless Office, to learn the tips and tricks of going paperless, and to help establish an efficient workflow. Reading how someone else had accomplished this task made it much easier, and Kissell covers everything you need to know in this book.
Scanning Documents
As previously mentioned, scanning documents is the first step. Scanning documents with Fujitsu’s ScanSnap software is quite simple. You can create a number of presets for different types of documents: text documents, photos and other color documents, and more.

Whenever you want to scan something, just make sure you’ve selected your preset, and press the scanner button. The software scans the pages, does the OCR, and then asks you to name the file.
Digital File Naming
The most important thing to do when going paperless is to name your files consistently. For instance, for my business, I occasionally need to find a file relative to a certain date—a bill or a receipt, for example—and I chose the following format: YY-MM-DD – NAME.
In other words, a receipt from an Amazon purchase on January 1, 2017 is labeled like this: 17-01-01 – Amazon. My invoices are slightly different, though. I use an abbreviation of the name of my client, with an annual prefix, and then an incrementing number, such as: COM 17-04, for an invoice to Company, Inc.
Consistent file naming is essential to stay organized. There’s no way to leaf through your documents, and in less you are obsessive about following them in folders and sub-folders, you need a quick way to find what you’re looking for. You may choose a different method from mine, but make sure you use the same naming conventions for all your files.
Storing Documents and Staying Secure
Whether you run a business or simply want your personal documents to be digital, you need to consider security. You don’t want your accounting files, tax records, or health information to get into anyone else’s hands.
There are several important elements to keep in mind:
- Your documents must be stored securely, preferably encrypted
- You need to have access to your documents at all times
- You need to back up your documents, preferably more than once
You don’t need to worry about the space the files take up. My 10 years of business documents took up about 1 GB; each subsequent year is less than 100 MB.
Your Mac’s disk should be protected with FileVault, Apple’s full-disk encryption feature. You should also encrypt any external drives you use to store files and for backups. One way to make sure that no one else can access your files is to store them in an encrypted disk image. This is a simple process, and you can keep all of your most important files in this disk image, adding new files when you need them.
You need to make sure that you can access your documents when you need them. It’s a good idea to use a secure cloud service, such as iCloud, dropbox, or another similar service. Your files will be encrypted on these services, and you can get access to the from multiple devices.
You should back up your files to multiple sources. Start by using Time Machine to back up your files, but you should also use another solution, such as Intego Personal Backup, and create multiple backups with this software. Store one at home or in your office, and store another in an off-site location.
Tying It All Together
Going paperless is a big leap, and you need to be persistent. If you have a large amount of records to scan when you start, this can take some time. Once you’re done, you need to set aside enough time to scan new documents. You may find that the easiest way to do this is when you receive each document; otherwise, you may want to do it once a week or once a month. Don’t let your documents pile up for too long, because then you have another big scanning project to catch up.
When you’ve got the system working, you’ll see how easy it is to find files using their file names, or by searching for text they contain. And when you need to send documents to others, it’ll only take a minute, rather than the time it used to take when you have the search through folders of paper documents.
Have something to say about this story? Share your comments below!

