Removing Duplicate Files on Mac OS X: The Complete Guide
Posted on
by
Kirk McElhearn

Your Mac is full of files: big ones, small ones; documents, music files, photos, videos, and system files. A quick check of my iMac’s 256 GB SSD shows that it contains more than 60 million files. You can see this number on your Mac by opening Disk Utility (which is in your /Applications/Utilities folder), selecting your drive, and then clicking the Info button in the Disk Utility toolbar—then scroll down to the File Count entry.
Naturally, you haven’t created all those files. Most of them are system files, preference files, bits of applications (an OS X application is actually a bundle, or a sort of folder containing thousands of files), and more. Most of the files you’ve created are in your Documents folder, or in other media-specific folders inside your home folder: Music, Pictures, or Movies. And some of your personal files may actually be in your Library folder; this includes your email messages and their attachments, for example.
Among these millions of files, your Mac may contain many duplicate files, and there are two types of duplicates: intentional duplicates and accidental duplicates.
Intentional Duplicates vs. Accidental Duplicates
Intentional duplicates may be different versions of the same file, or multiple backups of your files. For example, I download a full backup of my website regularly, and one of my external drives holds these backups. Most of the files have the same name in each backup, but these are technically not duplicates, since some of the more recent files are different from the older ones. The same thing is true with a Time Machine backup. It contains copies of all your files backed up many times. (Technically, this isn’t true, because Time Machine uses hard links to indicate duplicate files, rather than storing multiple copies, but if you were to search a Time Machine drive for duplicates, these hard links would look like duplicate files.)
Accidental duplicates are the files that you don’t know are on your computer and can be located in more than one place. You may have downloaded some files and moved them to an external drive, but not deleted them from your Downloads folder. And then later you may have forgotten you moved them and place them in a different location. Or, you may store certain files you’re working on in a folder, and then move them to an archive folder when a project is completed, but not delete the originals. Or, you may have transferred photos from your camera, and stored them in a folder, but also added them to your Photos library.
Duplicate files can cause problems. They can:
- Take up space. Especially if they are audio or video files, they can use up space on your drive. If you’re using a Mac with an SSD, you probably don’t have a lot of space to spare, so getting rid of duplicates can make your Mac happy.
- Slow down backups. If you run regular backups—as you should—you may be copying files you don’t need to, and needlessly filling up your Time Machine drive.
- Confuse you. Say you need to find a spreadsheet with your company’s latest budget. If you use Spotlight to search for it, and you have duplicates, you may not be able to tell the most recent version of the file.
- Annoy you. If you have duplicate music files in your iTunes library, this can be annoying when you search for music and create playlists.
For these reasons, it’s a good idea to search for and cull duplicate files. The following guide will explain to you in simple terms how to remove duplicate files on Mac OS X.
Scanning for Duplicate Files
Intego offers two tools for scanning and culling duplicate files. Mac Washing Machine, available on its own or as part of Intego’s Mac Premium Bundle X8, reclaims space on your Mac’s drives, scans and removes duplicate files, and organizes your Desktop, Dock, and files. The other tool, called Duplicate Zapper, is a utility available from the Mac App Store, and simply scans for duplicate files and lets you choose which ones to delete.
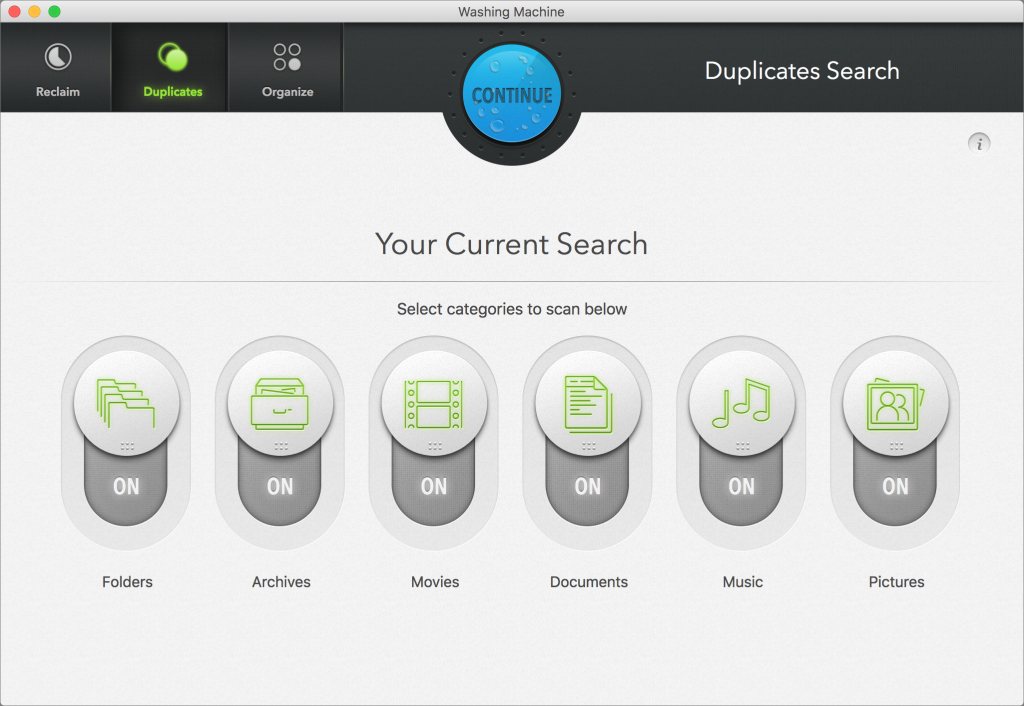
Mac Washing Machine is easy to use: Launch the app, click Duplicates, and then click the big blue button. You can also choose to only search for certain file types—which is useful if you know you have certain duplicates—and then select a specific location to search, such as your home folder, or your entire drive, and even exclude folders you don’t want to search.
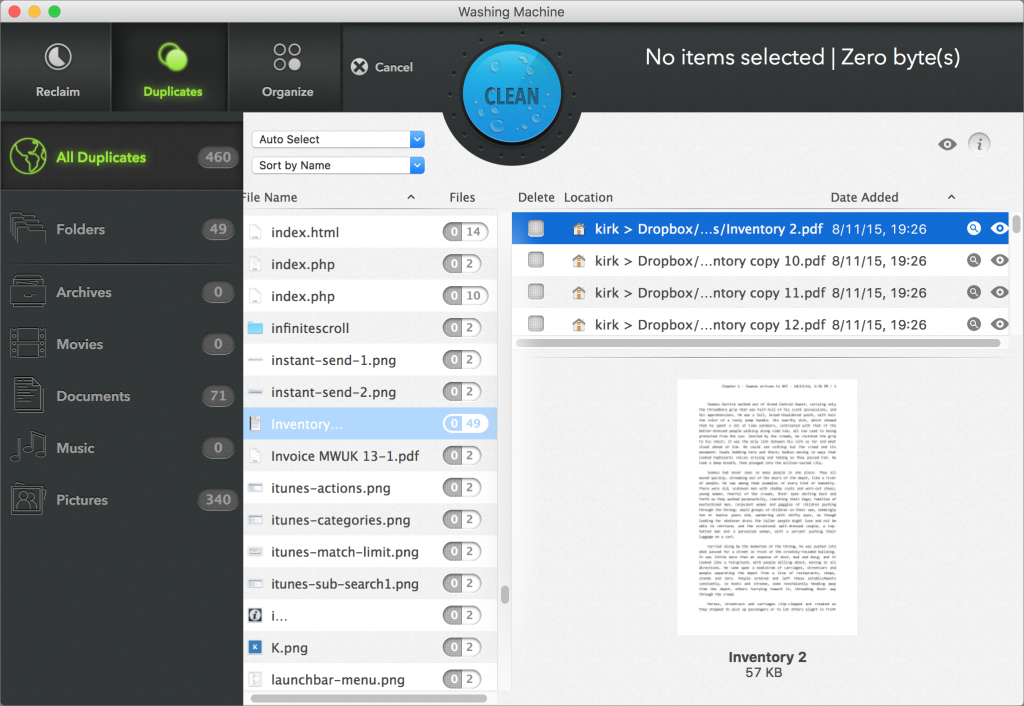
Mac Washing Machine shows you each set of duplicates, and you can hover your cursor over each file to see its full path. Click the magnifying glass icon to view a file in the Finder, and click the eye icon to view it in Quick Look.
You can then choose which file(s) to keep and which to delete. Make sure you don’t act too rashly, though. Mac Washing Machine deletes the files you tell it to, so make sure you’ve taken the time to check out all your files before erasing any of them.
Getting Rid of iTunes Duplicates
iTunes duplicates are a special case. It’s easy to end up with multiple copies of audio files. Sometimes it’s because you’ve added files several times by accident; other times, you may have files on multiple albums, and you may or may not want to keep them all. And there are times you may have your own files in your iTunes library and add the same files in Apple Music, if you use that service, of course.
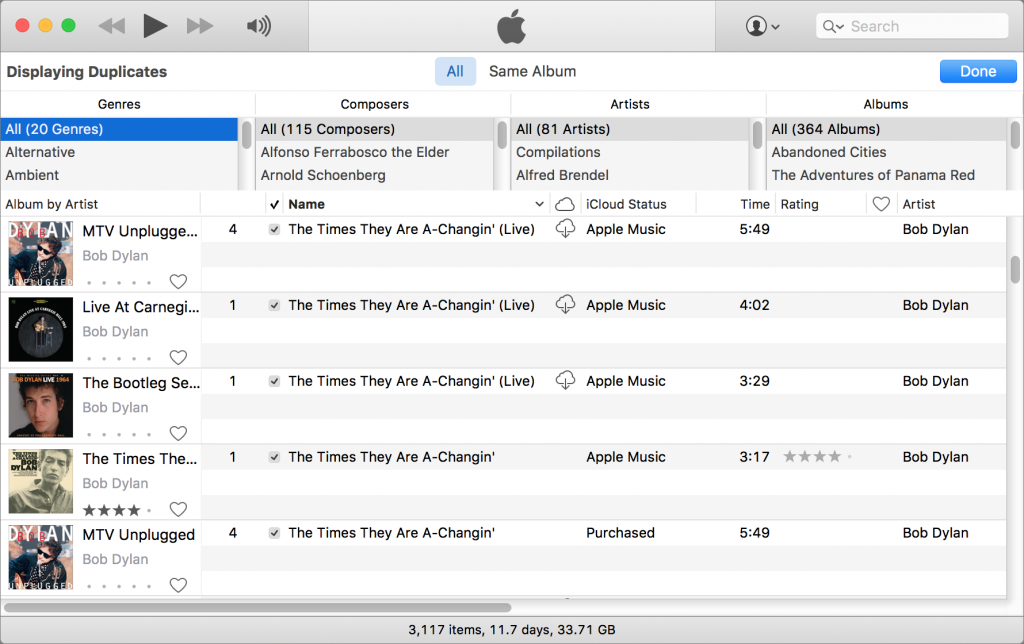
If you select My Music, then choose File > Library > Show Duplicate Items, iTunes displays all the tracks that have the same name and artist. This isn’t always useful, since you may have multiple versions of your favorite songs, such as on studio and live albums.
Click the Same Album button in the navigation bar, and iTunes refines its selection to only those items that are duplicated on the same album. You can then delete those files you have more than once.
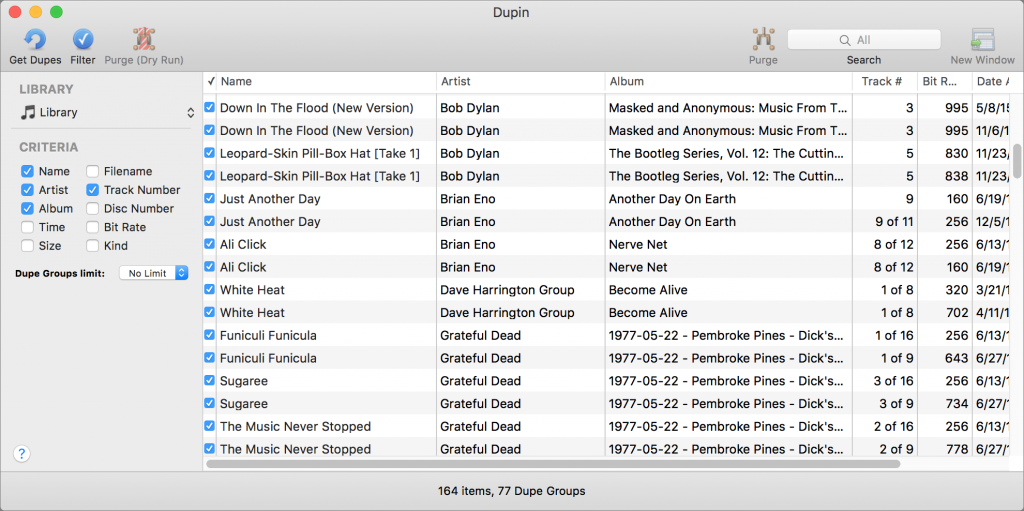
For more powerful duplicate finding in iTunes, check out Doug Adams’ Dupin. This app goes much further, finding duplicates that iTunes ignores, allowing you to more easily choose which to keep and which to delete.
Dupin can even add all the duplicates it finds to an iTunes playlist, so you can sort through your files there. Give these tips a try, and your Mac will be cleaner in no time!
